

3D打印
立体光固化成型 (SLA)
Stereolithography (SLA) cures liquid photopolymer with a precision UV laser, building parts layer by layer.
创建报价
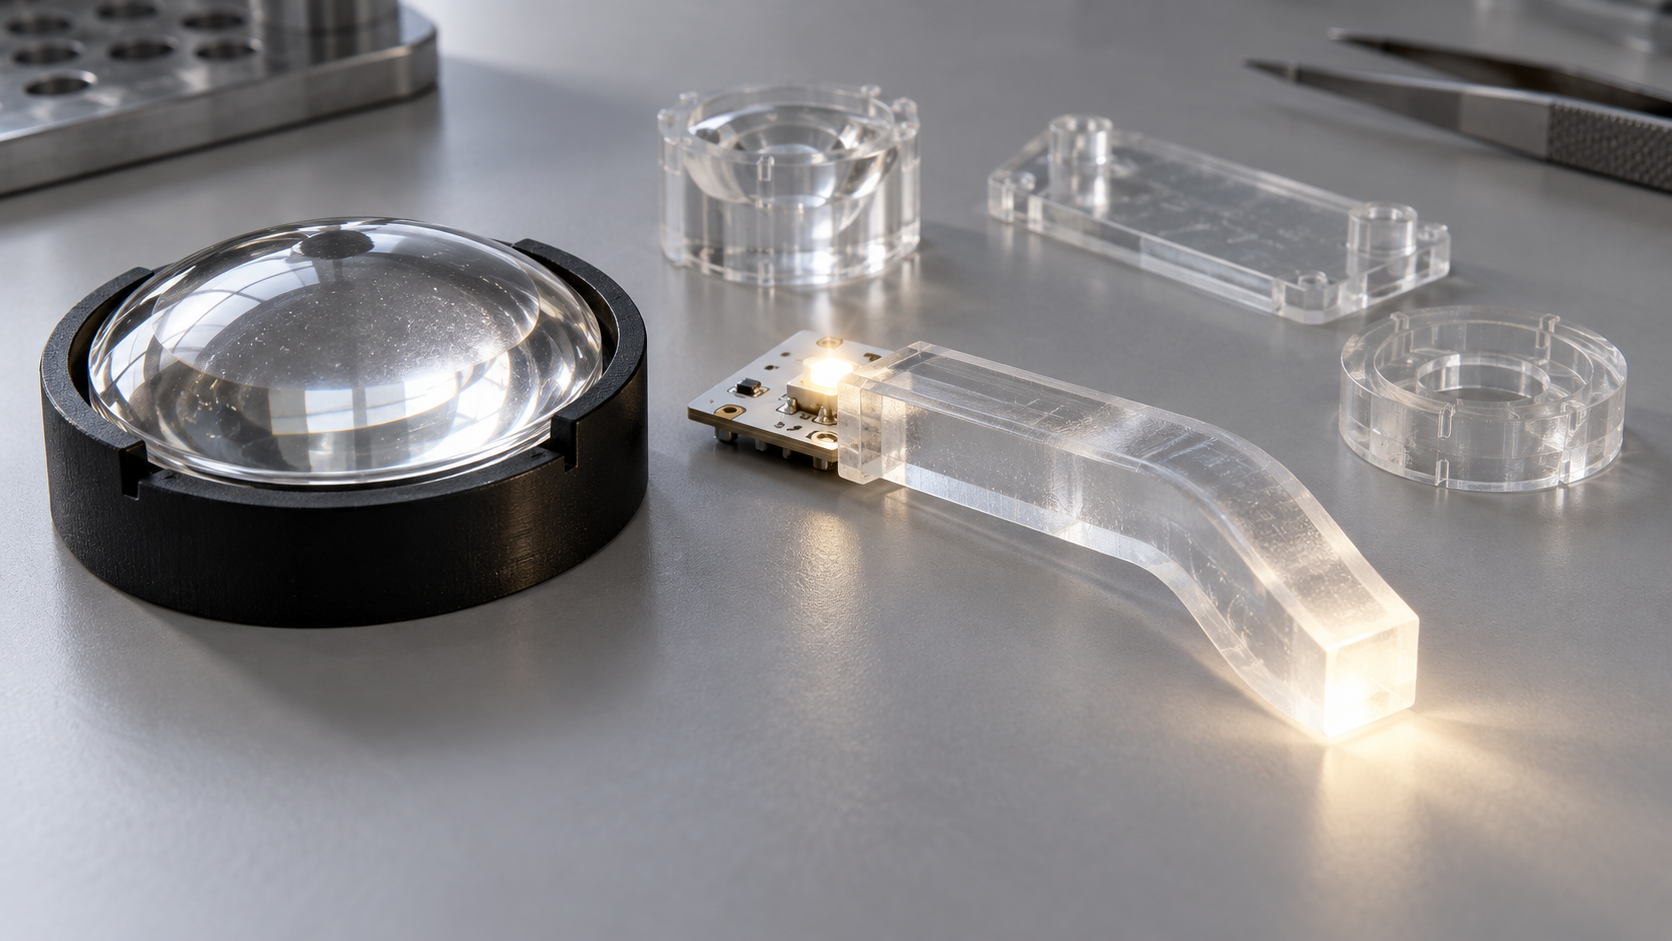
Introduction: Clear resin 3D printing gives optical hardware teams a fast way to check light path, surface appearance, and fit before committing to optical tooling.
When a lens or light pipe design is still changing, cutting an optical mold too early is costly. A physical clear prototype shows how light travels, how the surface reads, and whether the part fits the current assembly. The post-print sequence matters: orientation, support removal, IPA wash, UV cure, and optional clear coat or vapor polish all shape what the prototype can reveal. Used at the right stage, a DLP clear prototype can answer early questions before optical tooling.
For a broader overview of clear versus translucent appearance and finishing expectations, see our guide to clear and translucent SLA resin printing for visual models. This article focuses on lens and light pipe prototypes for early light path and fit checks.
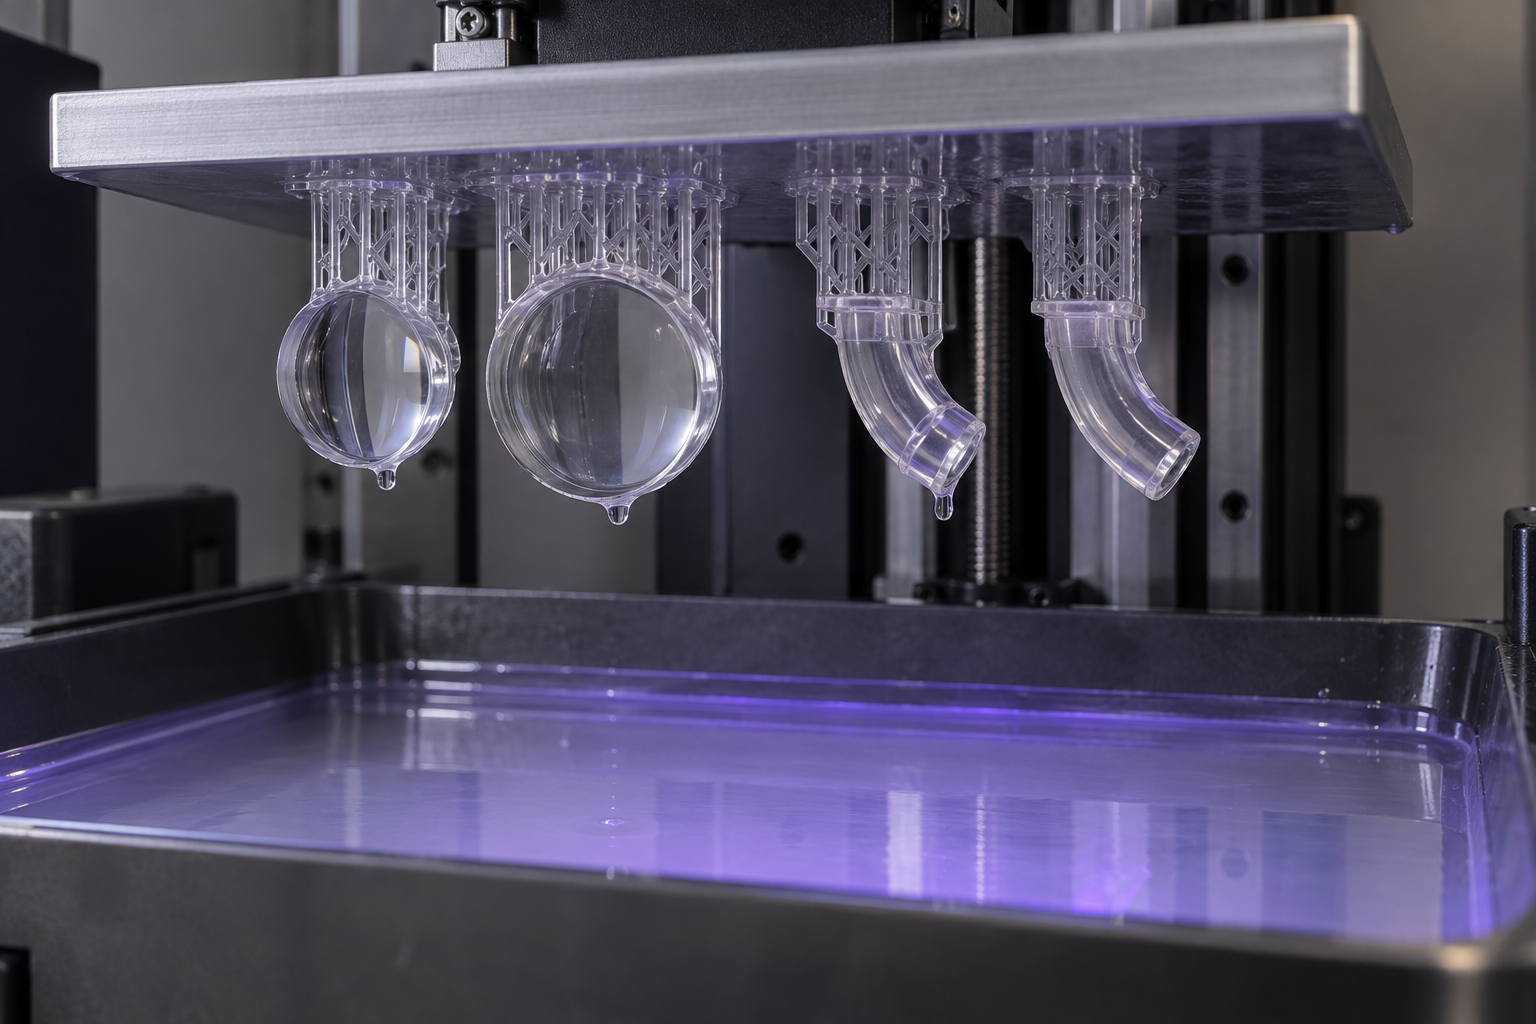
Clear resin printing turns a CAD file into a transparent part without tooling, which makes it a practical first step for lens and light pipe prototypes. DLP printing projects an entire layer at once and cures liquid photopolymer in a smooth, controlled pattern. For small optical parts, that approach supports fine edge detail, a relatively smooth surface, and consistent exposure across several parts on the same build plate.
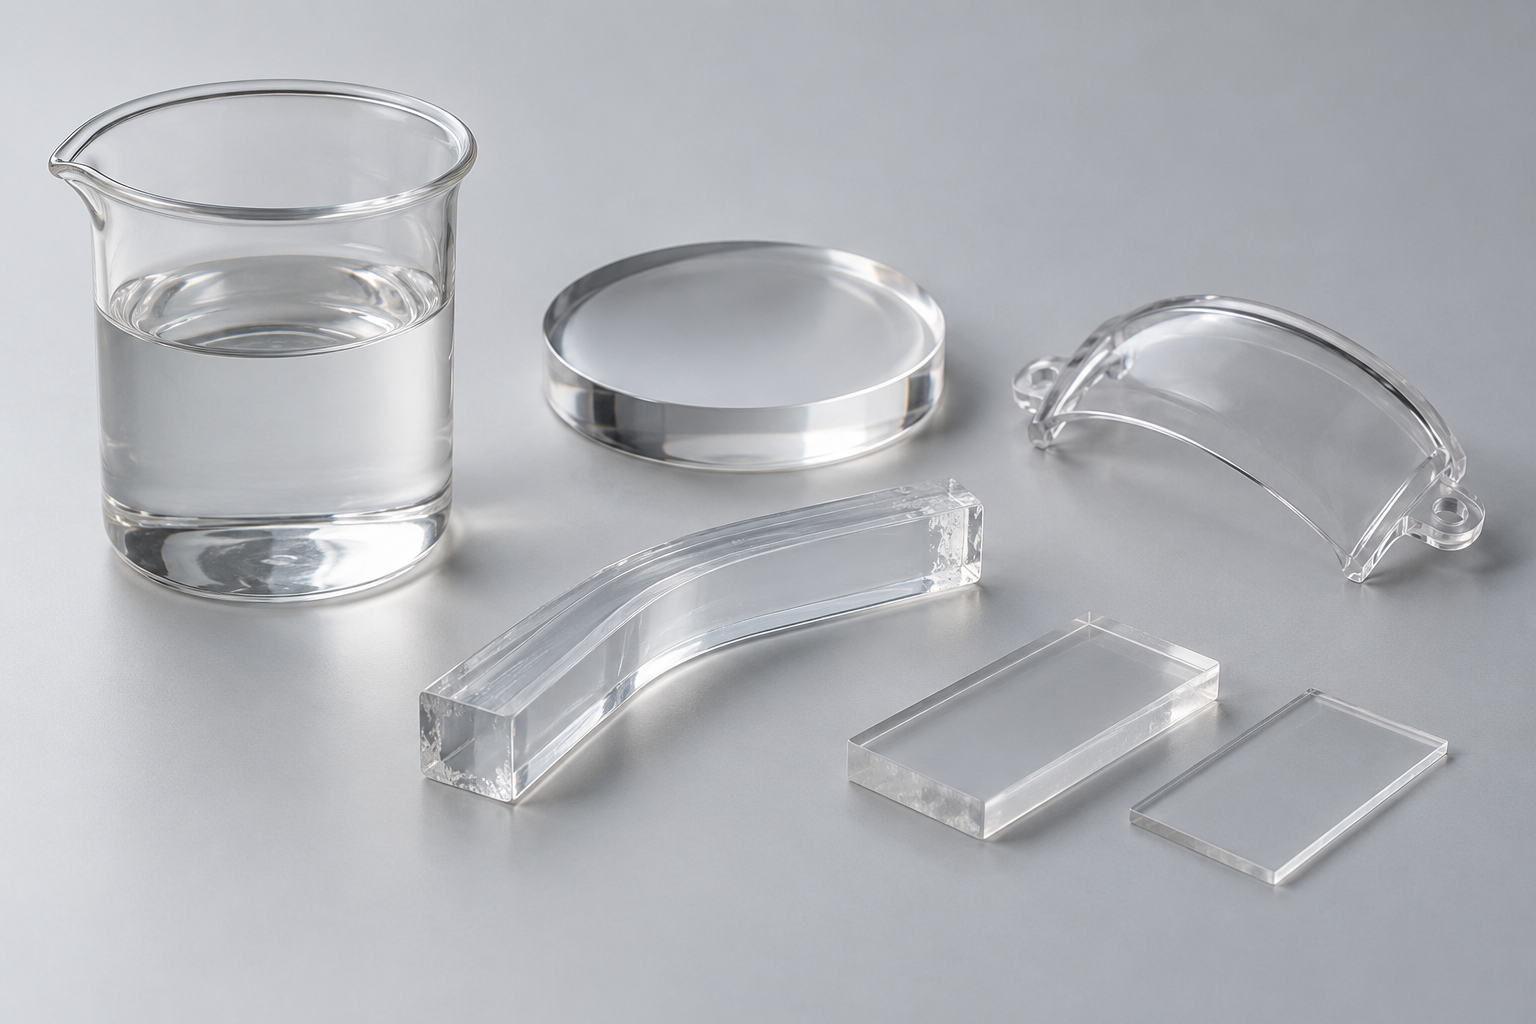
Premium Clear Resin is available for transparent prototypes such as lenses and light pipes, so the printed part can be checked for light path, edge glow, hot spots, and basic form before investment in optical molds or machined acrylic. Build setup affects the quality of what you can inspect. Supports must hold overhangs, but support contact points can leave marks on surfaces that guide light.
Orientation determines where those marks land, how the part sits during UV cure, and how flat the optical face remains after support removal. For well-supported features, typical tolerance is about ±0.2 mm. That range covers assembly fit, holder alignment, and early appearance checks; final optical surface requirements call for a different process.
Upload your CAD file for a 3D printing instant quote, confirm orientation, and treat the first print as a light path and fit sample rather than a final optical component. Clear resin prototypes are not optical-grade lenses, and transmission, haze, and refractive index are not quantified for this process.
For a consumer electronics light guide, the first prototype often answers simple but expensive questions: Does light leave the input face without a dark corner? Does the pipe leak light along the side wall? Does the lens sit in the housing without rocking? A 3D resin printing service can deliver that sample quickly, and the results show which surfaces need polishing, which edges need a draft, and whether the holder should move. That early feedback loop is where DLP clear prototypes save the most time, because each iteration can happen before optical tooling is released.
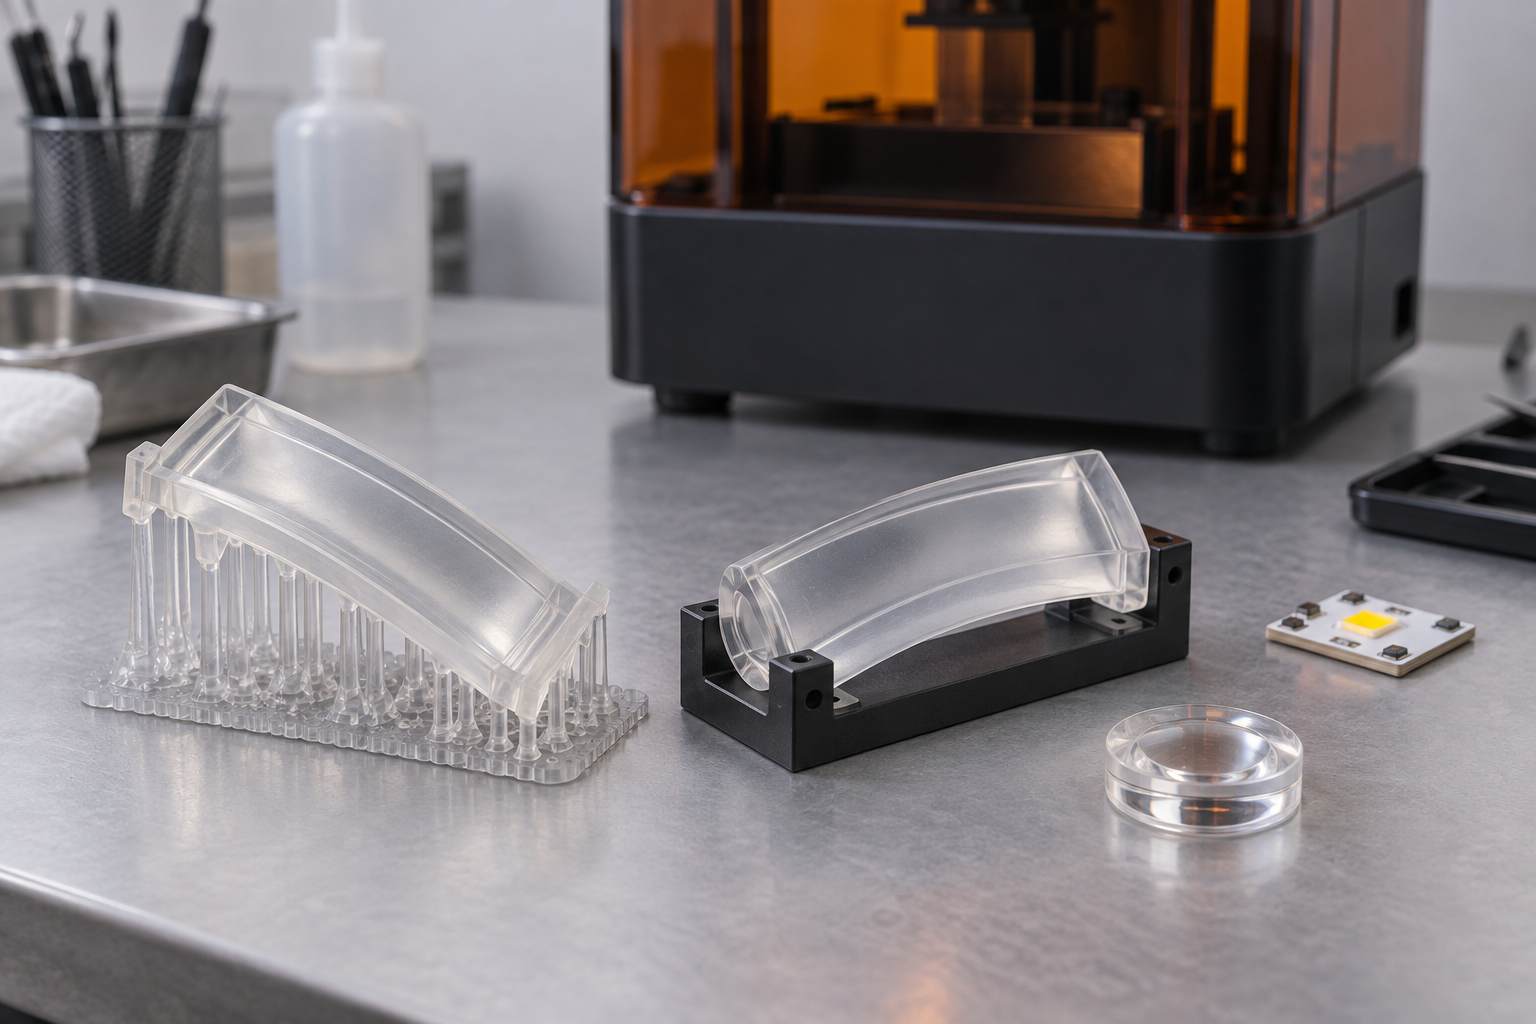
Post-processing determines what the prototype actually shows. The same printed part can look cloudy, sticky, or surprisingly clear depending on how well it is washed, how fully it is cured, and whether a finishing step is added. Default delivery includes IPA wash and UV cure with support removal, and optional clear coat and vapor polish can improve surface appearance. Each step changes the surface and the way light behaves at the interface.
IPA wash removes uncured resin from the surface and from small recesses. Resin left on the part can feel tacky, look cloudy, or cure into a rough film later. Isopropyl alcohol is a common industrial solvent, and CDC NIOSH guidance notes exposure limits and physical properties that matter in a washing area, so ventilation, gloves, and proper storage are part of the process.
EPA hazardous waste guidance explains why spent IPA that contains dissolved resin is not ordinary workshop waste in many locations; follow local hazardous waste rules for solvent disposal.
Good washing is controlled, not just long. Too little leaves residue, while aggressive washing or ultrasonic power can soften fine features and drive solvent into delicate light pipe channels.
UV post-cure completes the polymerization started on the printer. Fraunhofer's overview of additive manufacturing describes photopolymer processes and the role of controlled curing, which is why post-cure is important for clear parts that need stable handling. A well-cured part feels harder, handles better in assembly, and is less likely to change shape after shipping.
For clear prototypes, cure balance matters: under-cure can leave a soft, cloudy surface, while excessive heat or uneven exposure can tan the resin, distort thin walls, or move a lens face. The right cycle depends on geometry, wall thickness, and the resin used, so cure the part for the design rather than by a fixed rule for every shape.
Clear coat or vapor polish improves surface appearance after washing and curing. Clear coat can fill tiny surface interruptions and give the part a glossier, more uniform look. Vapor polish can smooth layer marks and support contact areas, which helps when a light pipe needs a cleaner glow or a lens needs a more convincing visual appearance. These steps are optional and geometry-dependent. A large flat face responds differently from a thin curved wall, and internal channels may not polish evenly.
They can make the prototype easier to evaluate for appearance and light path; they do not make clear resin an optical-grade lens.
Appearance and light path inspection is the final check before deciding what to do next. Inspect the part under white light, then repeat with the actual LED, laser, or light engine planned for the product. Look for scratches, haze, support marks, light leaks, bright bands, dark zones, and surface steps that catch the eye. Then install the part in its holder or housing and check alignment, retention, and clearance.
If the light path is close and the part fits, the design is ready for a higher-grade optical process. If the problem is in the geometry, another clear resin iteration is usually cheaper and faster than changing a mold.
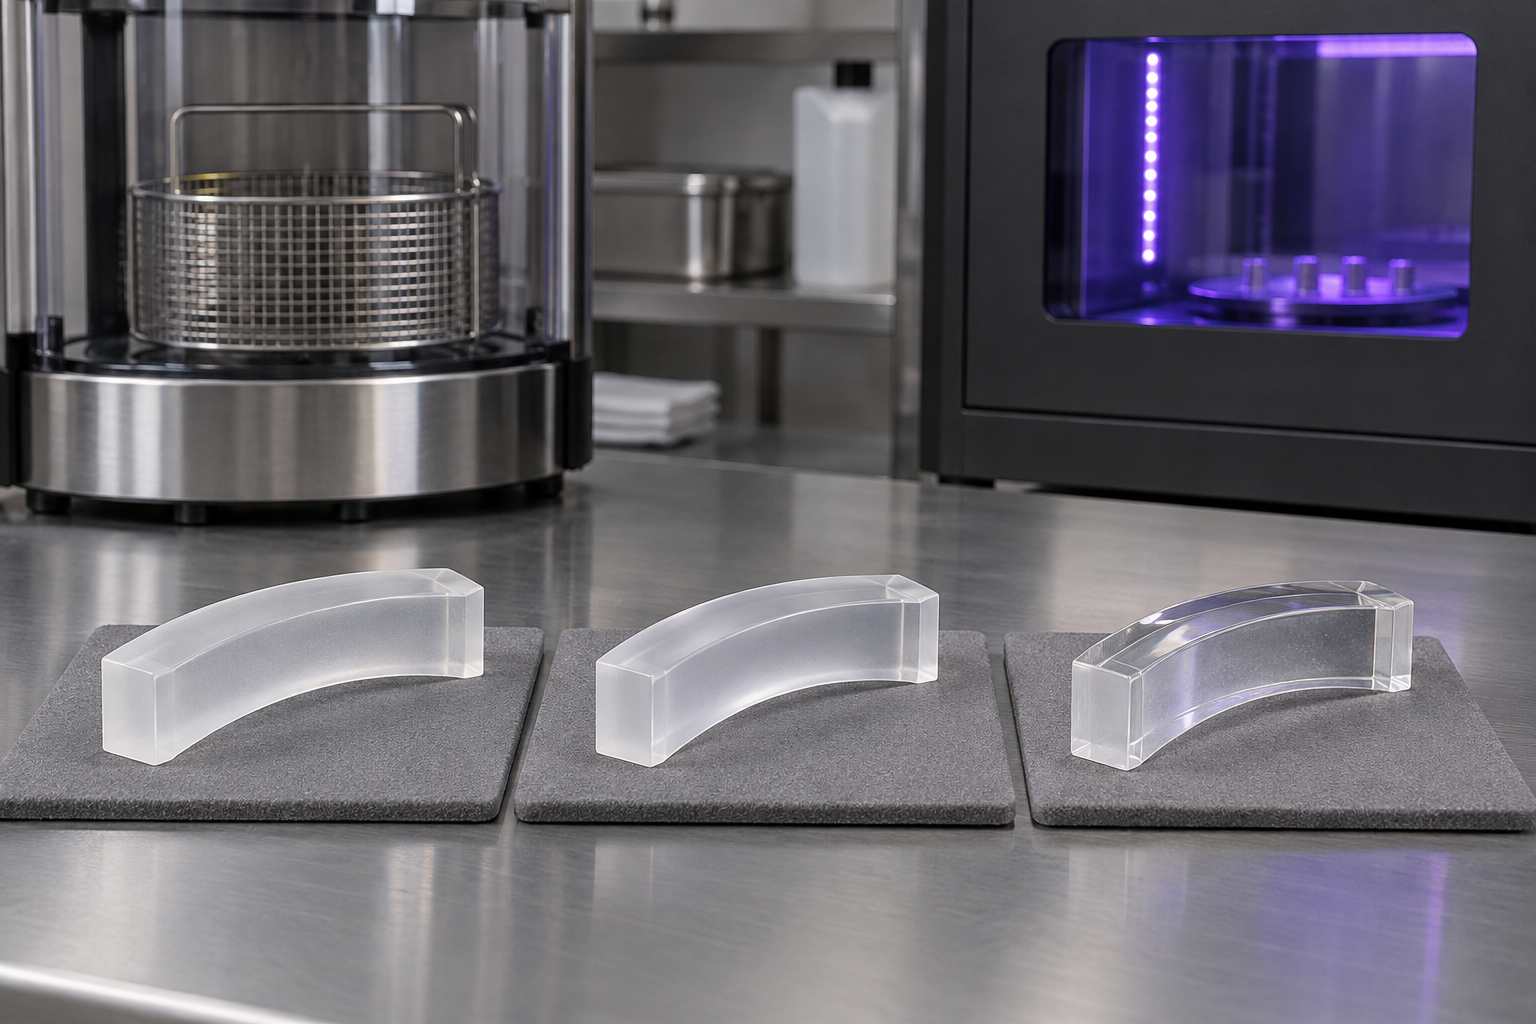
Clear resin prototypes should move to another process when the next RFQ details are about optical precision, production material, or volume. When the team needs a specified refractive index, controlled transmission, measured haze, or a certified optical surface, choose a process designed for those requirements. A clear resin print can still be the right first step because it validates the light path and assembly before those requirements are locked.
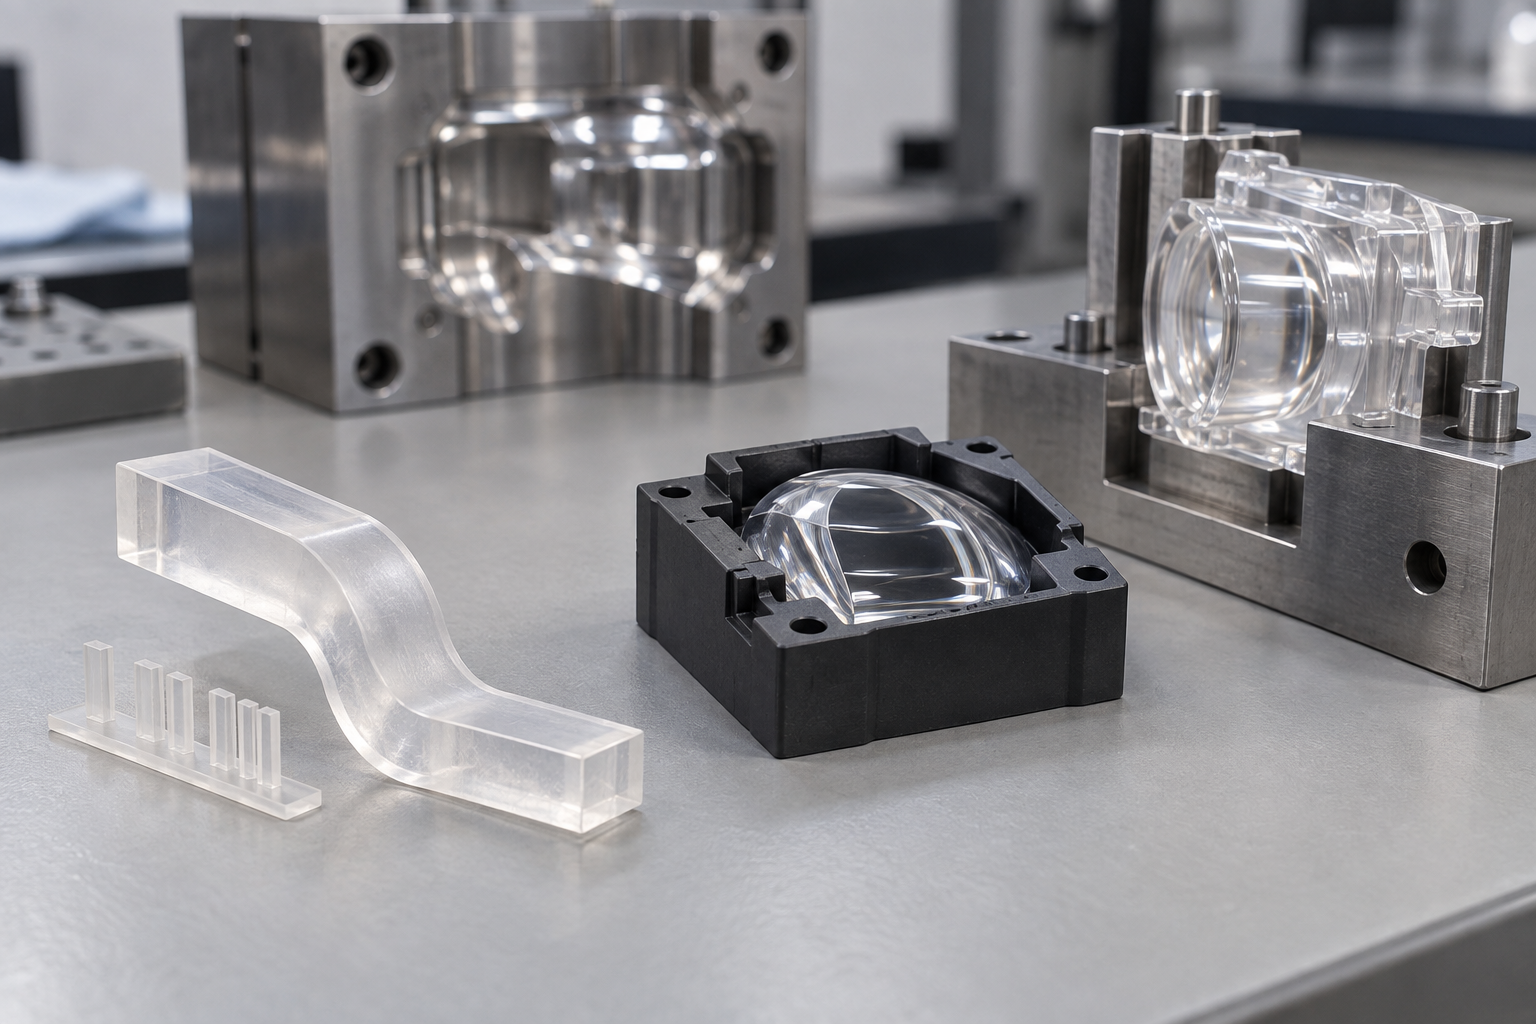
Once the design is stable and the optical surface must meet a real performance target, the next step is usually optical-grade machining, polishing, or injection molding with an optical polymer. For light pipes, the move often happens when length, clarity, and consistency become critical. A short prototype can show whether light reaches the far end. A long production light pipe needs uniform internal reflection, clean end faces, and a material that holds its clarity through the product life.
Machined acrylic or polycarbonate can be a better fit for long runs and polished faces, while injection molding makes sense once the design is frozen and hundreds or thousands of identical parts are needed. DLP clear prototypes are most valuable before that commitment, when the team is still choosing the path, checking the bend radius, and confirming that the light source mates correctly with the input face. Tolerance and scale provide the other signals.
If the housing interface needs tighter control than the typical ±0.2 mm on well-supported features, or if the part is too large for a desktop to mid-size resin build, the job should move to a process that matches those needs. If the design needs high impact resistance, outdoor UV stability, or repeated flexing, a different resin family or a completely different material may be the better route. The practical rule is simple: use clear resin printing to learn, then move when the learning is done.
AIHFABS can support the prototype stage with Premium Clear Resin, IPA wash, UV cure, optional clear coat, and vapor polish, so the team gets a useful optical sample before tooling money is spent.
Clear resin 3D printing is a strong first step for lens and light pipe prototypes when the goal is to see the light path, check the surface, and confirm fit before optical tooling. The sequence matters: print orientation, support removal, IPA wash, UV cure, and optional clear coat or vapor polish all shape what the prototype can show. Use the first part to make design decisions, not to replace an optical-grade lens.
When the design is stable, move to the process that matches the final material and performance target. To start, upload your STL or STEP file, confirm the orientation, and ask for a clear resin prototype with the post-processing you need.
A:Use it early, while the design is still changing and you need a physical part to check light path, surface appearance, holder fit, and basic assembly. It is the right choice before optical tooling, especially for small lenses, short light pipes, and appearance samples. When you need specified optical transmission, haze, or refractive index, choose a different final process; a clear resin prototype can still guide those later decisions.
A:IPA washing removes uncured resin that would otherwise leave a cloudy or sticky surface. UV curing finishes the polymerization so the part becomes harder, more stable, and easier to inspect.
A:Yes. Clear coat and vapor polish can smooth visible layer marks and support contact areas, giving the prototype a cleaner, glossier appearance. That helps when you are judging light glow, edge quality, and overall look.
CDC - NIOSH Pocket Guide to Chemical Hazards - Isopropyl alcohol
Learn the Basics of Hazardous Waste

和这篇文章相关的工艺。打开规格,或把文件放到报价上。
Stereolithography (SLA) cures liquid photopolymer with a precision UV laser, building parts layer by layer.
创建报价
Digital Light Processing (DLP) solidifies an entire layer of photopolymer at once using a projected image.
创建报价和这篇文章相邻的材料。先看卡片,再上传 CAD。
工艺、后处理和文件注意事项,来自车间,不是营销软文。
按主题查看公司、付款、物流和工艺说明。

Review AIH commitments to print quality, secure handling of your files, transparent pricing, and support for every 3D printing order.
AIHFABS 根据 CAD 上传为定制 3D 打印和 CNC 加工报价。比较 SLA、SLS、MJF、SLM、FDM、DLP、铣削和车削,并可在同一订单中添加蒸汽抛光、染色、阳极氧化、抛光或粉末喷涂。
即时报价适合原型、治具、壳体和小批量。材料、工艺、数量和交期一起展示,减少工程变更后再发一轮供应商邮件。
材料、工艺、数量和交期一起展示,减少工程变更后再发一轮供应商邮件。
上传 STL、STEP 等常用 CAD 格式即可在线报价。
在同一零件上比较 3D 打印工艺和 CNC 选项。
选择聚合物或金属,需要时再添加 3D Plus 硬件后处理。
结算前查看价格和交期,特殊规格可申请人工报价。
若本页描述的是你想复现的工艺、行业或样品,请从上传流程开始,把工艺和后处理与图纸对齐。
我们使用 cookie 优化体验。继续使用即表示您同意我们的 隐私政策
接受

发表评论