Lead time
From 48 hours

3D-Druck
Projector-cured resin for crisp details and efficient small-part runs.
Digital Light Processing (DLP) solidifies an entire layer of photopolymer at once using a projected image. Compared with point-by-point laser curing, DLP often delivers faster layer times on compact parts while maintaining high XY resolution.
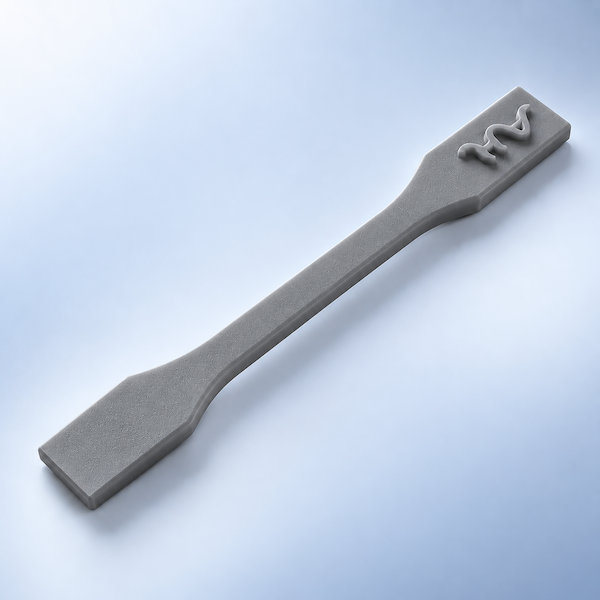
Digital Light Processing cures a whole resin layer in one projected image instead of tracing it with a laser. Compact, detailed parts and small batches therefore leave the vat faster than a point-by-point SLA scan on the same plate.
AIHFABS quotes DLP for jewelry-scale detail, small housings, and repeat visual lots. If you need a very large resin platform, SLA may still be the better envelope.
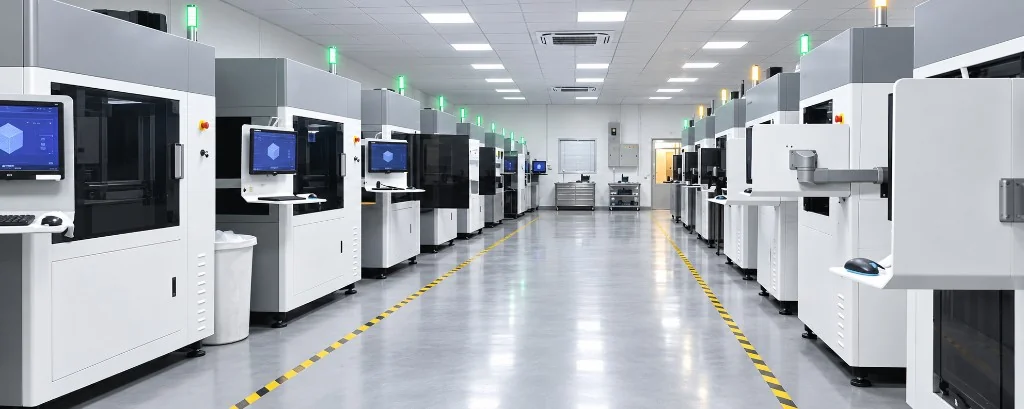
XY sharpness is high; the live envelope depends on the projector cell assigned to the job.
From 48 hours
±0.2 mm on supported geometry
Varies by machine; typical desktop-to-mid format plates
Smooth as-built; vapor polish or coating available
Required on overhangs
High-resolution modeling resins plus tough, flexible, and qualified biocompatible grades.
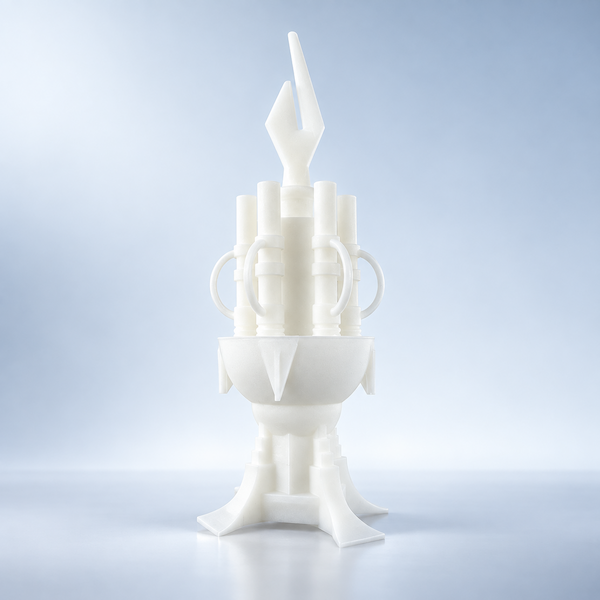
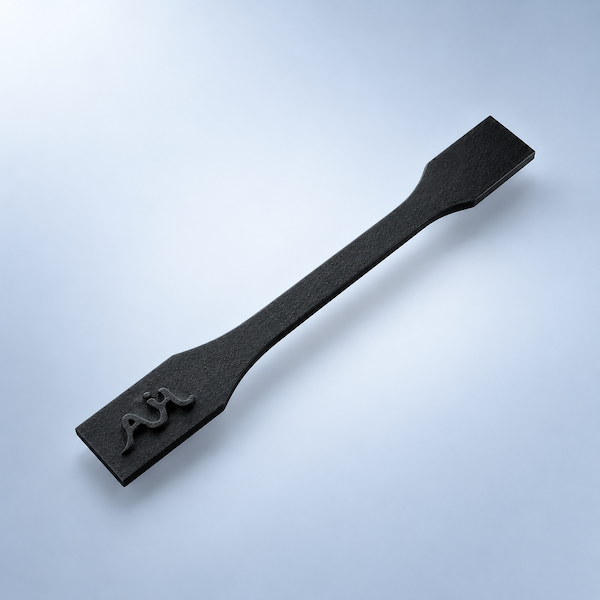
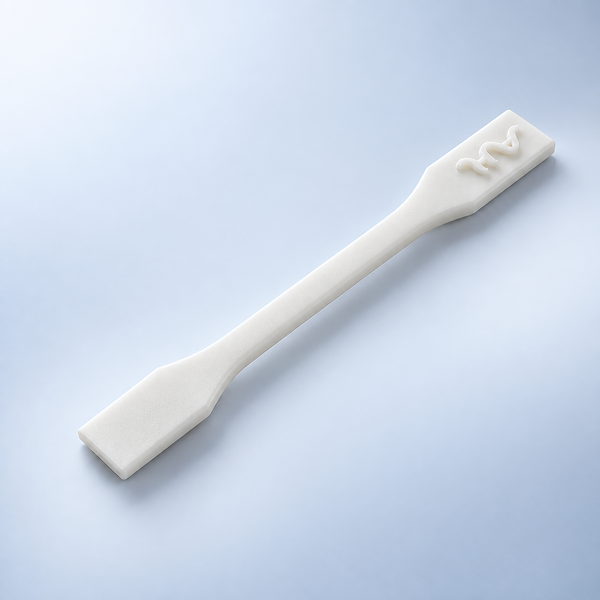
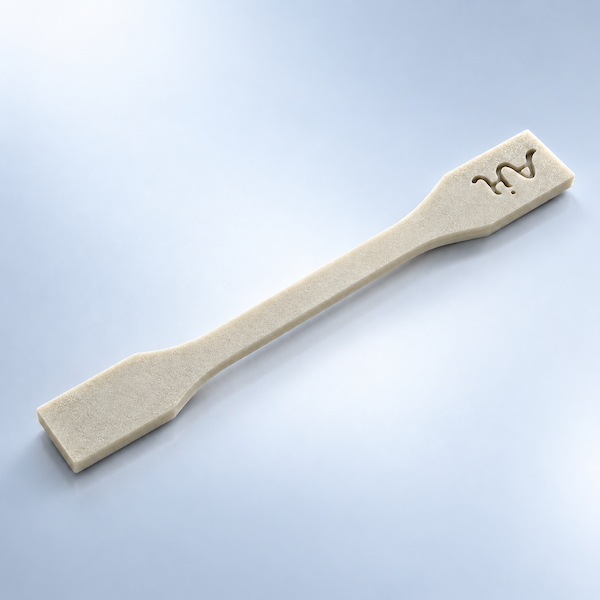
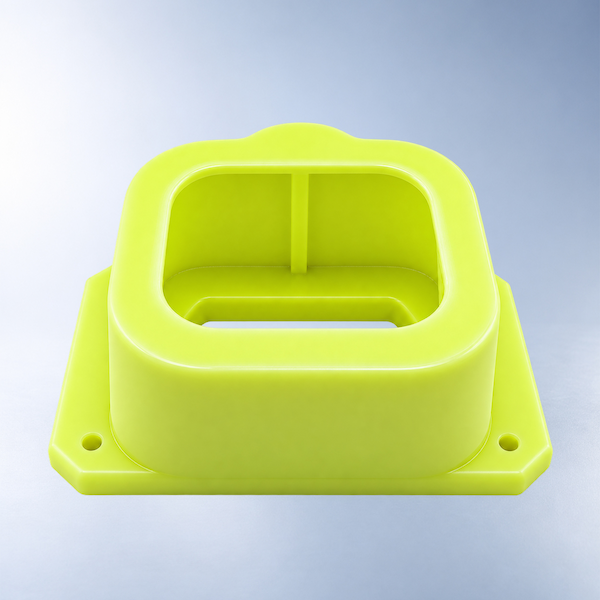
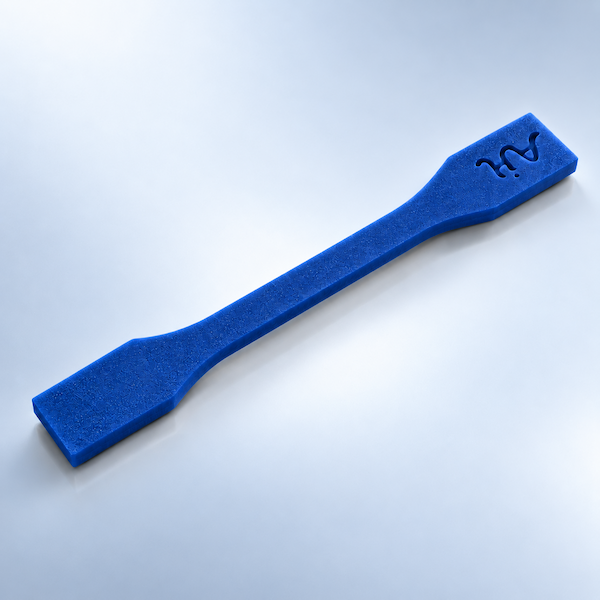
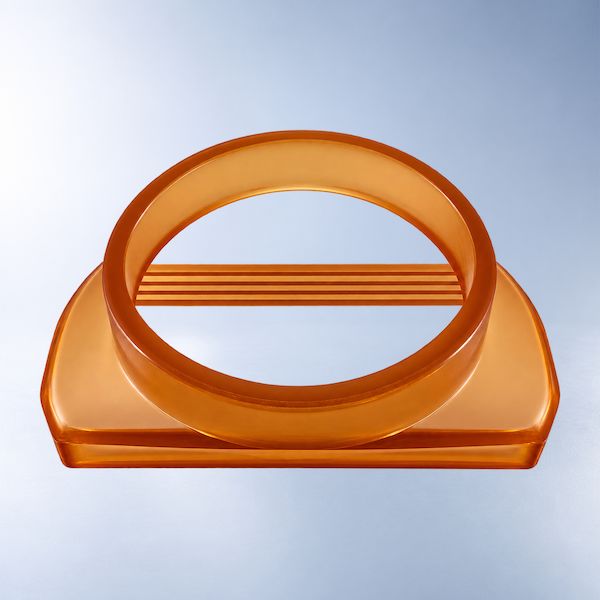
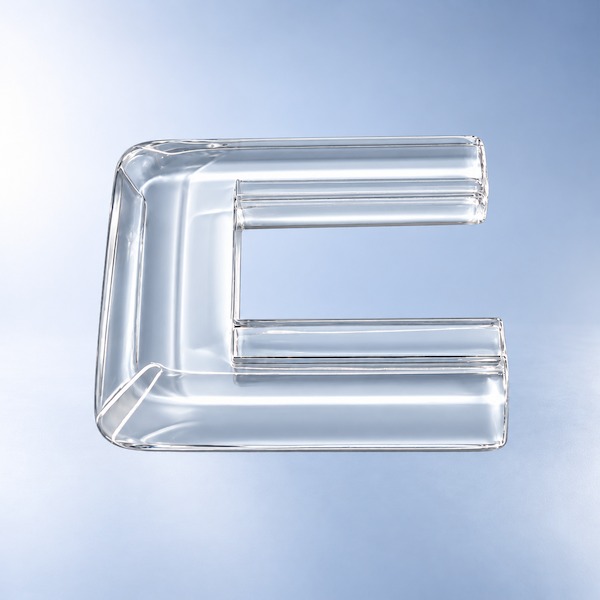
As-cured skins are already smooth. Tinting and light sanding are the usual extras.
Default deliverable after IPA wash and UV. Support scars dressed on request.
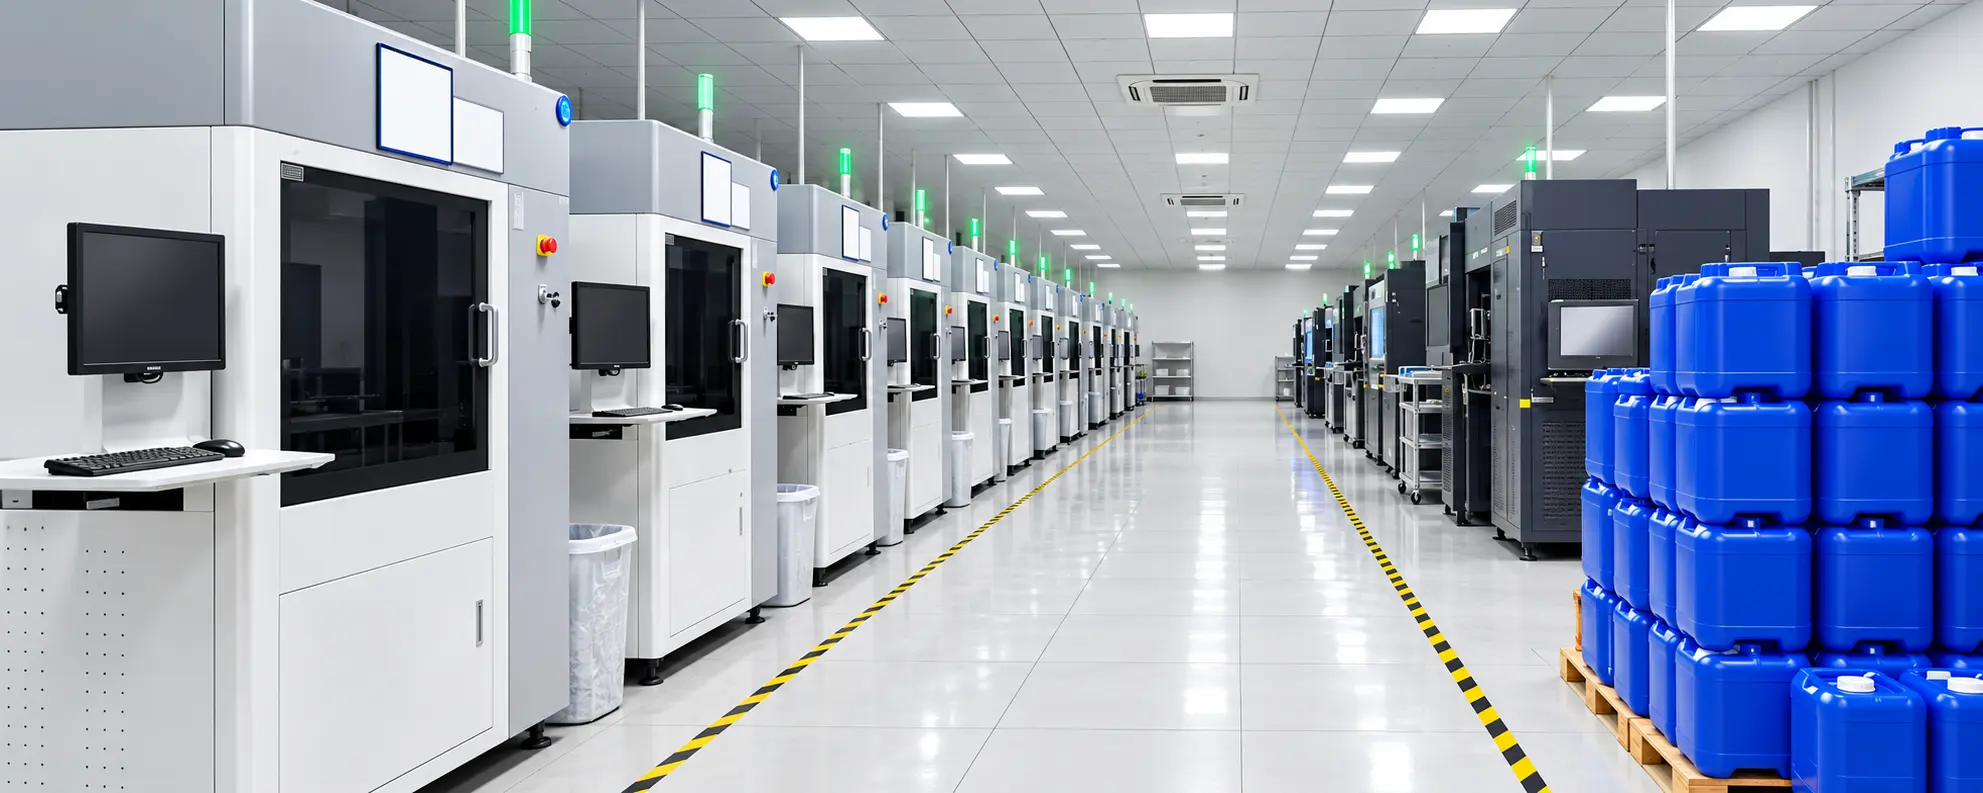
Light sanding on flats and optional tint for presentation models.
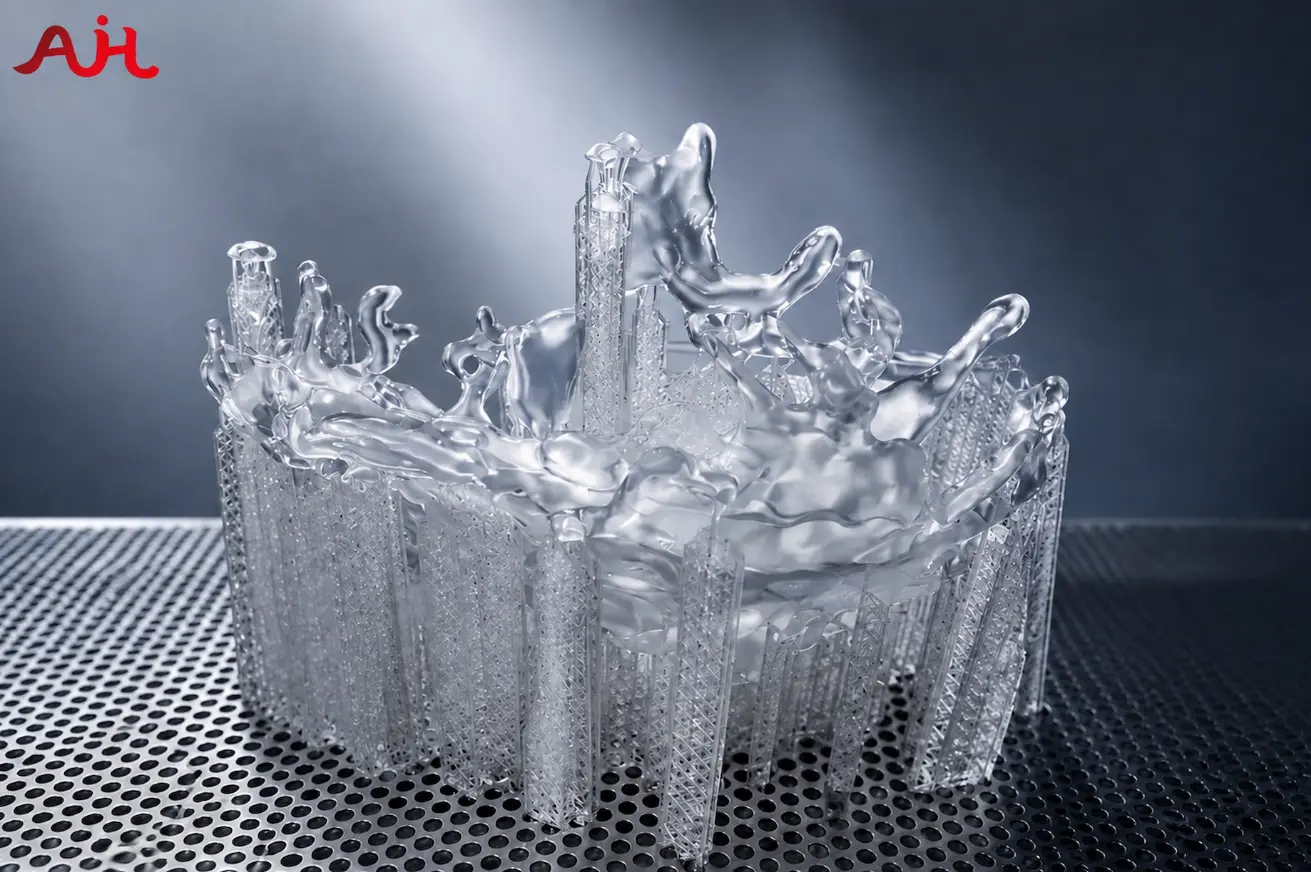
Coat on transparent or high-gloss show parts after the post-cure.
DLP and LCD both flash a full layer. DLP uses a projector; LCD uses a masked LED array.
| Verfahren | Lieferzeit | Toleranz | Preis |
|---|---|---|---|
| Selektives Laserschmelzen (SLM)Metal | From 5 business days (express options where available) | ±0.3 mm or ±0.3% (whichever is greater), tighter after machining | Instant quote · typical metal part from $90 |
| Stereolithographie (SLA)Resin | Quoted with your CAD upload | Instant quote · typical resin part from $18 | |
| Digitales Lichtverfahren (DLP)Resin | From 48 hours | ±0.2 mm on supported geometry | Instant quote · typical resin batch from $20 |
| Flüssigkristallanzeige (LCD)Resin | From 48 hours | ±0.2 mm on supported geometry | Instant quote · typical resin part from $16 |
| Selektives Lasersintern (SLS)Plastic powder | From 48 hours express; 72 hours / 5 days standard tiers | ±0.3 mm or ±0.3% | Instant quote · typical nylon part from $28 |
| Multi Jet Fusion (MJF)Plastic powder | From 48 hours express; standard 72 hours / 5 days | ±0.3 mm or ±0.3% | Instant quote · typical PA12 part from $25 |
| Fused Deposition Modeling (FDM)Thermoplastic filament | From 24–48 hours depending on size | ±0.5 mm or ±0.5% on FDM-appropriate geometry | Instant quote · typical prototype from $12 |
Each slice is projected onto the resin vat, curing a full layer simultaneously.
The build plate rises and fresh resin flows beneath for the next exposure.
Supports anchor delicate features until the green part is washed and UV post-cured.
Optional tinting, sanding, or clear coating completes the visual specification.
Parts are nested for a single exposure time that still holds the smallest feature. Over-packing a plate can soften edges.
Wash, post-cure, and support removal follow the same resin SOP as SLA. Biocompatible grades need a qualified resin note on the PO.
Think in pixels and minimum cure thickness, then nest the lot.
| Feature | Recommended practice |
|---|---|
| Min feature | Stay above the resin’s published minimum; knife edges often fail to cure. |
| Nesting | Small batches share a plate — keep a common Z height when you can. |
| Environment | Tell us about UV, chemicals, or skin contact so we pick a durable grade. |
| Supports | Overhangs need anchors; mark faces that cannot show witness marks. |
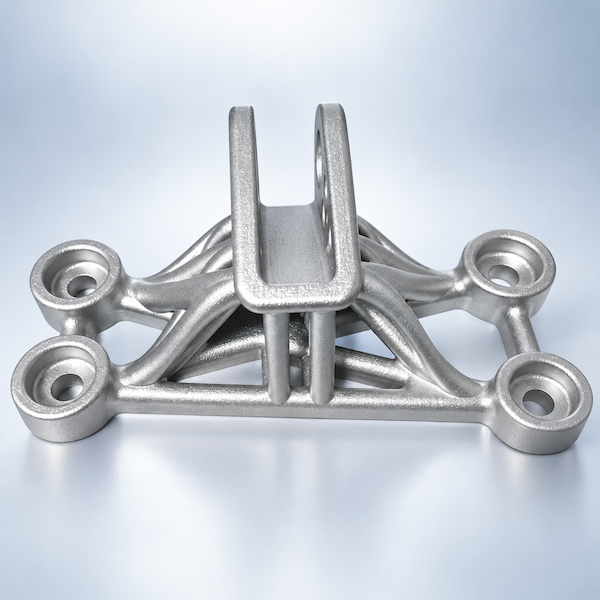
Selective Laser Melting (SLM) is a powder-bed metal additive process. A high-power laser scans each cross-section of your CAD model, melting metal powder that solidifies into a dense part.
Prozessdetails
Stereolithography (SLA) cures liquid photopolymer with a precision UV laser, building parts layer by layer.
Prozessdetails
Liquid Crystal Display (LCD) printing — also called MSLA — cures a full layer of photopolymer at once.
ProzessdetailsSLA draws with a laser. DLP projects a full layer, which is usually faster on dense small-part plates.
Yes — high XY resolution and castable resins are a common DLP route.
About ±0.2 mm on supported geometry, similar to other vat-photopolymer processes.
On project qualification only. Name the standard and the contact type on the quote.
Many DLP lots leave from 48 hours after orientation is approved.
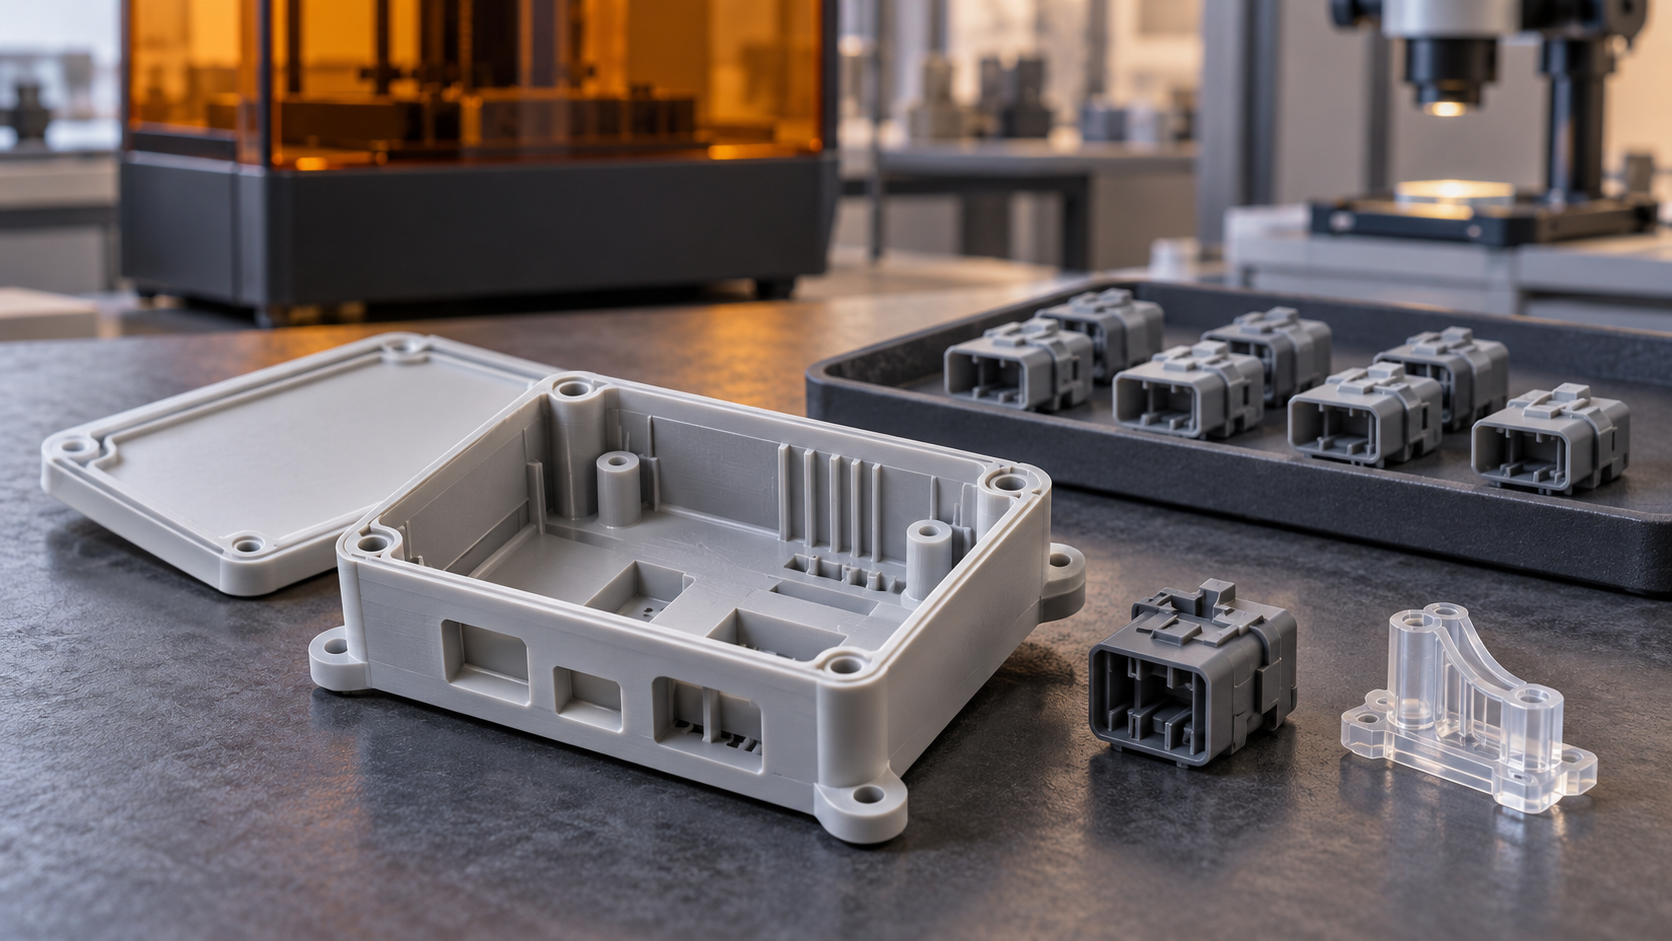
This supplier selection guide compares 5 verification areas and 8 procurement checks for ±0.2 mm DLP resin parts with 48-hour lead-time claims.
Prozessdetails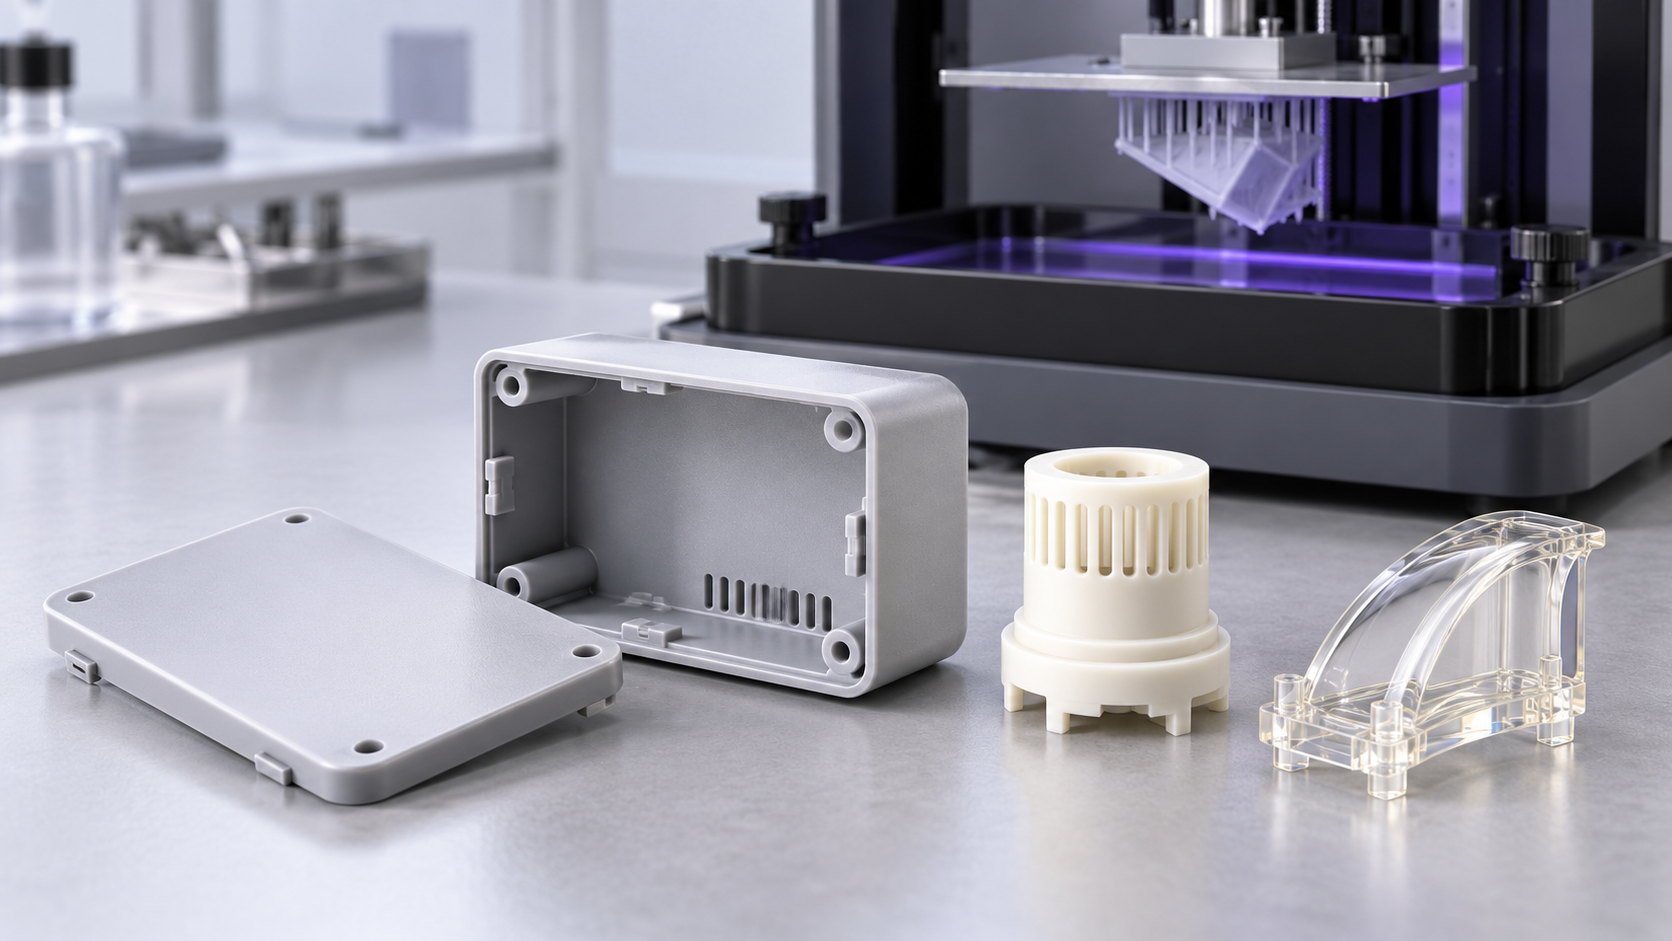
Learn how DLP whole-layer projection creates detailed small resin prototypes, with insights into surface finish, exposure uniformity, and material limits.
Prozessdetails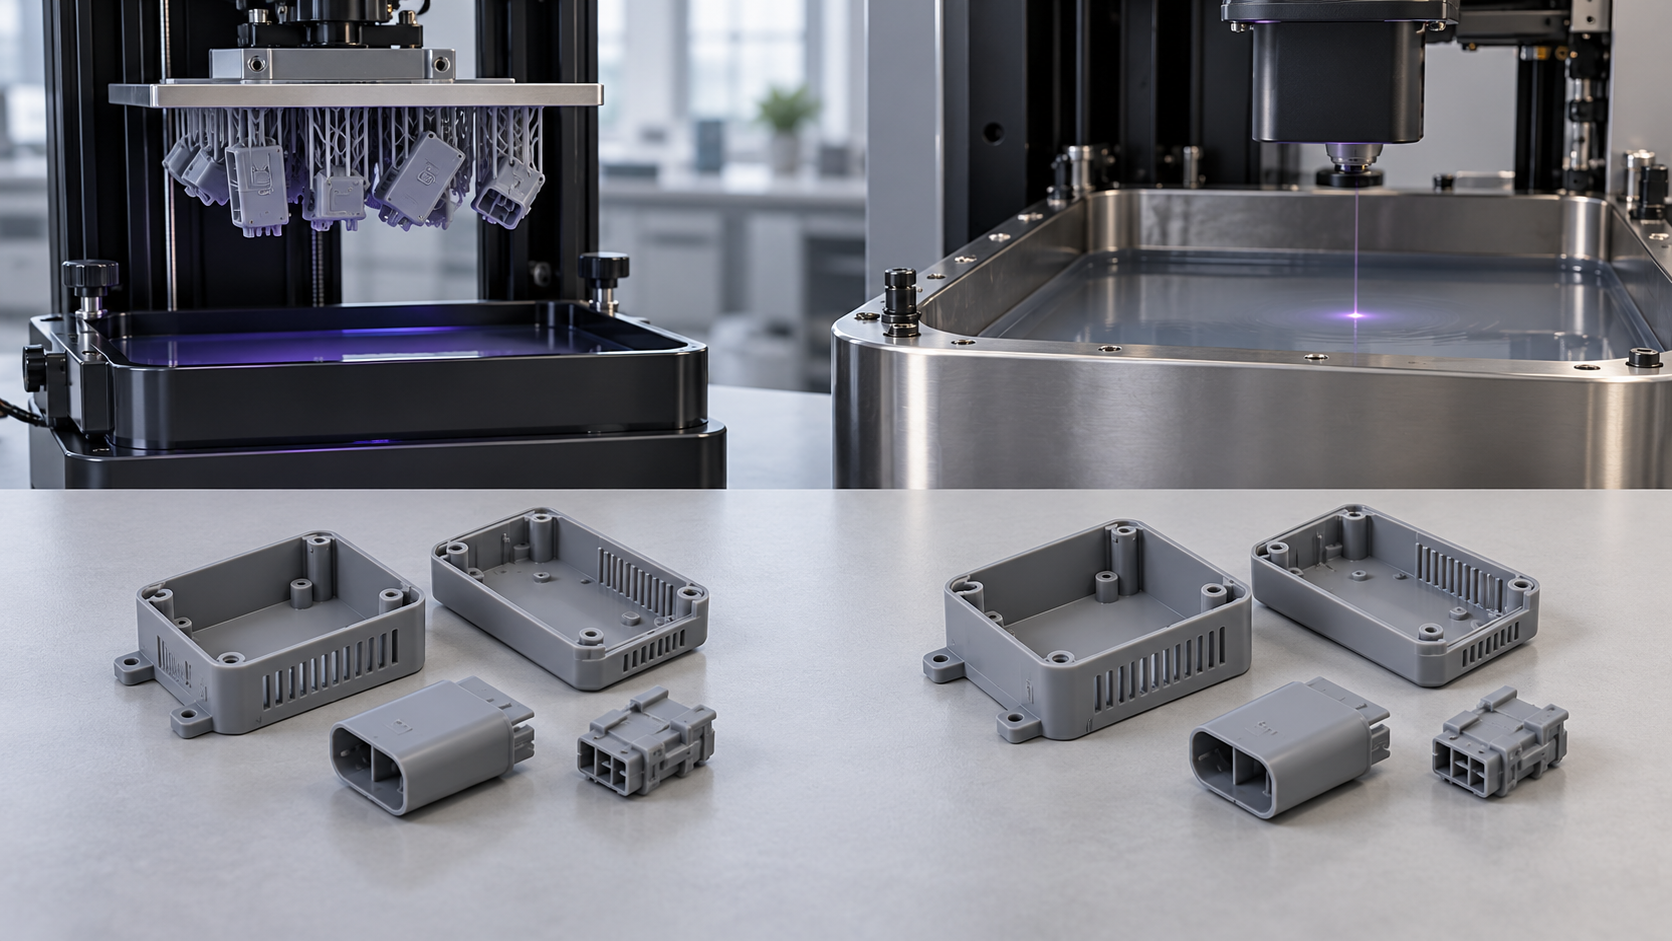
Compare DLP and SLA resin 3D printing for small, detailed prototypes. See how exposure methods, batch layouts, and finishing affect process selection.
Prozessdetails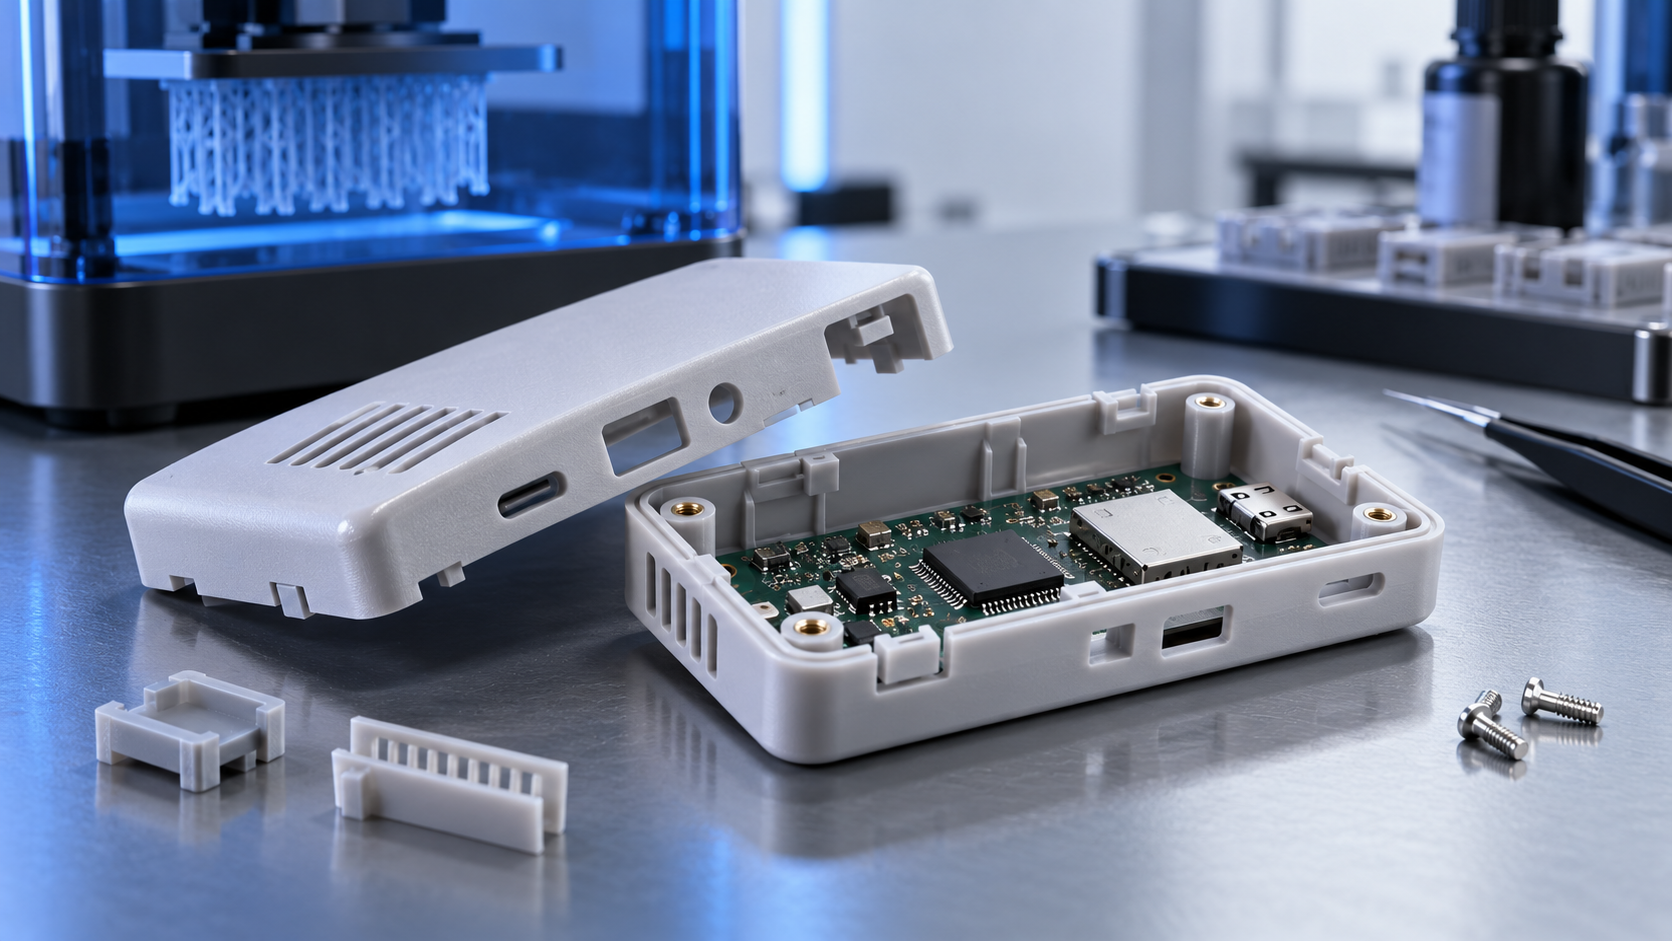
Guide to DLP resin printing precision for compact electronic enclosures and snap-fit prototypes. Learn ±0.2 mm tolerance, material selection, support strategy, and assembly validat
Prozessdetails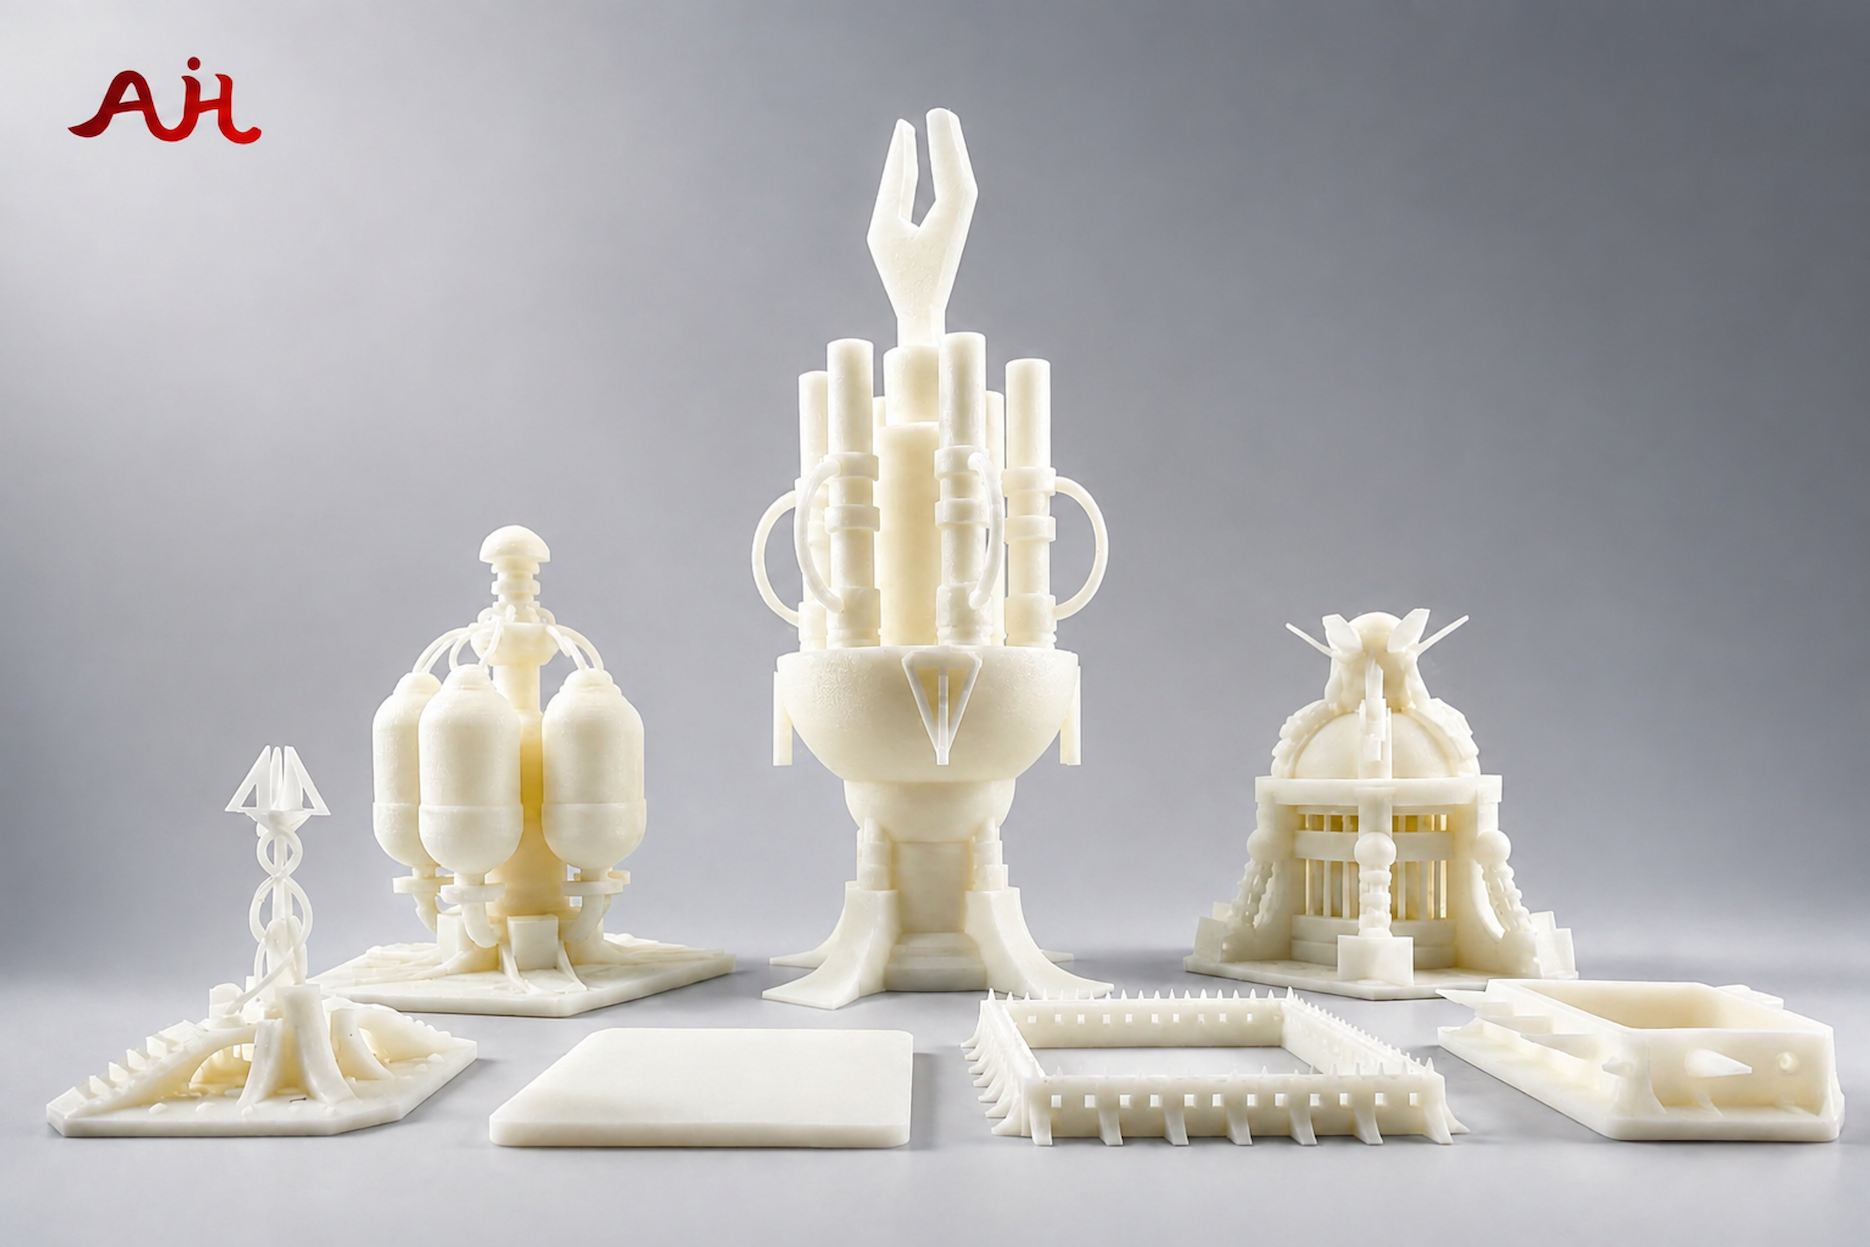
This in-depth technical comparison examines the two dominant resin-based 3D printing technologies — Stereolithography (SLA) and Digital Light Processing (DLP) — to help industry pr
Prozessdetails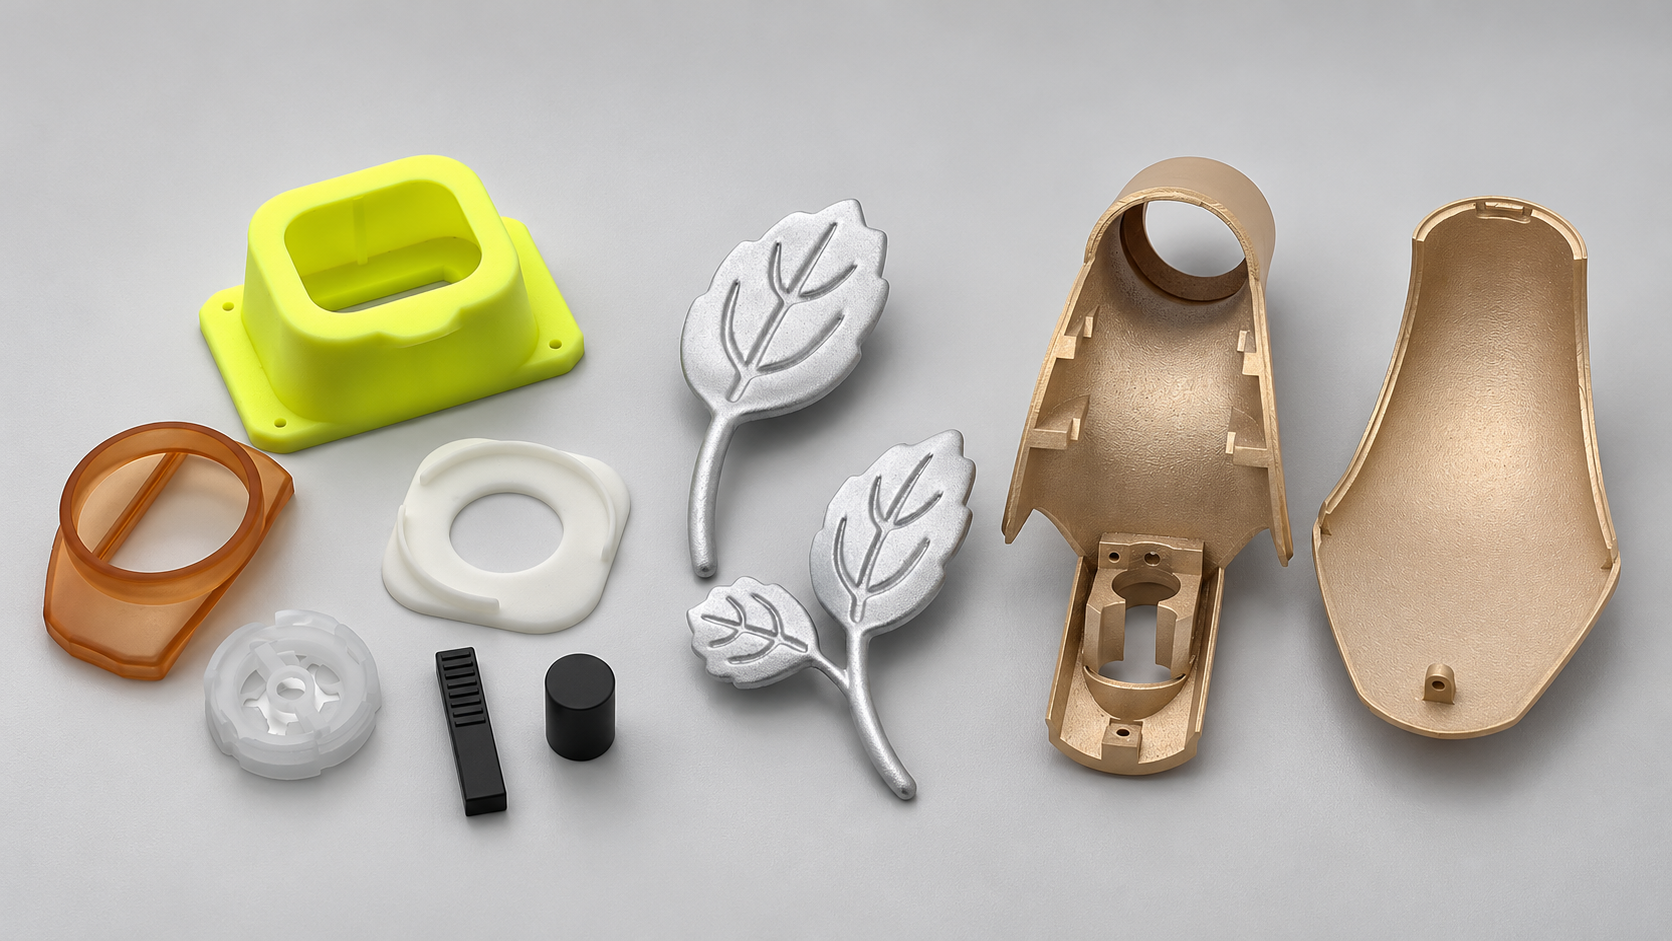
Compare SLA with DLP, LCD, FDM, SLS, MJF, SLM, and CNC machining. Shortlist processes by material, geometry, finish, cost, and your part's intended use.
ProzessdetailsUse these process-specific checks when preparing your model, drawing and quote request. The confirmed quotation and approved drawing define the requirements for your part.
DLP exposes a resin layer using a projected image, while SLA traces the layer with a laser. Compact, detailed parts and repeated visual lots are useful DLP candidates. For larger models, review the available build envelope rather than assuming the same machine or resin suits both routes. Compare the smallest required feature, part size, resin properties and support-facing surfaces before selecting the process.
For miniature housings, identify the walls, holes and mounting interfaces that determine fit. For fine presentation models or master patterns, define the cosmetic face and the detail that must survive cleaning and finishing. Approve a representative sample for the intended visual or assembly requirement before releasing a repeated lot.
Pixel size is not a whole-part tolerance. Small text, slots and pins also depend on exposure, resin, orientation and post-curing. Identify the smallest functional feature and distinguish readable decoration from a dimension that must mate with another part.
Small repeated parts can benefit from a planned build layout, but supported faces still need cleanup. Mark the cosmetic side, provide drainage for hollow features and discuss how fragile details will be handled after support removal.
Confirm resin grade, quantity, surface requirements and the finished dimensions of small mating features. Validate a sample before releasing a repeat batch with fine clips, thin walls or miniature lettering.
AIHFABS kalkuliert kundenspezifischen 3D-Druck und CNC aus einem CAD-Upload. Vergleichen Sie SLA, SLS, MJF, SLM, FDM, DLP, Fräsen und Drehen und fügen Sie Dampfglätten, Färben, Eloxieren, Polieren oder Pulverbeschichten derselben Bestellung hinzu.
Sofortangebote eignen sich für Prototypen, Vorrichtungen, Gehäuse und Kleinserien. Werkstoff, Verfahren, Menge und Lieferzeit stehen zusammen.
Werkstoff, Verfahren, Menge und Lieferzeit stehen zusammen, damit Konstruktionsänderungen keine neue Lieferantenrunde auslösen.
STL, STEP und gängige CAD-Formate für ein Online-Angebot hochladen.
3D-Drucktechnologien und CNC am gleichen Teil vergleichen.
Polymere oder Metalle wählen und bei Bedarf 3D-Plus-Hardware-Finish hinzufügen.
Preis und Lieferzeit vor dem Checkout prüfen oder ein manuelles Angebot anfordern.
Beschreibt diese Seite ein Verfahren, eine Branche oder ein Musterteil, starten Sie mit dem Upload und stimmen Sie Technologie plus Finish auf Ihre Zeichnung ab.
Wir verwenden Cookies, um Ihre Erfahrung zu personalisieren. Mit der Nutzung stimmen Sie unserer Datenschutzrichtlinie
Akzeptieren