3D Plus™ Hardware
Color, surface, and function sit on the same job ticket as the print. Specify the finish once, and the part leaves the shop ready to assemble or present.
As-printed parts show layer lines, support marks, and a raw color. Sending them out for paint or anodizing adds a second quote, a second wait, and a chance the finish drifts.
3D Plus™ hardware is the shop-floor catalog: twenty processes matched to metal and polymer, priced with the print, and run on the same ticket.
Jump to a group, then open a process page for materials, limits, and when to use it.
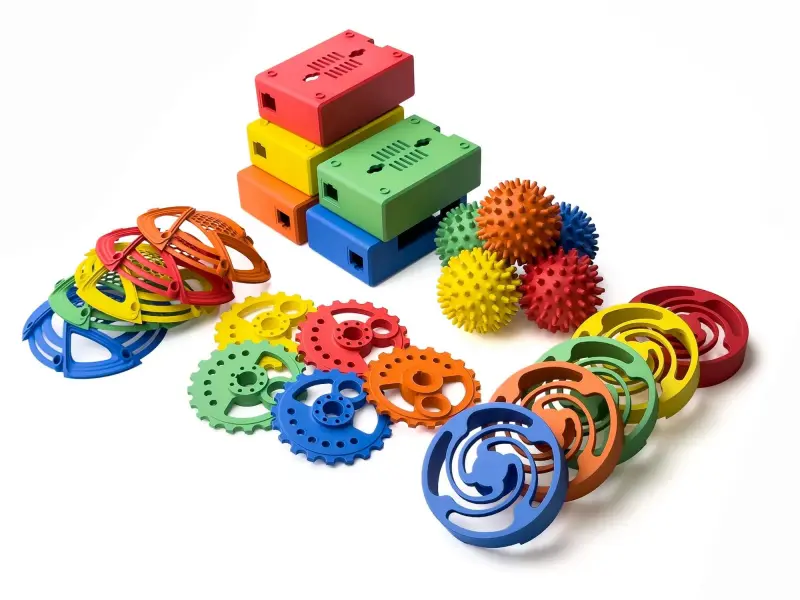
Dyeing, spray painting, anodizing, plating, coating, and optical finishes for brand or assembly color.
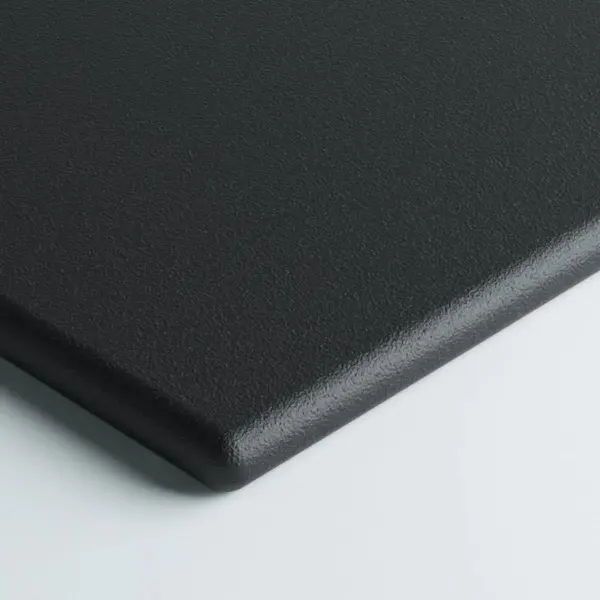
Spray painting in 3D printing is used to enhance the aesthetic and qualities of 3D printed part. It applies a fine mist of paint using a spray gun or aerosol can. Spray painting provides a uniform and smooth finish and a wide range of color options based on Pantone color. Spray painting helps hide layer lines and minor imperfections efficiently and add protective layers.
Learn more >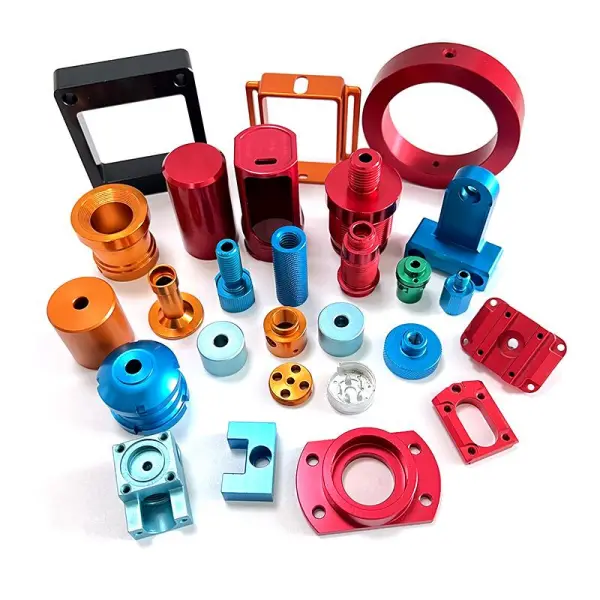
Anodizing in 3D printing is an electrochemical process that enhances the surface properties of metal parts, particularly aluminum. Anodized aluminum has improved wear resistance and electrical insulation and can add vibrant colors through dyes. Types of anodizing include standard anodizing, which offers a colorful and protective layer, and hard anodizing(, also known as Type III anodizing), which produces a thicker, more robust oxide layer.
Learn more >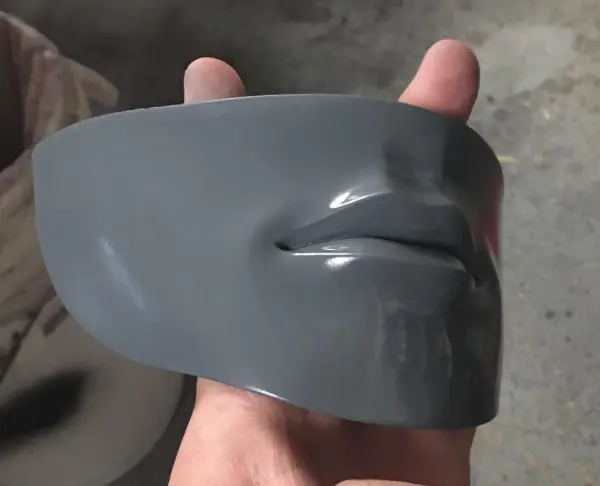
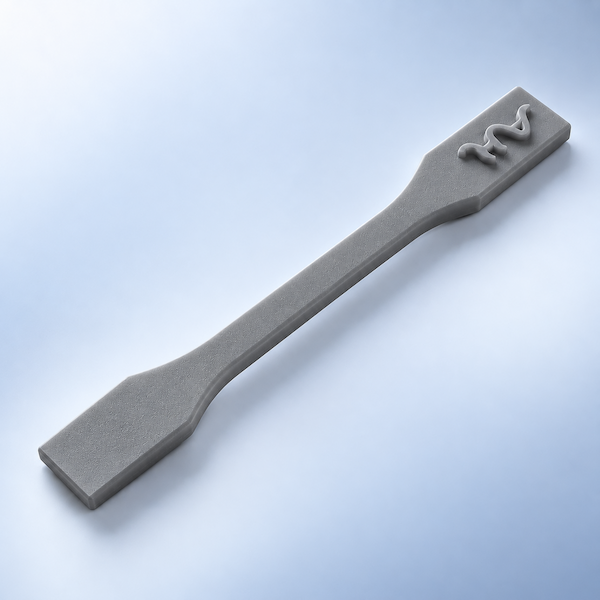
Coating in 3D printing applies a protective or decorative layer to the surface of a printed object to enhance its performance and appearance. Coating improves the durability and aesthetics of 3D printed parts by increasing surface smoothness, adding color, and providing additional protection against environmental factors such as moisture, UV radiation, and abrasion. We offer Gray Primer Coating for SLA printed resin parts.
Learn more >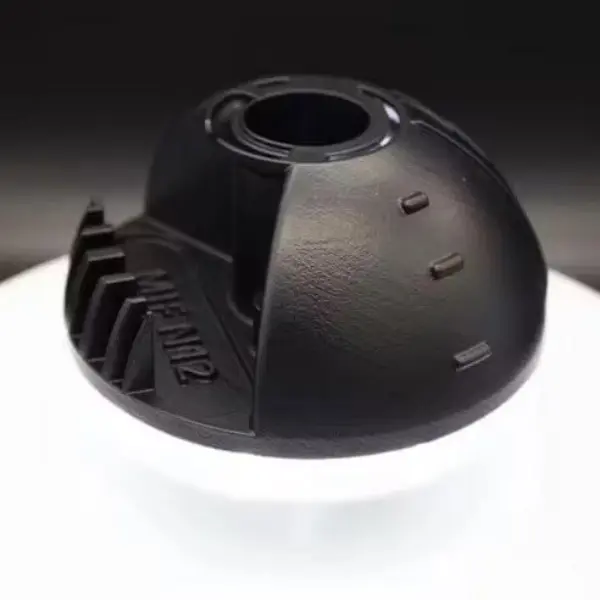
Dyeing in 3D printing is used to add color to printed parts, particularly nylon 3D prints. The process of dyeing involves immersing the printed object in a dye solution, allowing the color to penetrate the material for an even, vibrant surface finish. Dyeing enhances the visual appeal of parts and maintains the material's original properties without adding significant weight or altering its structure.
Learn more >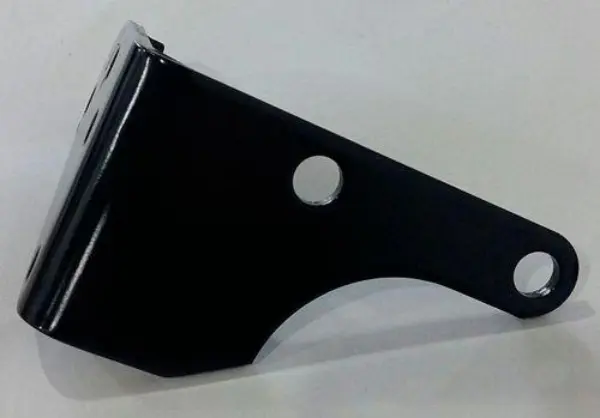
Electrocoating or e-coating applies a uniform, protective coating to conductive parts through an electrochemical process. By immersing 3D printed metal parts in a bath containing a water-based coating material, where positively charged particles adhere to negatively charged parts, e-coating can provide excellent corrosion resistance, enhance surface hardness, and provide a smooth, uniform coating that protects parts from environmental damage and extends their life span.
Learn more >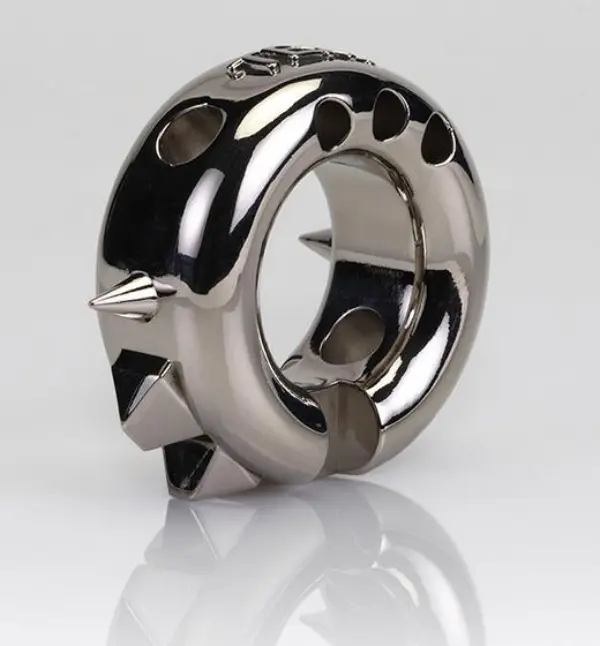
Electroplating involves depositing a thin layer of metal onto the surface of a 3D printed part through an electrochemical process. Electroplating enhances the surface finish of the as-printed parts, improving durability, conductivity, corrosion protection and aesthetics. It can coat complex geometries uniformly and is compatible with a wide range of base materials, with the potential to use different plated metals such as gold, silver, nickel, copper and brass.
Learn more >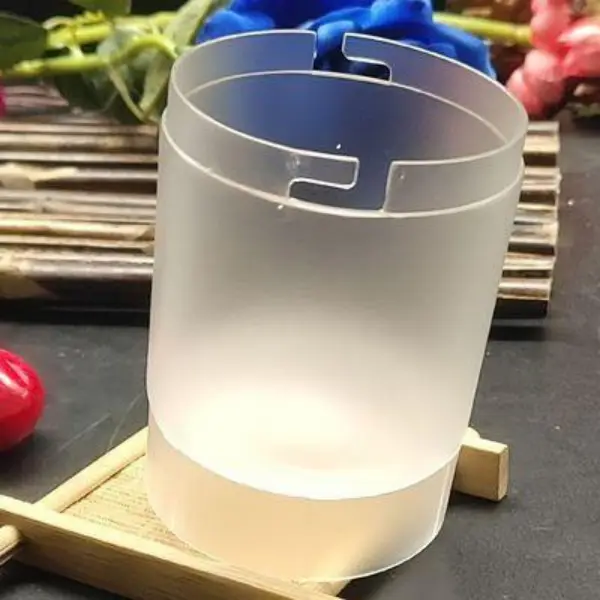
Frosting in 3D printing refers to a post-processing method used to achieve a fine, matte surface finish on transparent resin parts. The frosting process involves lightly sanding the surface of a printed part(, usually with sandpaper or similar abrasive material), to diffuse light and reduce transparency, creating a frosted appearance. It can conceal minor surface imperfections, enhance visual quality, and improve the tactile feel of parts, making them less slippery and easier to handle.
Learn more >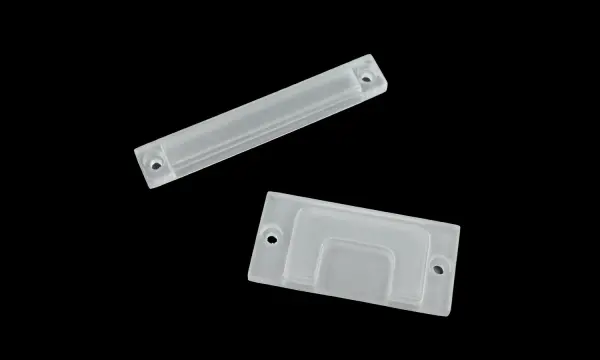
Translucency refers to a post-processing method that converts a clear resin 3D print into a semi-transparent one, which diffuses light and reduces clarity, resulting in a frosted appearance. Translucency typically involves techniques such as sanding, chemical treatments, or applying a matte coating to the surface of the printed part. Translucency enhances aesthetics with a frosted look, masks imperfections, and improves visual quality for specific design aesthetics or functional needs.
Learn more >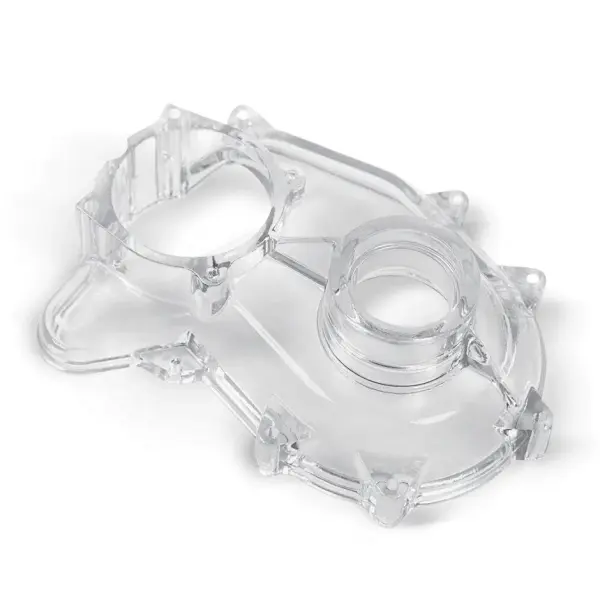
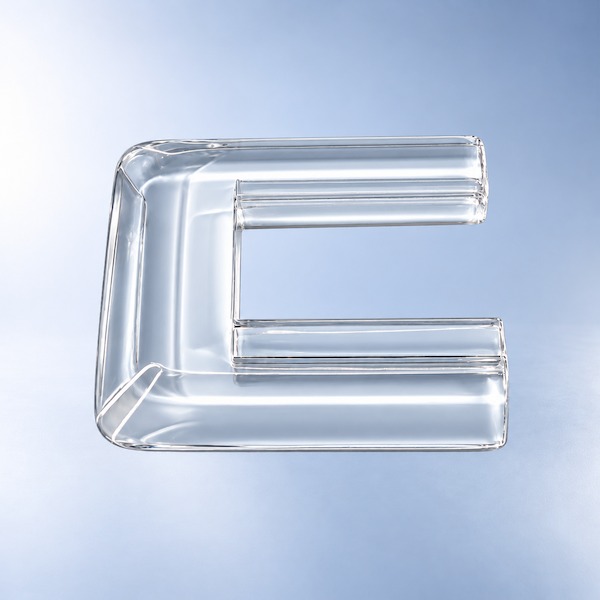
Transparency in 3D printing refers to a post-processing method designed to make clear resin 3D prints shiny and glossy, thereby enhancing their visual clarity and appeal. Transparency treatments typically involve sanding and applying a clear coat to smooth the surface and reduce light scattering. It produces a highly reflective, glass-like surface that highlights the intricate details of the 3D prints. Transparency is ideal for applications where optical clarity is required.
Learn more >Blast, polish, vapor smooth, tumble, and powder coat to hide layer lines and even the feel.
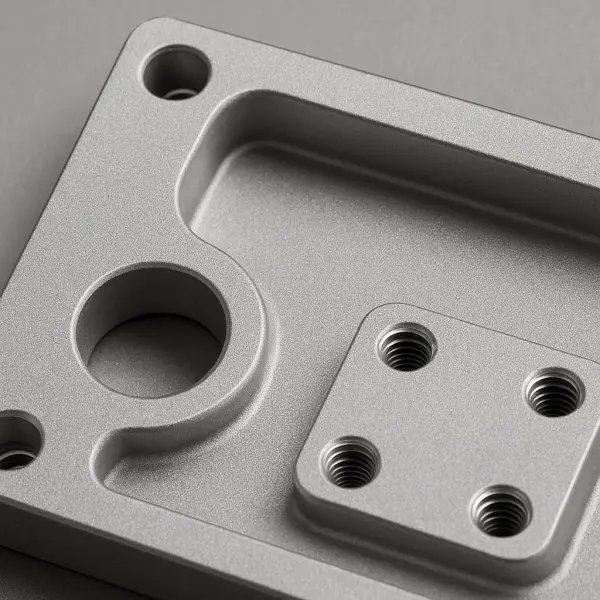
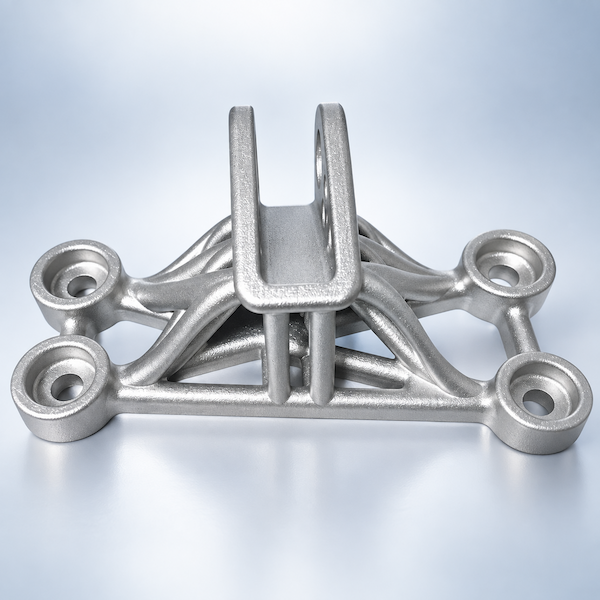
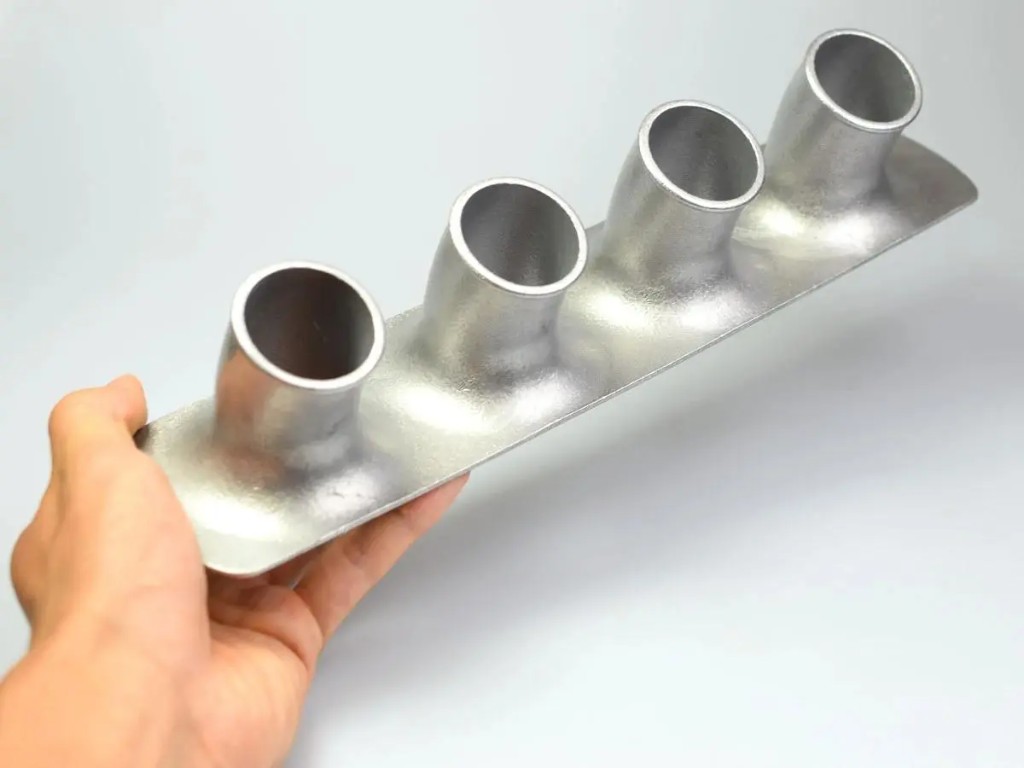
Bead blasting in 3D printing is a surface finishing technique that involves propelling small, abrasive beads at high velocity onto the surface of a printed metal part to clean, smooth or texturize it. Bead blasting can reach intricate details and hard-to-reach areas, providing a consistent finish that enhances the aesthetics of the part and improves the surface adhesion of subsequent coatings or treatments.
Learn more >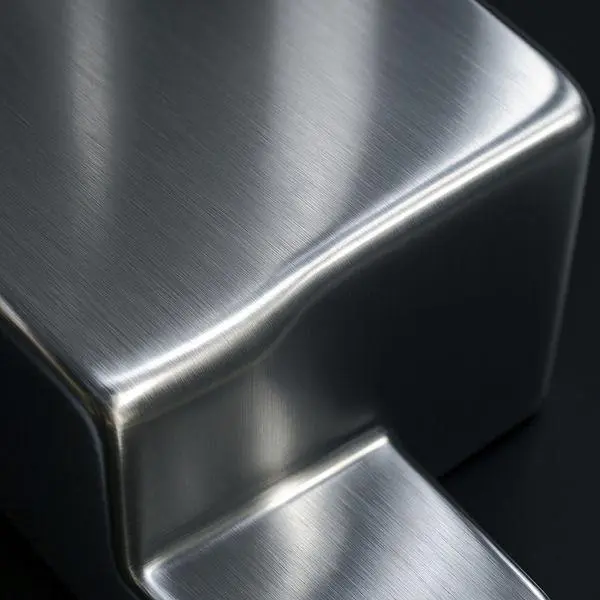
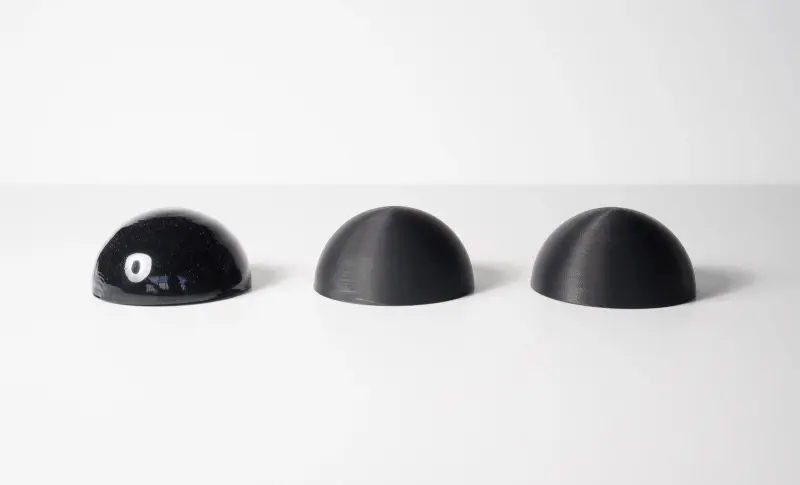
Polishing in 3D printing aims to enhance the surface finish of the printed part, giving it a smooth and shiny appearance. (The polishing process involves various methods such as sanding, chemical treatment and mechanical polishing to remove layer lines and imperfections.)Polishing can significantly improve the aesthetics of a part and enhance its durability, making it suitable for display or end-use applications. There are several types of polish, including mirror polish, which creates a highly reflective surface.
Learn more >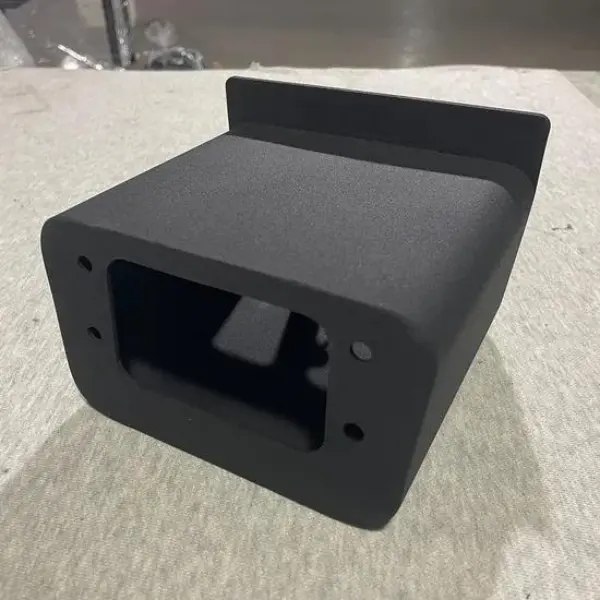
Powder coating involves applying a dry powder to the surface of as-printed parts to create a durable, high-quality finish. Powder coating uses an electrostatic method to adhere the powder to the part, which is then cured under heat or ultraviolet light to form a smooth, uniform coating. It provides a thicker, more resilient surface than traditional liquid paints and comes in a wide variety of colors and textures. (Powder coating offers excellent durability and resistance to chipping, scratching and fading, and it releases very few volatile organic compounds (VOCs), making it an environmentally friendly choice.)
Learn more >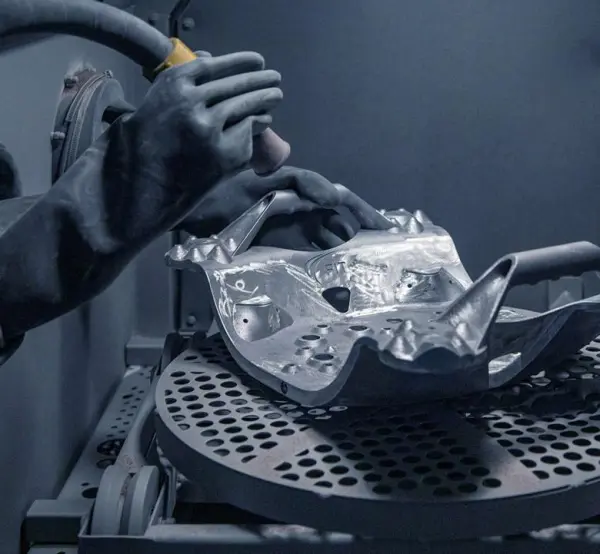
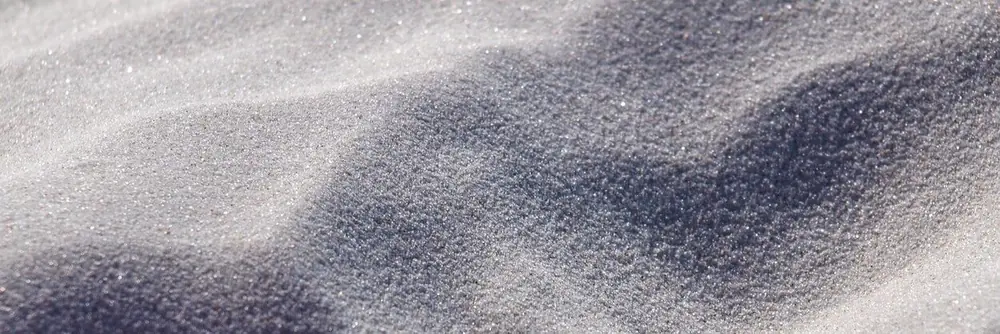
Sandblasting, also known as abrasive blasting, is a post-processing technique that enhances the surface finish of printed parts by directing a stream of abrasive material at the surface under high pressure. Sandblasting effectively smooths out surface irregularities, removes support material residue, and provides an even, refined surface. It is a fast and efficient process that ensures surface consistency throughout the part.
Learn more >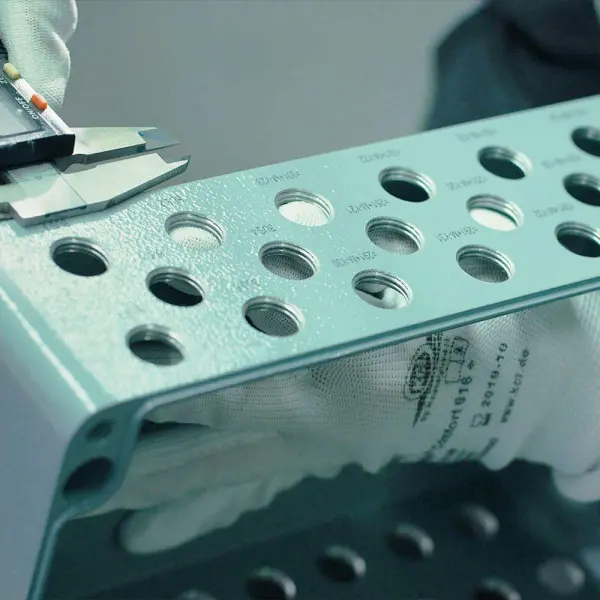
Screen printing is a post-processing technique that involves transferring ink onto the surface of a 3D printed part through a mesh screen to create detailed and vivid designs. Screen printing is particularly effective for adding intricate patterns, logos or text to parts, enhancing their aesthetics and functionality. It offers excellent color vibrancy and durability, can be applied to a wide range of materials, and produces consistent, high-quality prints quickly.
Learn more >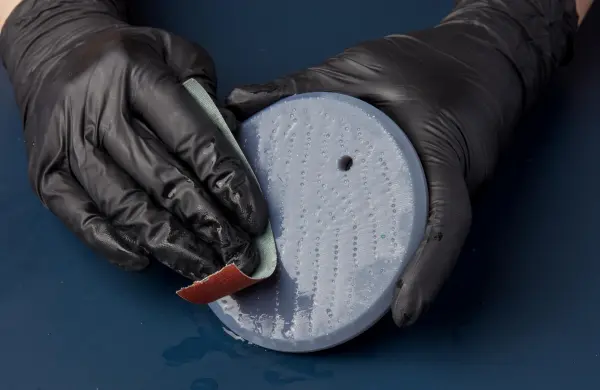
Smooth sanding, particularly for resin prints, aims to achieve a flawless polished surface by using progressively finer sandpaper. Smooth sanding typically begins with dry sanding using a coarse grit to remove major imperfections and layer lines, followed by wet sanding with progressively finer grits to achieve a smooth, shiny finish. It enhances visual and tactile qualities, removes imperfections, improves aesthetics, and prepares the surface for further processing.
Learn more >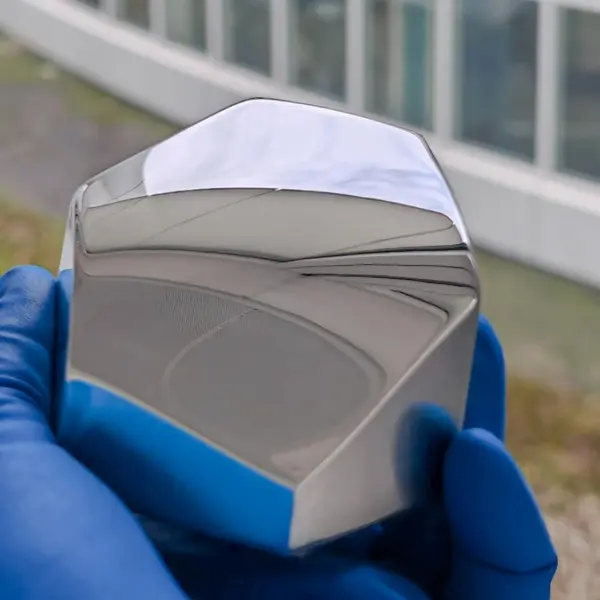
Tumbling is used to enhance the surface finish of metal parts by placing them in a barrel or vibratory tumbler filled with abrasive media. Tumbling smooths and polishes parts by rubbing them against each other and the media, effectively removing surface imperfections and achieving a consistent finish. It improves the durability and appearance of metal parts, prepares them for further processing, and ensures a consistent finish from batch to batch.
Learn more >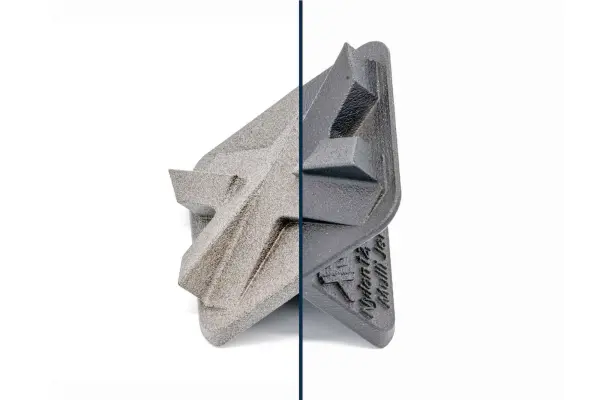
Vapor smoothing in 3D printing is a post-processing method used specifically for 3D printed nylon parts to achieve a smooth, glossy surface finish. The process exposes the printed part to chemical vapors that melt the surface material, causing it to flow and fill in rough areas, resulting in a more uniform and smoother surface finish. Vapor smoothing reduces surface roughness, enhancing the visual and tactile qualities of the component and creating a water-repellent, hydrophobic surface.
Learn more >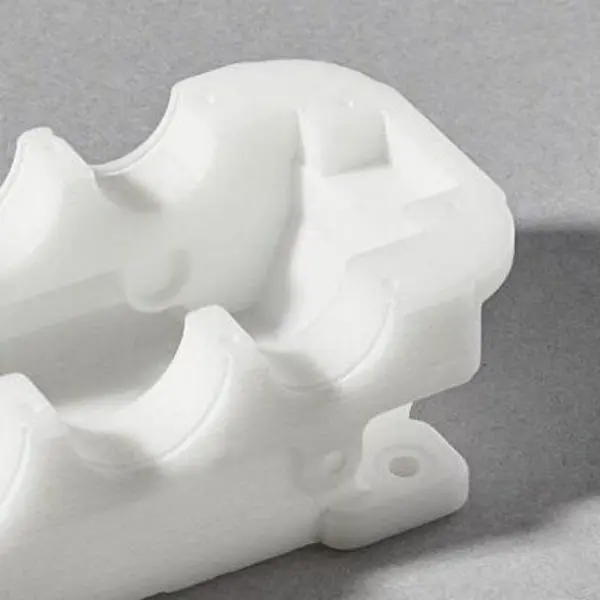
Vibratory smoothing is used to enhance the surface finish of 3D printed plastic parts by placing them in a vibratory tumbler filled with abrasive media. It involves the parts and media being agitated together, which creates friction that smooths and polishes the surface, effectively removing layer lines and minor imperfections. Vibratory smoothing improves the aesthetic and functional qualities of the parts and enhances durability by reducing surface roughness.
Learn more >Tapping and threading so printed parts take screws, inserts, and fixtures.
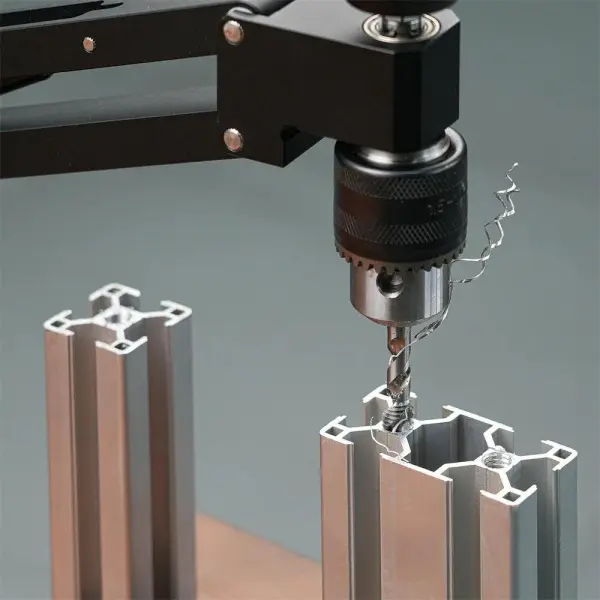
Tapping is used to create internal threads within printed parts, allowing for the integration of screws and other threaded fasteners. It uses a tap tool to cut precise threads into the material, ensuring a secure and reliable connection. Tapping creates strong, durable threads in a variety of 3D printing materials, enhancing part functionality and structural integrity, and providing a cost-effective solution for custom threaded components.
Learn more >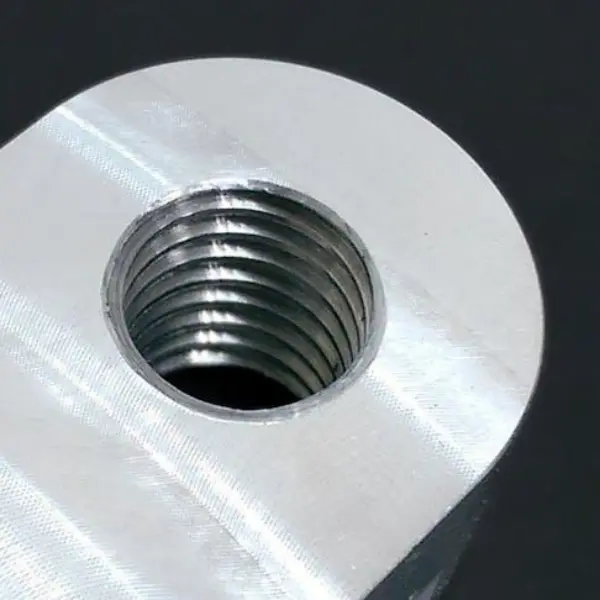
Threading is used to create internal or external threads on printed parts, allowing the integration of screws, bolts and other threaded fasteners. Threading can be achieved by various methods, such as tapping, heat-setting inserts, or directly printing the threads. It produces precise and durable threads that withstand repeated use, enhances the functionality and assembly of 3D printed parts, and improves the structural integrity of connections.
Learn more >Pick the print or machine route first. Finishing sits on the same ticket.
The stock you quote is the stock we finish. Open a grade, then upload the file.
Short answers before you open a process page or upload a file.
Start from the job: color and optical look, surface texture, or threads. Open the matching group, then the process page for materials and limits.
Yes. Catalog 3D Plus hardware is quoted with the print. Price and lead time update together so you do not run a second shop.
When the material allows it, add more than one option on the same quote. Note which faces must stay masked or keep a tight fit.
Request a manual quote and describe the spec. Special coatings, inspection plans, and mixed assemblies are priced by engineering.
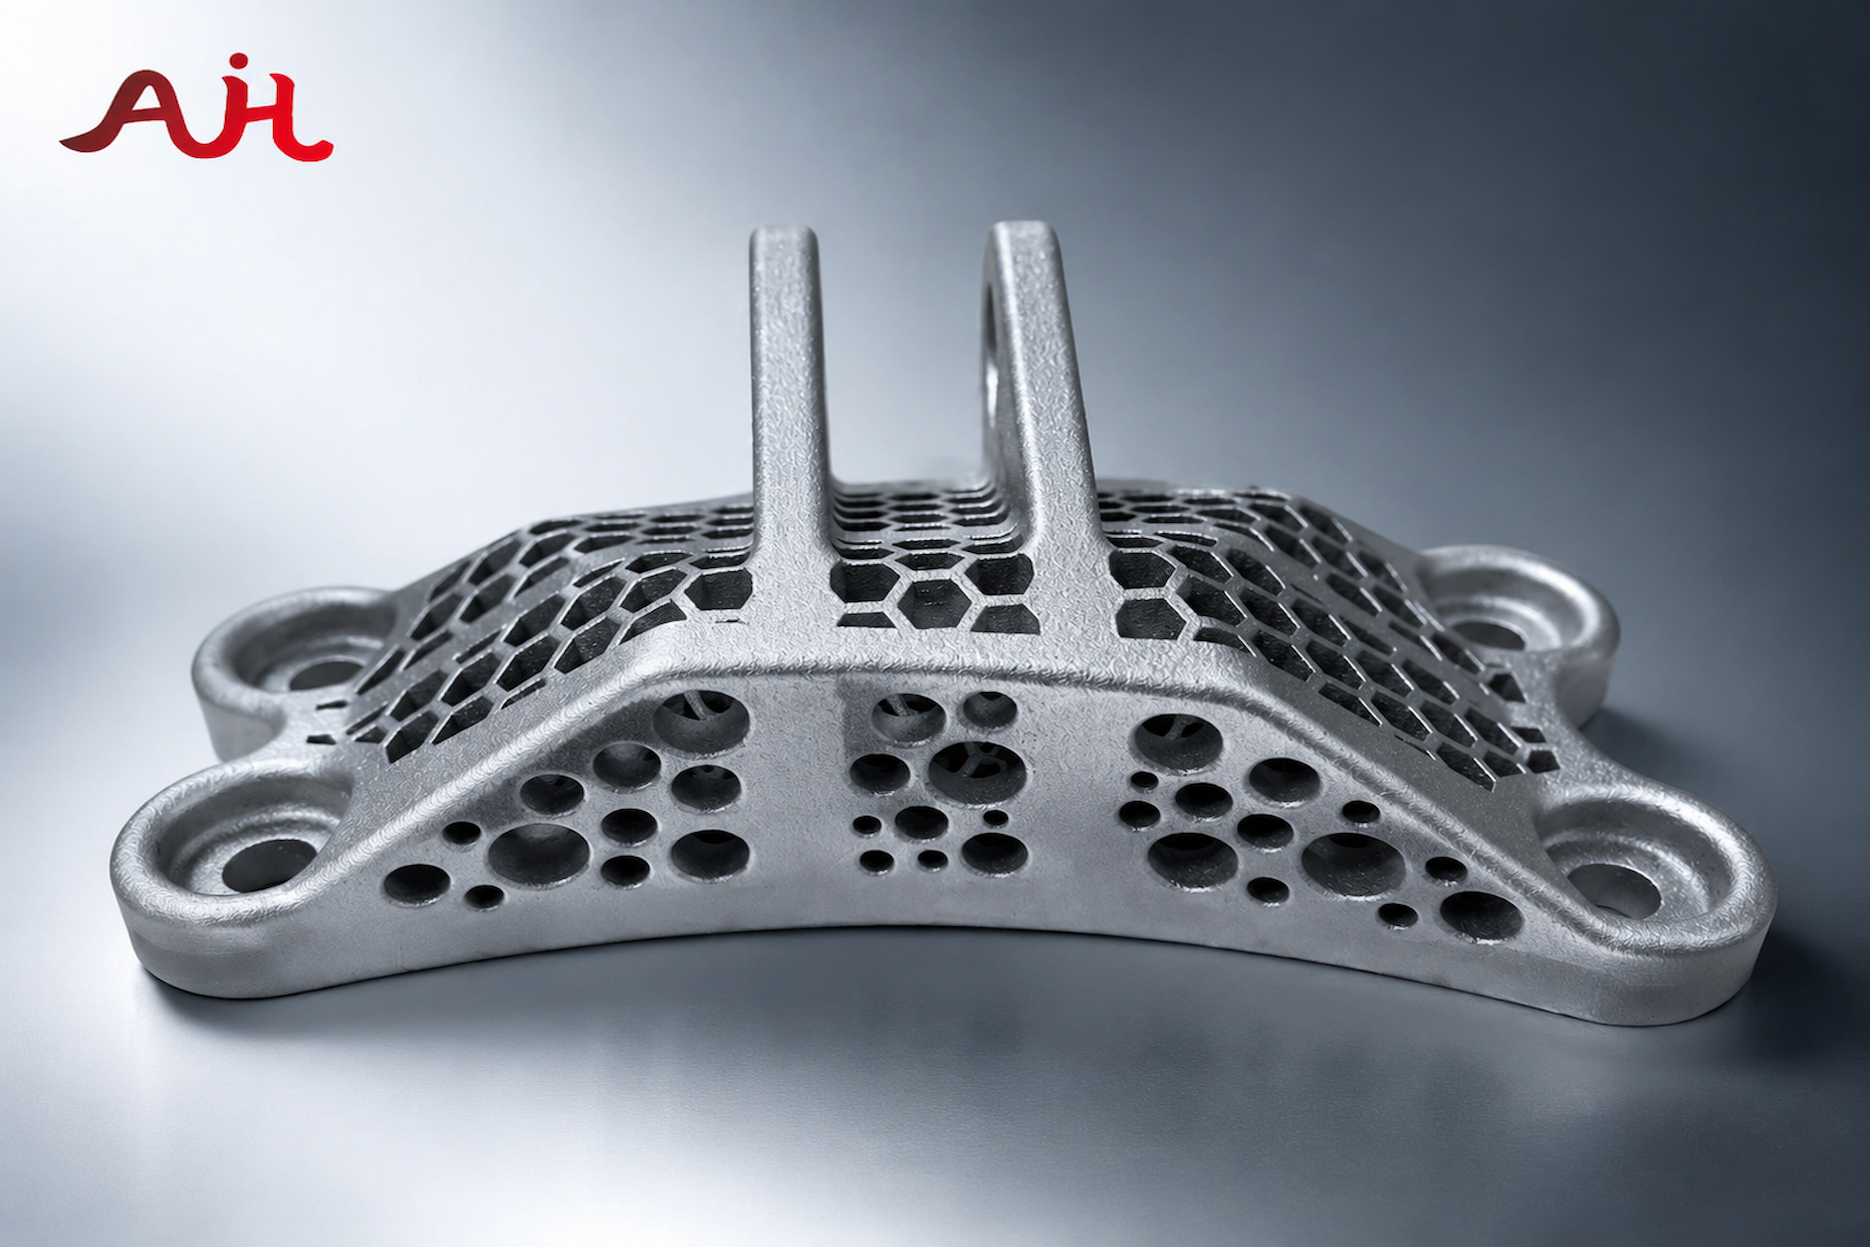
Upload a CAD file, pick a process, then add the finish. Price and lead time update together.

We use cookies to personalize your experience. By using this site, you agree to our Privacy Policy
Accept