
3D Printing
Stereolithography (SLA)
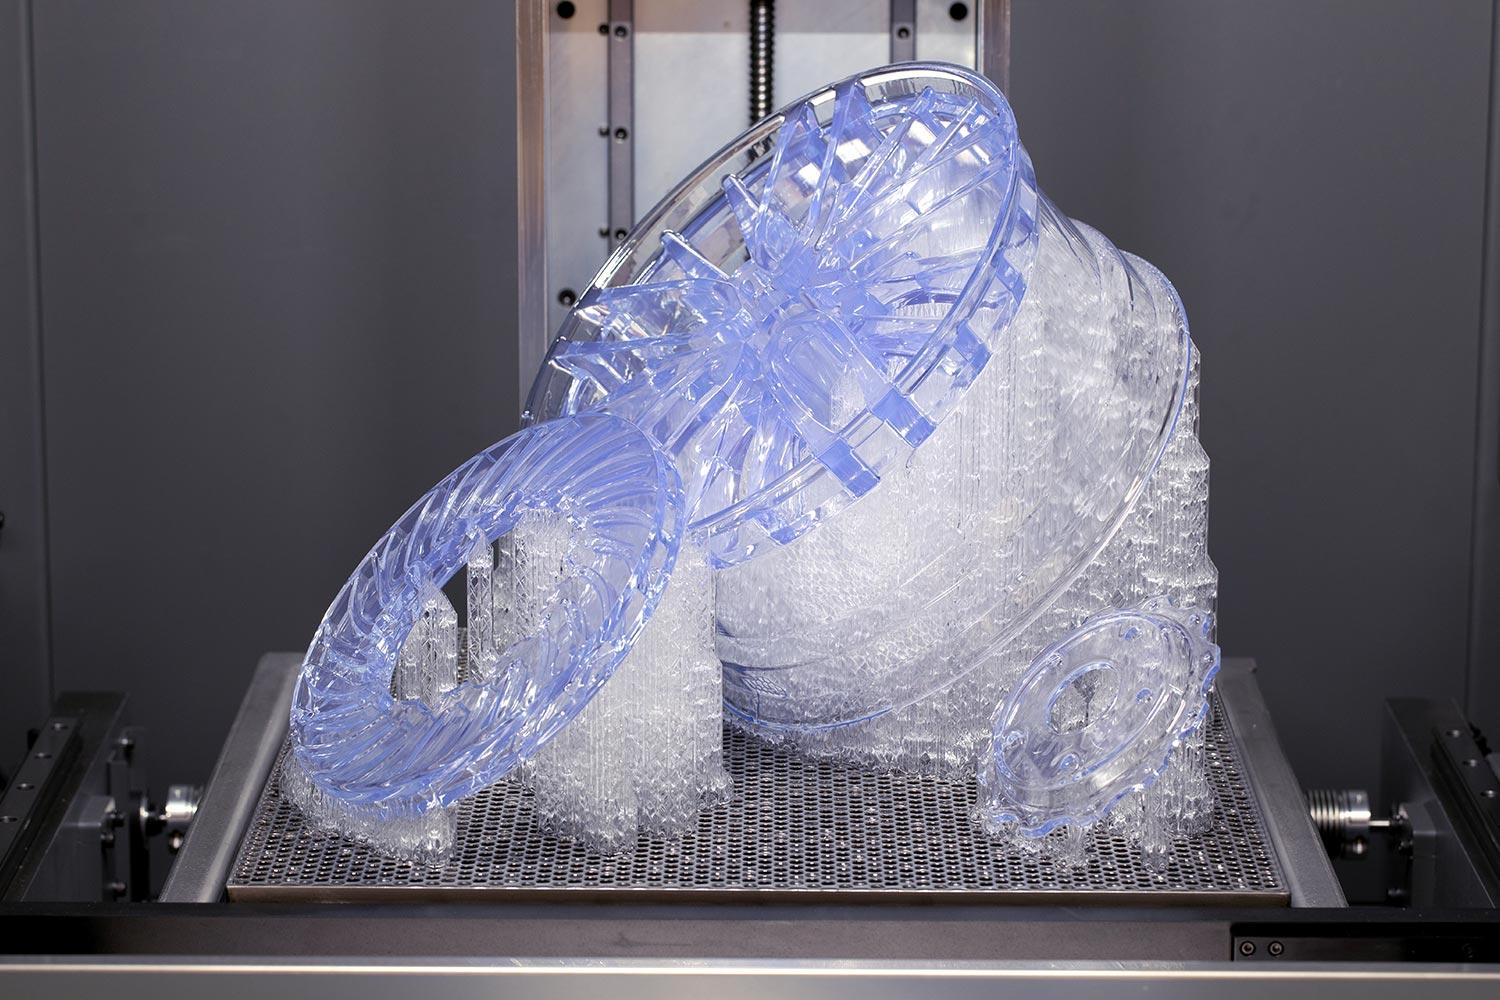
Stereolithography (SLA) cures liquid photopolymer with a precision UV laser, building parts layer by layer.
Create a quote
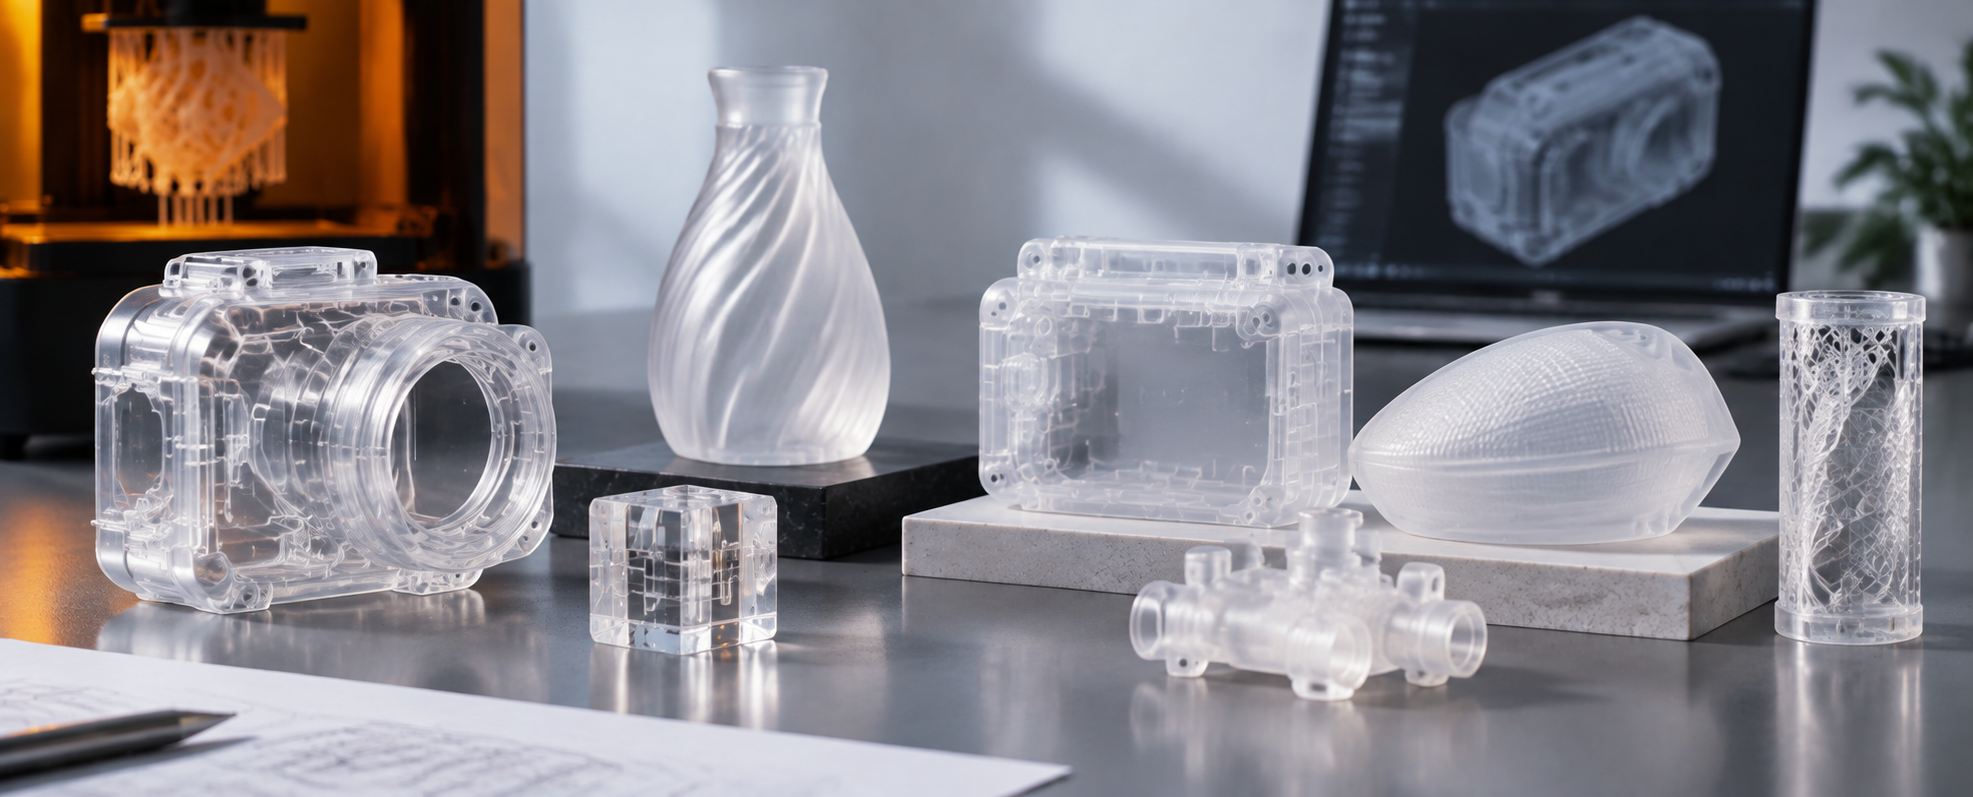
Introduction: Clear resin 3D printing helps visual models show form, depth, and internal features, but transparency depends on more than material choice.
For a product content editor, the difficult part is not simply writing that a model is “clear.” The useful distinction is whether the printed part is clear enough to suggest transparency, translucent enough to diffuse light, or precise enough to support an optical claim. In SLA resin printing, those outcomes sit on different levels.
A clear resin 3D printing service can be very useful for display models, enclosure mockups, lighting concepts, fluid path demonstrations, and premium presentation samples, but it should not be described as optical clear unless the material, geometry, finishing, and validation support that stronger claim.
In resin 3D printing, “clear” usually communicates that the material is intended to transmit light and reveal some internal or rear-side detail. It does not automatically mean glass-like, lens-grade, or distortion-free. A clear SLA part may still show faint layer lines, surface haze, support marks, small bubbles, tint, or edge distortion depending on how the part is printed and finished.
For visual models, that may be acceptable or even ideal: the reader wants to understand that the model can show volume, wall thickness, internal channels, light diffusion, or assembly structure without expecting optical measurement performance. “Translucent” is a softer and often safer term when the printed object lets light pass through but does not allow crisp viewing through the part.
It suits frosted housings, diffused lighting covers, semi-visible internal mockups, cosmetic prototypes, and forms where the material effect matters more than see-through clarity. “Optical clear” sits at a higher claim level. It implies a much tighter expectation for low haze, low distortion, surface finish, and material behavior. Unless a service has confirmed resin data, finishing standards, and project-specific evidence, optical clear should be avoided as a general promise.
The practical boundary is simple: clear and translucent describe visual appearance; optical clear implies a performance level that needs separate proof. This distinction is especially useful in product copy because it lets the editor describe the visible design effect without turning an appearance direction into a verified optical specification.
The word “transparent” usually sets a stronger expectation of see-through visibility than “clear.” For a visual model, tie that wording to an observable result—such as seeing internal geometry through the finished wall—rather than treating it as a material grade. If light passes through but the details behind the part remain blurred, “translucent” is the more accurate description.
A clear resin 3D printing result begins with material choice, but material alone does not determine what the viewer sees. SLA builds parts from a liquid photopolymer cured layer by layer, so the surface is formed through both material chemistry and process geometry. Different resin formulations—including products sold as 8001 resin—can behave differently straight off the build plate. An 8001 resin part may appear translucent or frosted before finishing; wet sanding and a compatible clear coat can improve apparent clarity, but the result depends on the specific formulation and finishing process.
Light passing through the final part interacts with every surface, wall, edge, curve, support contact, and internal thickness change. A simple polished block may appear much clearer than a complex enclosure with ribs, bosses, sharp corners, and recessed features, even when both are printed in the same resin direction.
A thin wall may look more see-through than a thick corner, while an unpolished curved face may scatter light and look milky. For hollow models, check the intended viewing path through both walls and internal channels; a small flat sample may not represent the appearance of the complete part.
SLA is often chosen for smooth surfaces and fine feature resolution, but a printed surface is still not the same as a molded or machined optical surface. Layer lines, support removal points, and tiny surface texture can scatter light, making a part look cloudy or frosted. Sanding can reduce visible stepping, but intermediate sanding stages may temporarily make the surface more opaque until finer polishing or coating improves the finish.
Support placement also matters because contact points on a cosmetic or see-through face can remain visible after removal. For content, this means “clear resin” should be connected to surface treatment and part orientation, not described as a material-only feature.
To achieve high clarity with a “clear SLA resin” or “SLA clear resin”, post-processing plays as big a role as the raw photopolymer chemistry itself.
Unprocessed parts straight from the build plate naturally diffuse light due to microscopic layer stepping.
Washing and post-curing can also affect surface condition and visual consistency. Confirm the cleaning, drying, curing, and finishing sequence for the selected resin before judging its clarity. A visual sample should be evaluated in the same finished condition intended for the delivered model.
For a clearer presentation sample, finishing may include the following stages, depending on the resin, geometry, and required appearance:
Progressive Sanding: Wet sanding with progressively finer grits can reduce support marks and surface texture. The sanding sequence should suit the resin, geometry, and target finish; a fixed 400- to 2000-grit range is not a universal clarity standard.
Polishing: Applying a suitable fine polishing compound can improve surface smoothness and apparent transparency.
Clear Coating / UV Lacquer: Applying a compatible clear coat can fill fine surface scratches and increase gloss and apparent clarity. UV resistance and yellowing behavior depend on the resin, coating system, and exposure conditions; coating alone does not establish optical-grade or long-term outdoor performance.
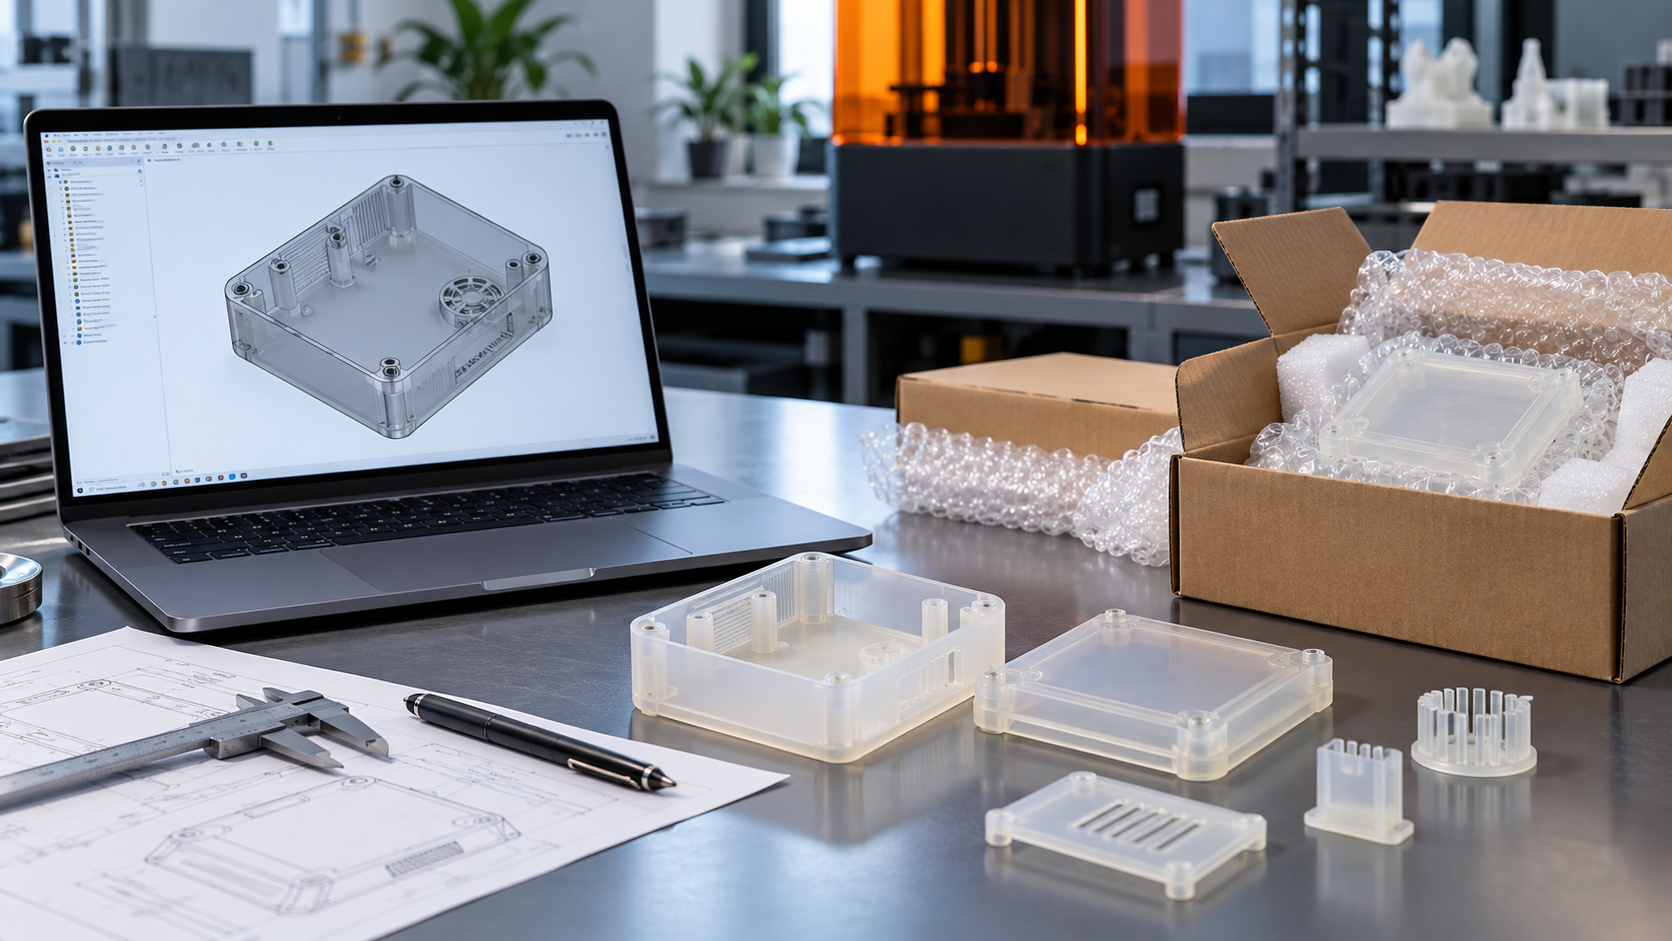
A visual model often succeeds when it communicates design intent, not when it behaves like a lens or laboratory window. A transparent enclosure prototype can show internal component spacing; a translucent light pipe mockup can suggest illumination paths; a clear cover can help reviewers understand how a final product may look on a shelf. None of those uses requires the printed part to deliver optical-grade transmission or distortion control.
This boundary is important because “transparent” in presentation language may mean attractive, readable, and light-transmitting, while “optical clear” implies a stricter performance expectation. A careful service description can say the part is suitable for translucent visual models while still encouraging confirmation of finish requirements for highly clear display surfaces.
If the requirement includes sharp image transmission, a defined haze or transmittance value, color stability under UV exposure, or long-term outdoor use, specify the requirement separately in the RFQ. Confirm the exact material grade, finishing specification, and relevant test evidence before describing the part as suitable for that function.
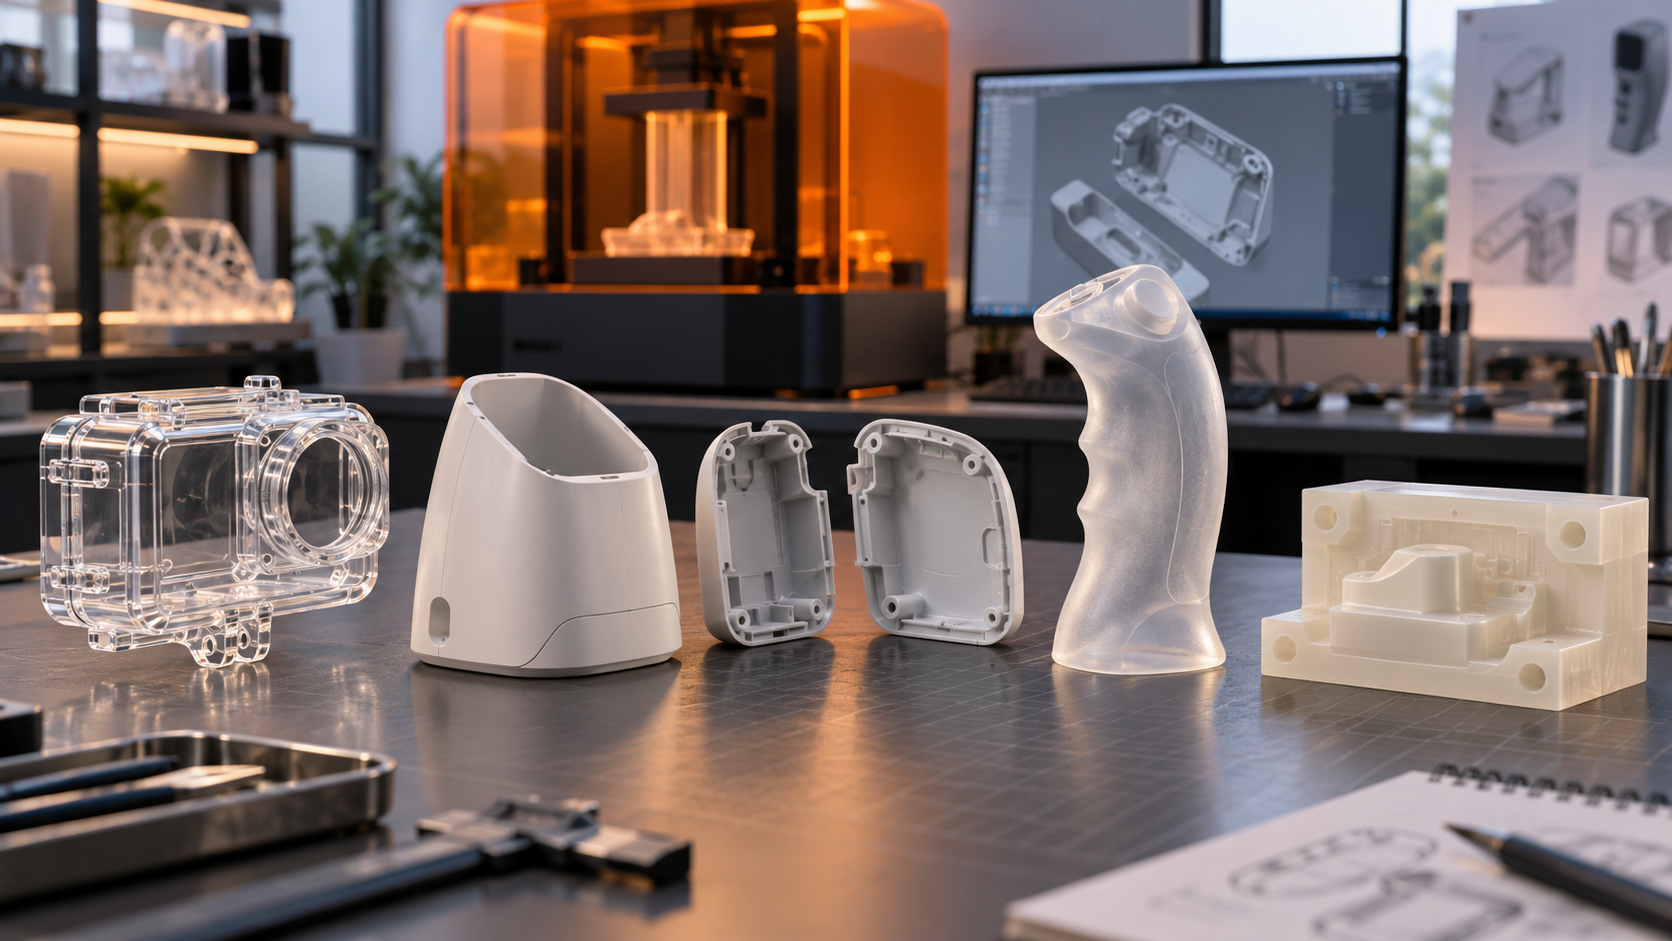
A standard opaque resin can communicate shape, proportions, edges, and fit, but it cannot show how light and internal features interact with the model. Clear and translucent resins become more useful when the model’s appearance depends on depth, shadow, internal geometry, or light transmission. For example, a consumer electronics enclosure may need a semi-transparent cover to evaluate component visibility. A product mockup may need a frosted body to compare with a future molded part.
A display sample may need a clear surface plus optional clear coat to make the model read as more premium in a presentation setting. In these cases, the service value comes from visual interpretation rather than broad resin category comparison. AIHFABS presents SLA as a service for high-resolution resin parts, visual models, show models, and presentation-quality prototypes, with material directions that include clear and translucent resins.
The SLA page also mentions optional clear coat or painting, which matters because finishing can change how a clear resin part reads under real lighting. For a content editor, this is a useful way to phrase the boundary: AIHFABS can be discussed as an example of an SLA 3D printing service where clear and translucent resin options help translate digital models into visual parts, but the wording should remain conservative.
It is better to say that transparent appearance depends on material grade, geometry, orientation, and post-processing than to imply that every clear resin 3D printing service output will be glass-like. This also separates a clear resin 3D printing service from a general resin 3D printing service. The broader service may cover standard, tough, high-temperature, flexible, castable, and other resin directions, but the clear or translucent use case is narrower.
It is about what the viewer needs to see through, how much haze is acceptable, and whether the model is meant for appearance review rather than optical function. When the project is a presentation model, show model, lighting concept, or transparent housing mockup, clear resin can communicate more information than opaque resin.
When the project needs certified optical behavior, long-term outdoor clarity, no yellowing, food contact, medical use, or exact transmission data, those claims need separate material and process confirmation.
Translate the visual goal into a short project brief before choosing between a clear and translucent finish:
| Visual goal | Wording for the brief | What to confirm |
|---|---|---|
| Internal feature review | Clear resin for visual inspection of internal ribs, fluid paths, snap-fit locations, or LED placement. | Required viewing faces, wall thickness, and support contact locations. |
| Frosted presentation model | Translucent resin for a frosted housing, diffused lighting concept, or partly visible internal mockup. | Acceptable diffusion and how much internal detail should remain visible. |
| Glossy display surface | Clear resin with an optional clear coat for a glossier presentation finish. | The surfaces to finish, the expected appearance, and whether a representative sample is needed. |
Clear and translucent SLA resin printing is best understood as an appearance tool for visual models, not as a shortcut to optical-grade transparency. The most accurate wording connects the visible result to resin grade, part geometry, surface finish, support placement, and optional post-processing.
For product content, the strongest approach is to describe clear resin 3D printing as useful for presentation models, show models, and see-through design communication while keeping optical claims separate unless they are specifically verified.
Clear resin is generally used for parts intended to transmit light and show some internal or rear-side detail. Translucent resin allows light through but diffuses it, so the part may look frosted or semi-visible rather than sharply see-through. Optical clear resin is a much stronger claim because it suggests low haze, low distortion, and a controlled transparent finish that normally needs specific material, geometry, finishing, and validation support.
Clear resin parts often need some level of post-processing if the goal is a cleaner transparent appearance. A freshly printed part may show layer texture, support marks, surface haze, or washing and curing effects. Sanding, polishing, and clear coat can improve the visual result, but the final appearance still depends on the resin grade, wall thickness, part shape, and where supports contact the model.
Clear coating and opaque painting serve different visual goals. An opaque painted finish can hide the transparency of the base resin, so identify any viewing windows or light-transmitting areas that must remain unpainted before approving the finish.
A clear resin service is usually better when the model needs to communicate light transmission, internal structure, material depth, or a transparent product appearance. Standard opaque resin can show shape and fit well, but it cannot show how internal features, covers, channels, or lighting effects may appear. Clear or translucent resin is most useful for presentation models, enclosure mockups, lighting concepts, and visual design reviews.
An 8001 resin part may show a translucent or frosted surface because of layer texture and light scattering. Wet sanding, polishing, or a compatible clear coat can improve the finished appearance, but the result depends on the specific resin formulation, geometry, and finishing process. Confirm the exact supplier grade and appearance against a representative finished sample.
A standard “clear SLA resin” part provides good light transmission and internal feature visibility, but it is not inherently glass-like out of the printer. With proper orientation, careful support placement, and post-processing (polishing or spray painting clear lacquer), “SLA clear” parts can achieve high-clarity presentation quality suitable for display mockups.
AIHFABS SLA 3D Printing service page

A process that fits this note. Open the spec, or put the file on a quote.
Stereolithography (SLA) cures liquid photopolymer with a precision UV laser, building parts layer by layer.
Create a quote
Digital Light Processing (DLP) solidifies an entire layer of photopolymer at once using a projected image.
Create a quoteMaterials that sit next to this article. Check the card, then upload CAD.
Process, finish, and file notes from the shop — not a marketing blog.
Company, payment, shipping, and process answers by topic.
Production lead times, shipping options, and order tracking.

Review AIH commitments to print quality, secure handling of your files, transparent pricing, and support for every 3D printing order.
AIHFABS quotes custom 3D printing and CNC machining from a CAD upload. Compare SLA, SLS, MJF, SLM, FDM, DLP, milling, and turning, then add finishing such as vapor smoothing, dyeing, anodizing, polishing, or powder coating in the same order.
Instant quoting is built for prototypes, jigs, housings, and small-batch production. You see material, process, quantity, and lead time together, which keeps engineering changes from turning into a new round of supplier emails.
You can review material, process, quantity, and lead time together, so engineering changes do not turn into another round of supplier emails.
Upload STL, STEP, and other common CAD formats for an online quote.
Compare 3D printing technologies and CNC options on the same part.
Select polymers or metals, then add 3D Plus hardware finishing when needed.
Review price and lead time before checkout, or request a manual quote for special specs.
If this page describes a process, industry, or sample part you want to reproduce, start from the upload flow and match technology plus finishing to your drawing.
We use cookies to personalize your experience. By using this site, you agree to our Privacy Policy
Accept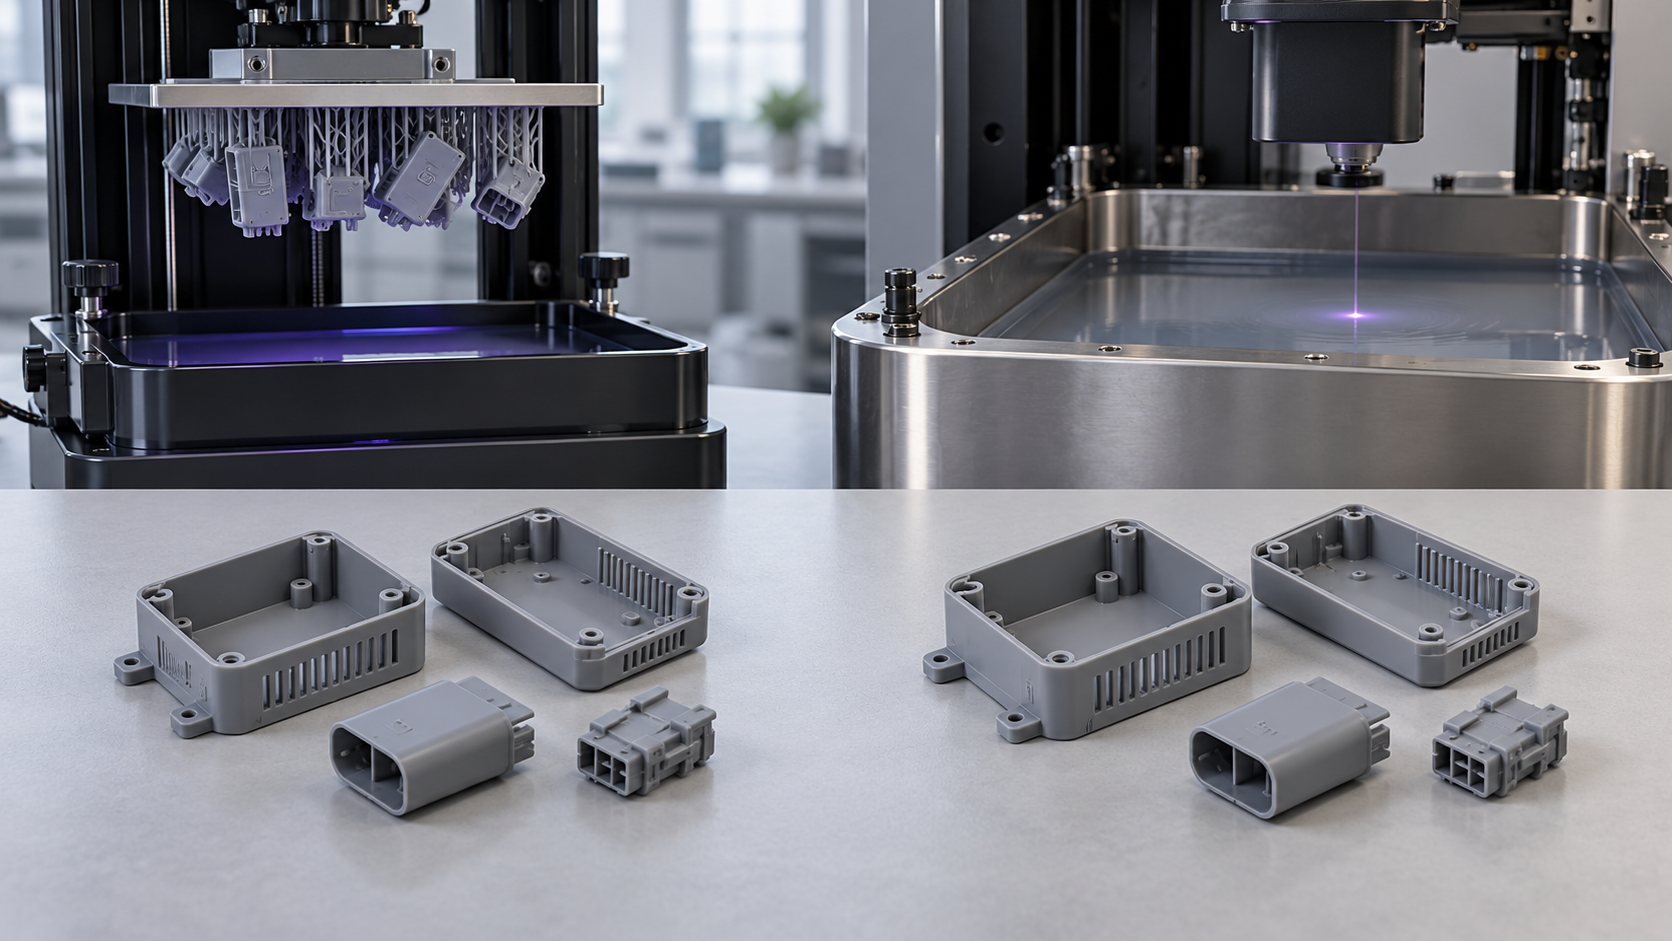

Leave A Comment