
3D Printing
Stereolithography (SLA)
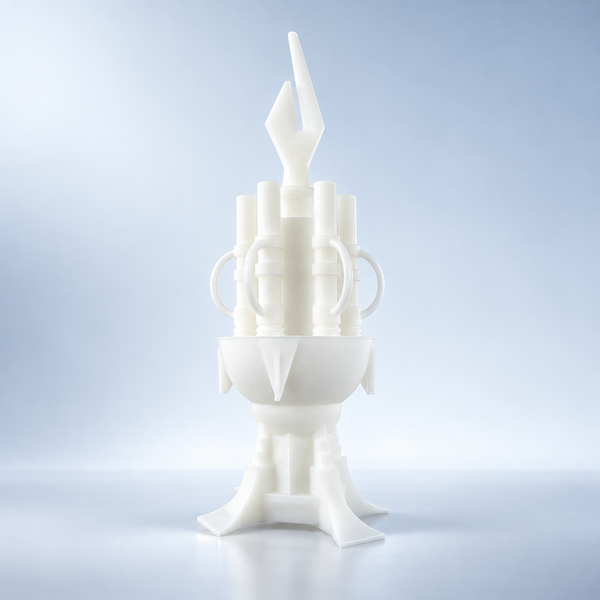
Stereolithography (SLA) cures liquid photopolymer with a precision UV laser, building parts layer by layer.
Create a quote
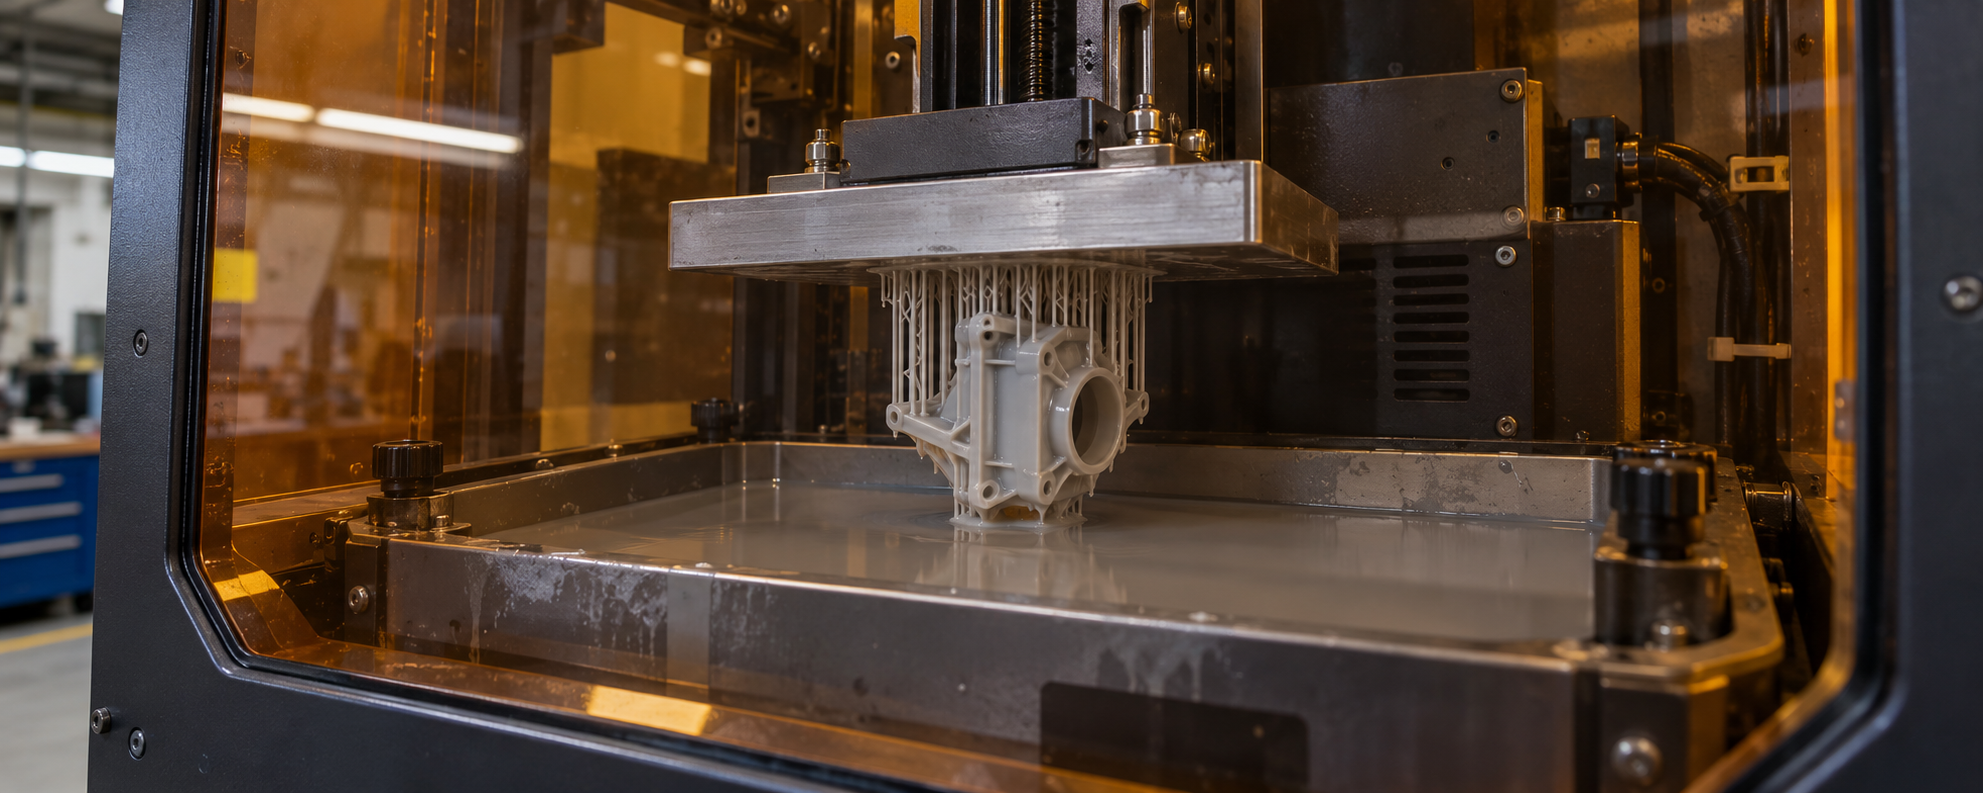
Stereolithography (SLA) is a widely used resin 3D printing process known for producing parts with fine details, smooth surfaces, and good dimensional accuracy. These qualities make it a useful option for visual models, fit-check prototypes, and selected functional applications. However, deciding whether SLA is right for your part requires understanding its materials, processing requirements, and limitations. This guide explains how SLA works and what to consider when choosing it for your project.
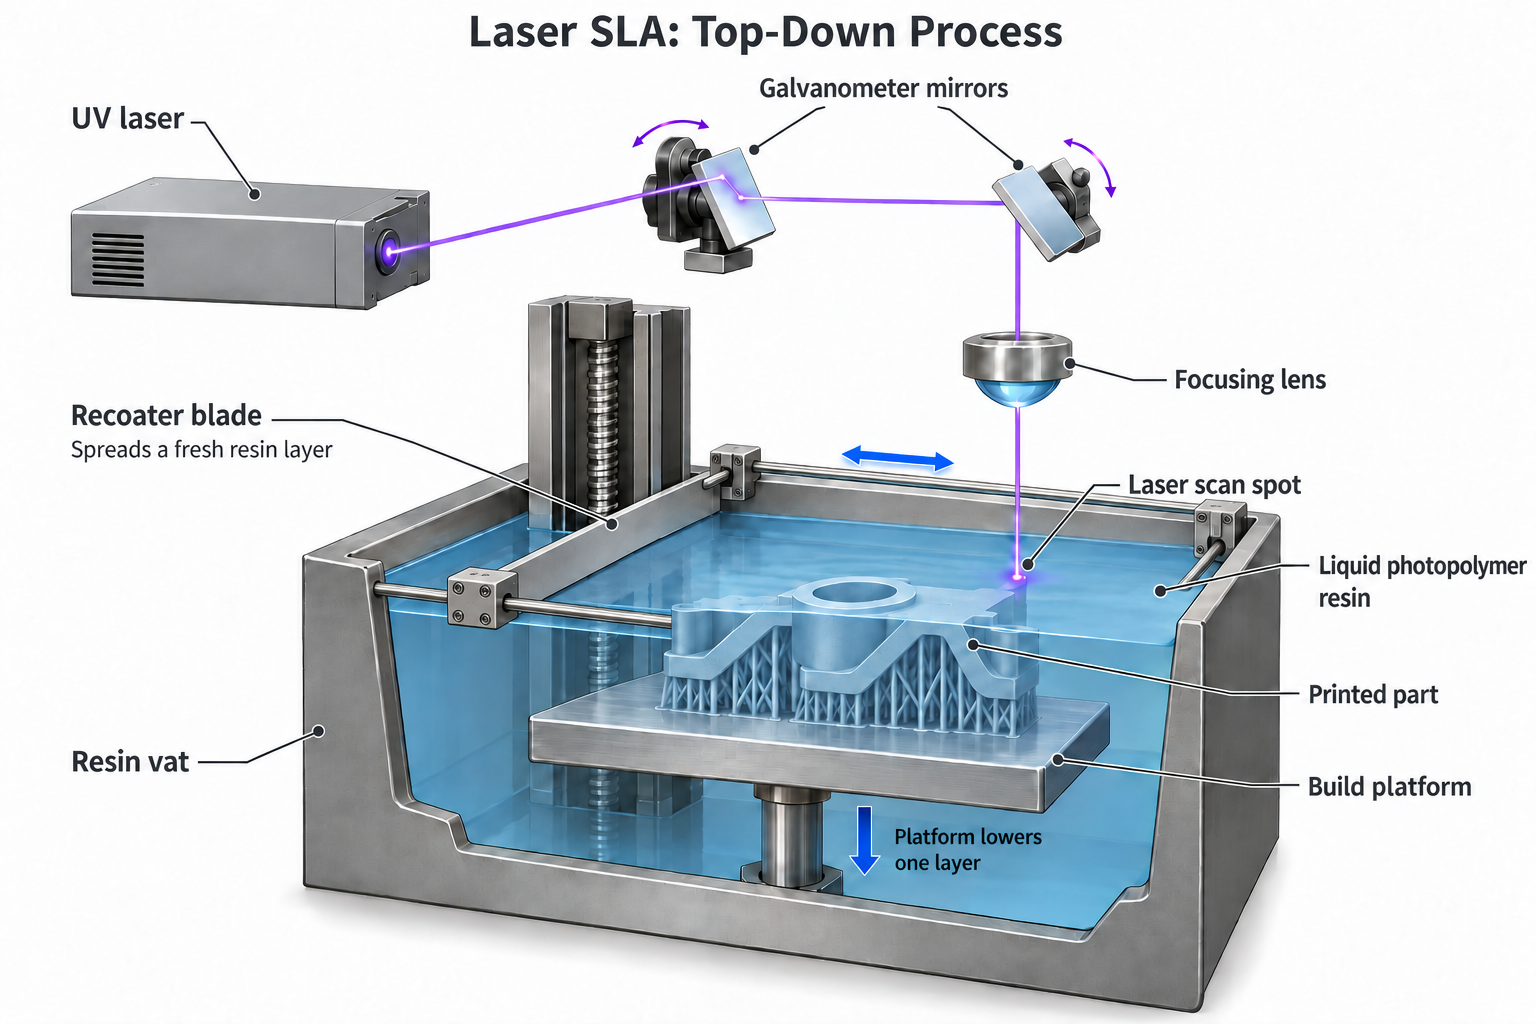
Stereolithography (SLA) is an additive manufacturing process that uses an ultraviolet laser to turn liquid photopolymer resin into solid parts. A scanning system with rotating mirrors precisely directs the laser spot across the outline and interior of each cross-section, curing the resin in selected areas. After one layer is formed, the build platform moves and a fresh layer of resin is prepared for exposure. This process repeats, bonding successive layers together to create a three-dimensional object.
By controlling where the resin solidifies, SLA can reproduce fine features and smooth surfaces, making it a useful choice for detailed models, appearance prototypes, and parts used for assembly and fit checks.
The term “SLA” is sometimes used broadly to describe resin printing. In this guide, it refers specifically to laser-based stereolithography. DLP and masked LCD printing also cure liquid resin, but use different exposure systems.
Charles “Chuck” Hull is widely credited with inventing stereolithography and bringing it into commercial use. In 1983, he successfully created a three-dimensional part by selectively curing liquid photopolymer resin with ultraviolet light. Hull went on to co-found 3D Systems in 1986 to develop the technology for commercial applications.
In 1987, 3D Systems introduced the SLA-1, the first commercial SLA 3D printer. Its introduction marked an important milestone in rapid prototyping, allowing physical models to be built directly from digital designs through successive layers of cured resin.
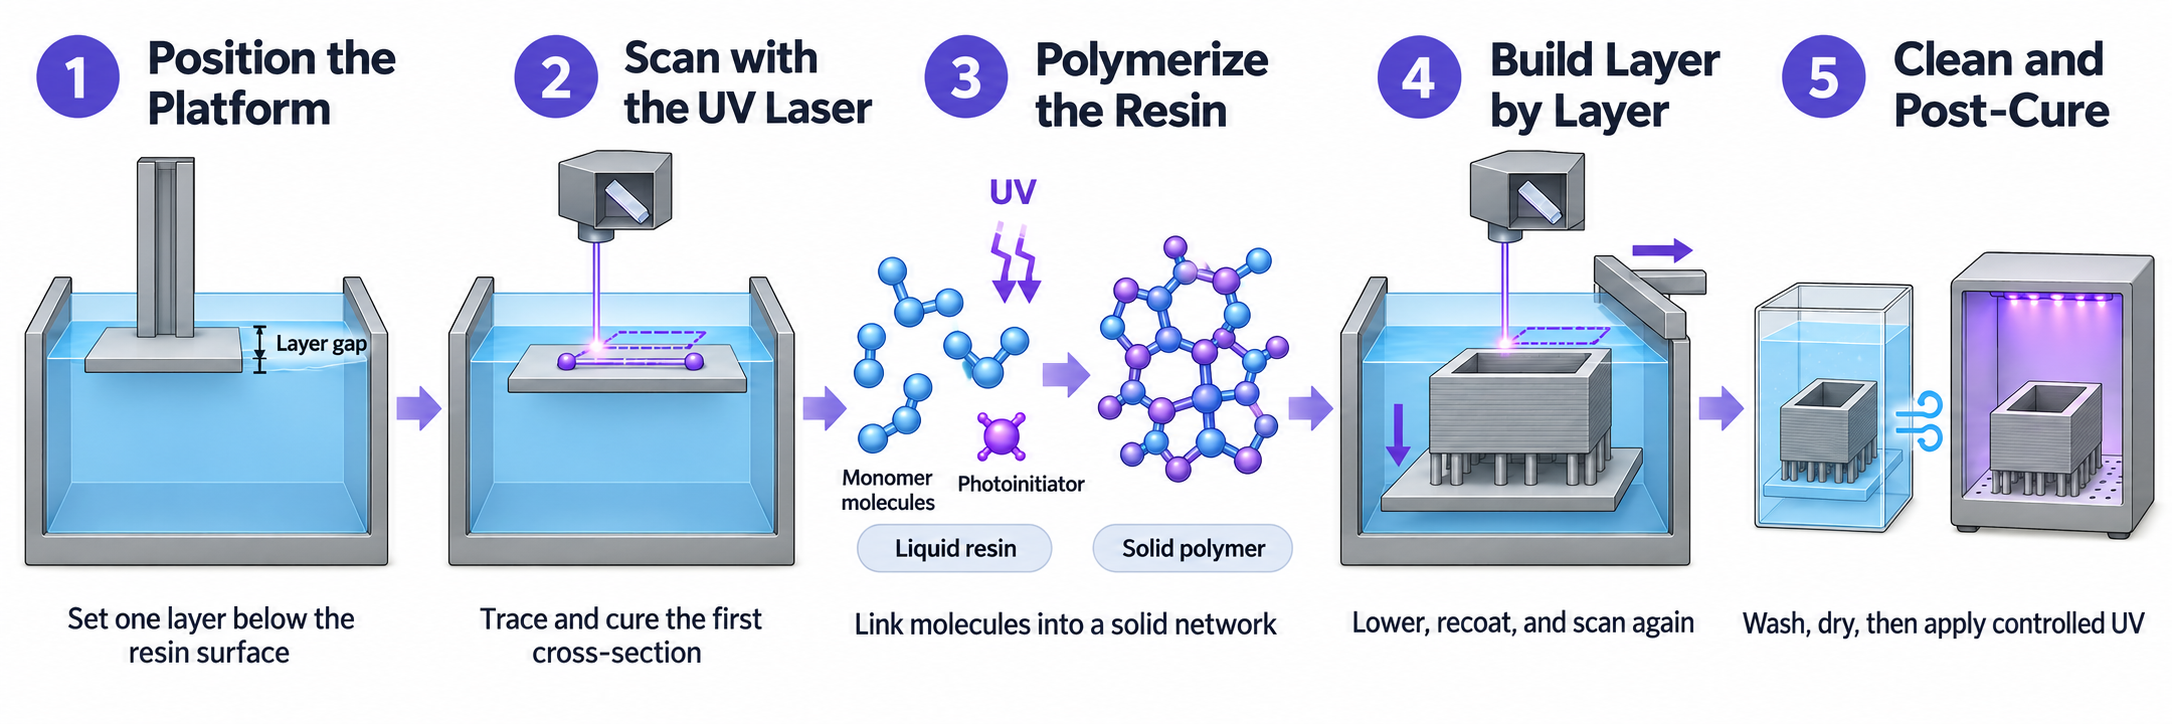
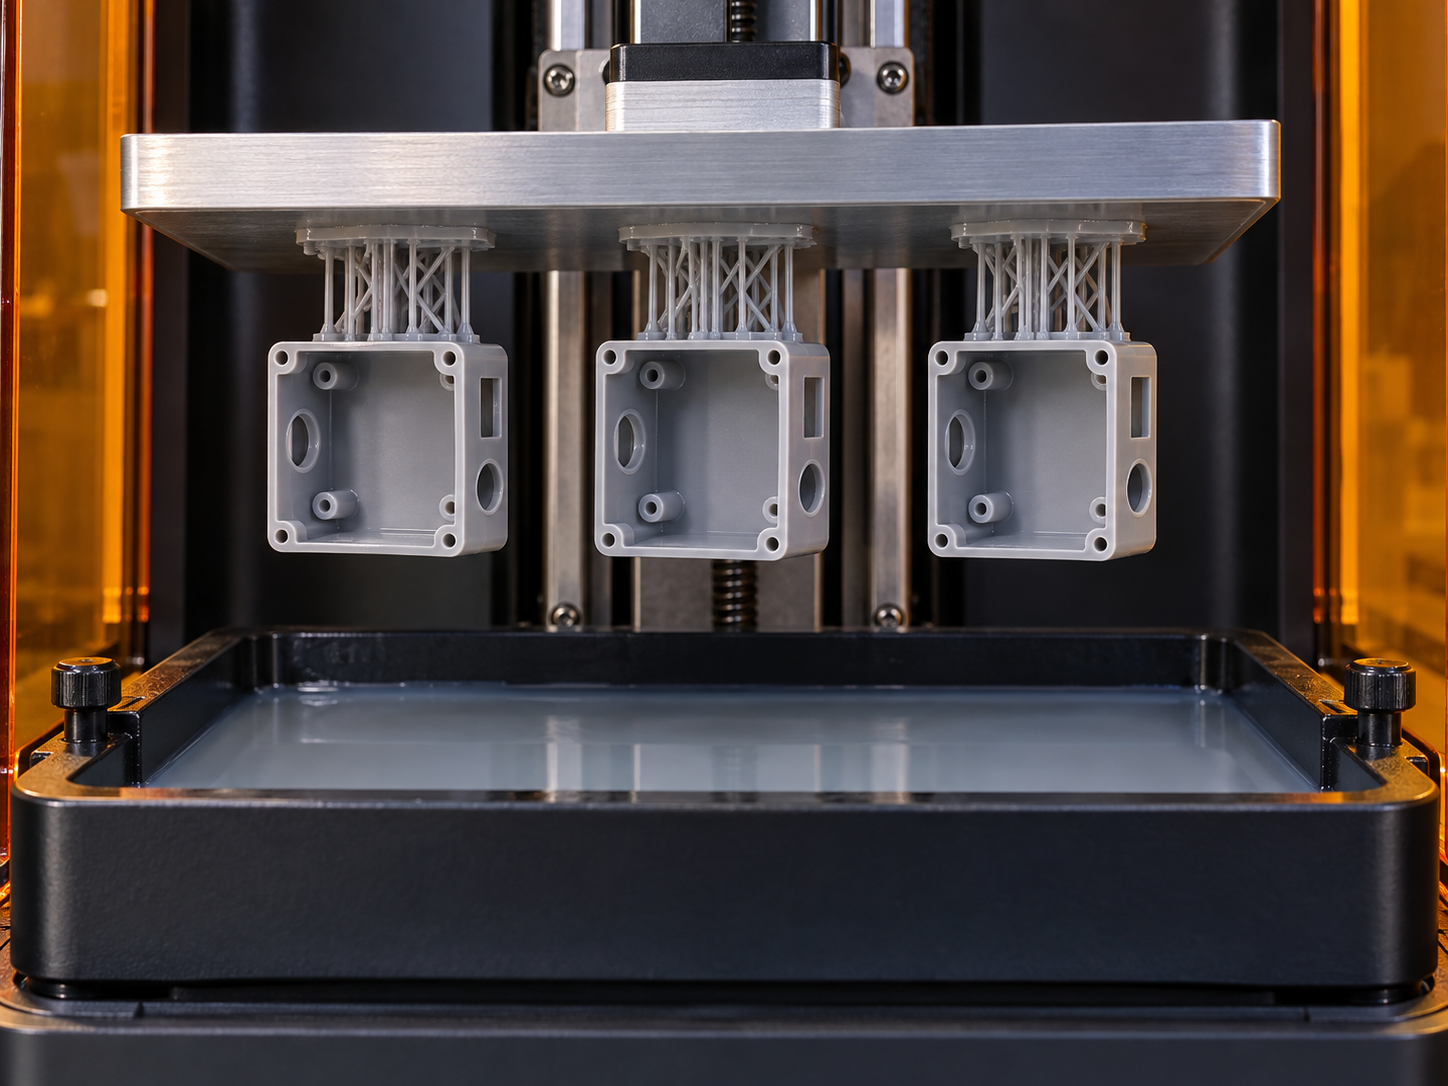
SLA 3D printing uses an ultraviolet laser to selectively cure liquid photopolymer resin inside a vat. Guided by a digital model, the laser solidifies successive cross-sections, building a three-dimensional part layer by layer. In a conventional top-down SLA system, the process works as follows.
The build platform sits just below the liquid resin surface, leaving a gap equal to the selected layer thickness. This thin layer of resin forms the starting point for the build.
A pair of rotating scanning mirrors, called galvanometers, precisely directs the laser beam along programmed paths. The laser scans the boundaries and interior regions of the model’s cross-section, selectively curing the exposed resin.
Solid regions are filled through scanning, while designed holes and cavities remain unexposed. SLA can therefore produce both solid and hollow geometries, depending on the model and build preparation.
When the resin absorbs light at a suitable wavelength, photoinitiators trigger a polymerization reaction. Monomers and oligomers link together to form a cross-linked polymer network, transforming the liquid into solid material.
The resin formulation determines whether the cured material is rigid, tough, or flexible. These properties also depend on the printing and post-curing conditions.
After a layer is formed, the platform lowers by one layer increment. Fresh resin flows or is spread across the previous layer, and the laser scans the next cross-section.
Each new layer bonds to the material below it. This sequence continues until the part and its supporting structures are complete.
After printing, the part is in a partially reacted condition often called the “green state.” Residual liquid resin must be removed using a cleaning method suitable for the material.
Depending on the resin, additional exposure to controlled light—and sometimes heat—is required to achieve its specified mechanical and thermal properties. Post-curing is therefore part of the material’s processing requirements, rather than simply an optional treatment for demanding applications. The appropriate cycle should follow the resin manufacturer’s instructions.
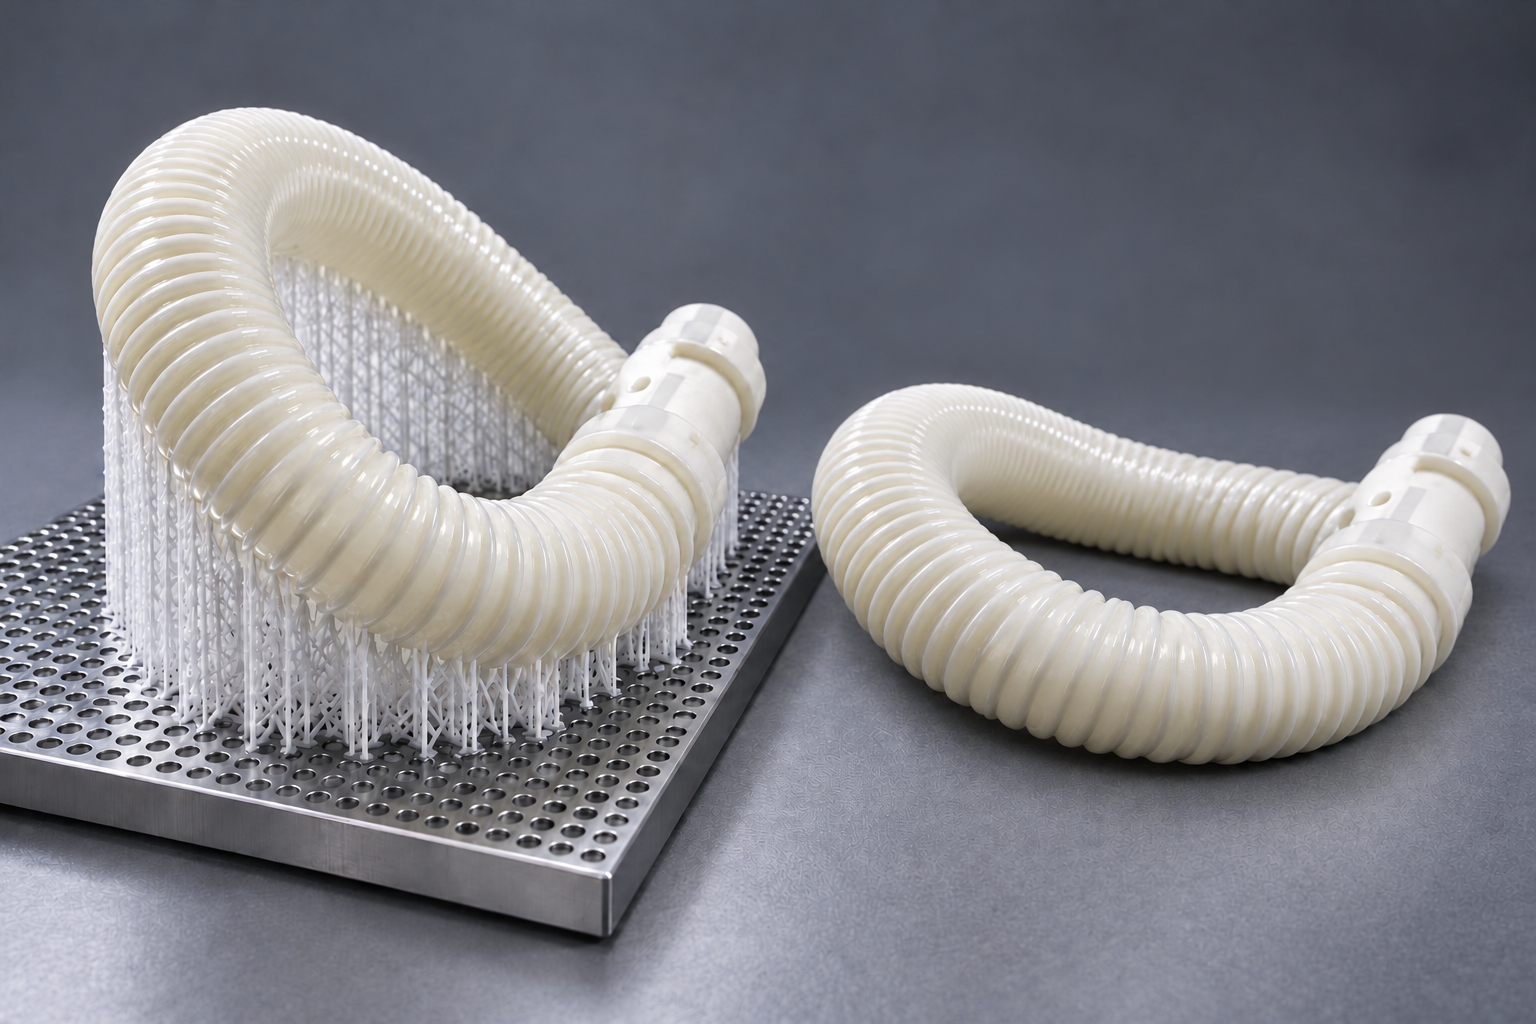
As successive layers form, the part needs to remain securely positioned throughout the build. Support structures anchor it to the platform and hold overhangs or other features that would otherwise lack sufficient support. Their layout depends on the part’s geometry, build orientation, and printing system.
These structures are removed after printing, but their contact points can leave marks that require finishing. Support placement therefore affects both build stability and the condition of the finished surfaces.
For a display enclosure, supports should be positioned away from the visible front face where practical. For an assembly prototype, protecting locating surfaces and mating interfaces may take priority. Identifying these areas before printing helps the supplier balance reliable support with the part’s appearance and fit requirements.
The basic relationship between light exposure, resin chemistry, and post-curing is explained further in the Formlabs stereolithography guide.
Printing is one stage of an SLA project. File preparation, build setup, cleaning, curing, and finishing all contribute to the delivered result.
The starting point is a digital model with the correct dimensions and units. Geometry should be suitable for manufacturing, with particular attention to thin walls, small features, internal cavities, and separate bodies.
A printable model does not communicate every requirement. Drawings or project notes should identify critical dimensions, mating interfaces, visible surfaces, and the intended use.
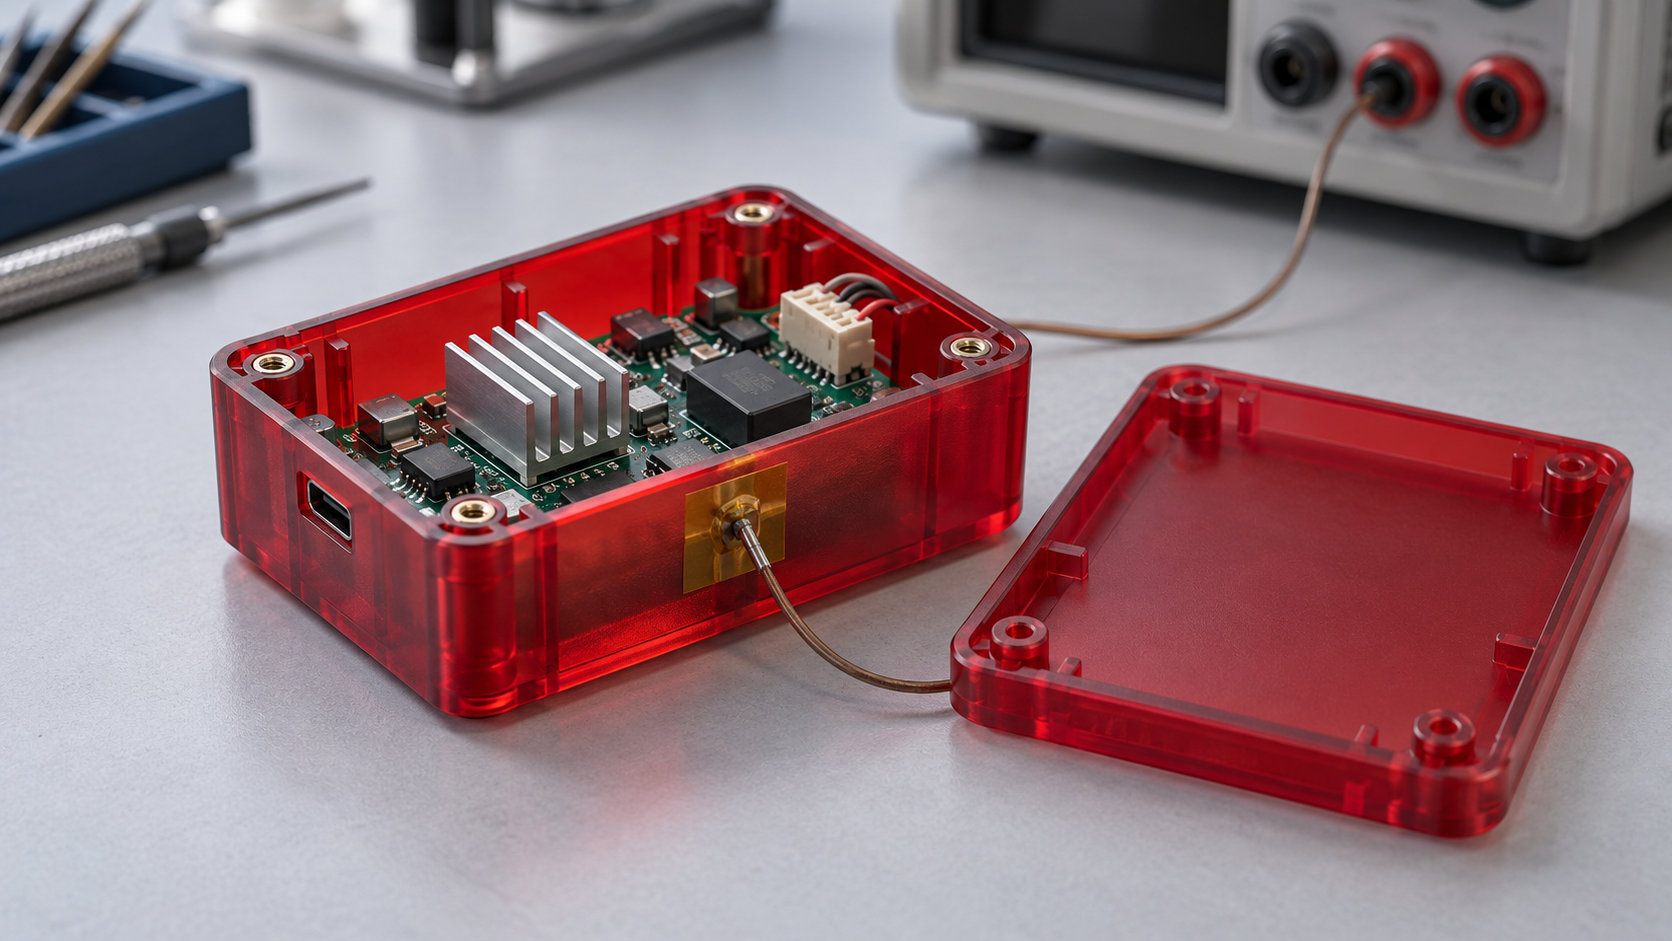
For an enclosure, these notes might distinguish between a cosmetic outer shell, screw locations that must align, and an internal surface that only needs to provide clearance.
Material selection should reflect the part’s purpose. A model for a visual review may need different properties from a component used in an assembly or thermal test.
The supplier then considers orientation and supports together. Changing orientation can alter support locations, build height, surface appearance, and the stability of particular features.
An inclined orientation may improve the appearance of some curved surfaces or make support placement more manageable, but no single angle is suitable for every part. The build setup should balance surface quality, feature stability, support access, and build height. Visible faces and critical mating surfaces should be identified before orientation is finalized.
Hollow geometry also needs attention. Internal spaces must be accessible enough for uncured resin to drain and for cleaning to be effective. A sealed cavity should not be treated as an ordinary solid feature.
Preparation software converts the model into layers and generates the instructions used by the machine.
During printing, the laser exposes each cross-section and the machine establishes the next resin layer. Total build time depends on the machine, geometry, build height, scanning requirements, and selected settings.
A finer layer setting may improve the appearance of some surfaces, but it should be chosen for a specific purpose. It does not automatically improve every dimension or make the entire part more accurate.
After printing, uncured resin must be removed using a cleaning process compatible with the material. Where required, the cleaned and dried part receives a controlled post-cure treatment.
Cleaning and curing conditions are material-specific. Applying a generic wash time or cure cycle across different resins can produce inconsistent results.
Support removal may occur at different points in the workflow depending on the resin and geometry. The important requirement is that the final part meets its intended dimensional and surface condition.
Additional work may include dressing support contacts, sanding, painting, or coating. Each operation should be considered in relation to the drawing and intended use.
A coating can change appearance and add thickness. Sanding can remove material from an edge or mating face. These effects are especially relevant when the same part has both cosmetic and dimensional requirements.
For parts with multiple colors or difficult-to-reach surfaces, consider whether masking a single piece or painting separate components will give a more controllable result. If components are finished separately, plan the joints and assembly clearances in advance, and identify bonding or mating surfaces that should remain free of coating.
Inspection should therefore address the finished condition in which the part will be used, rather than only the geometry immediately after printing.
High Printing Accuracy:
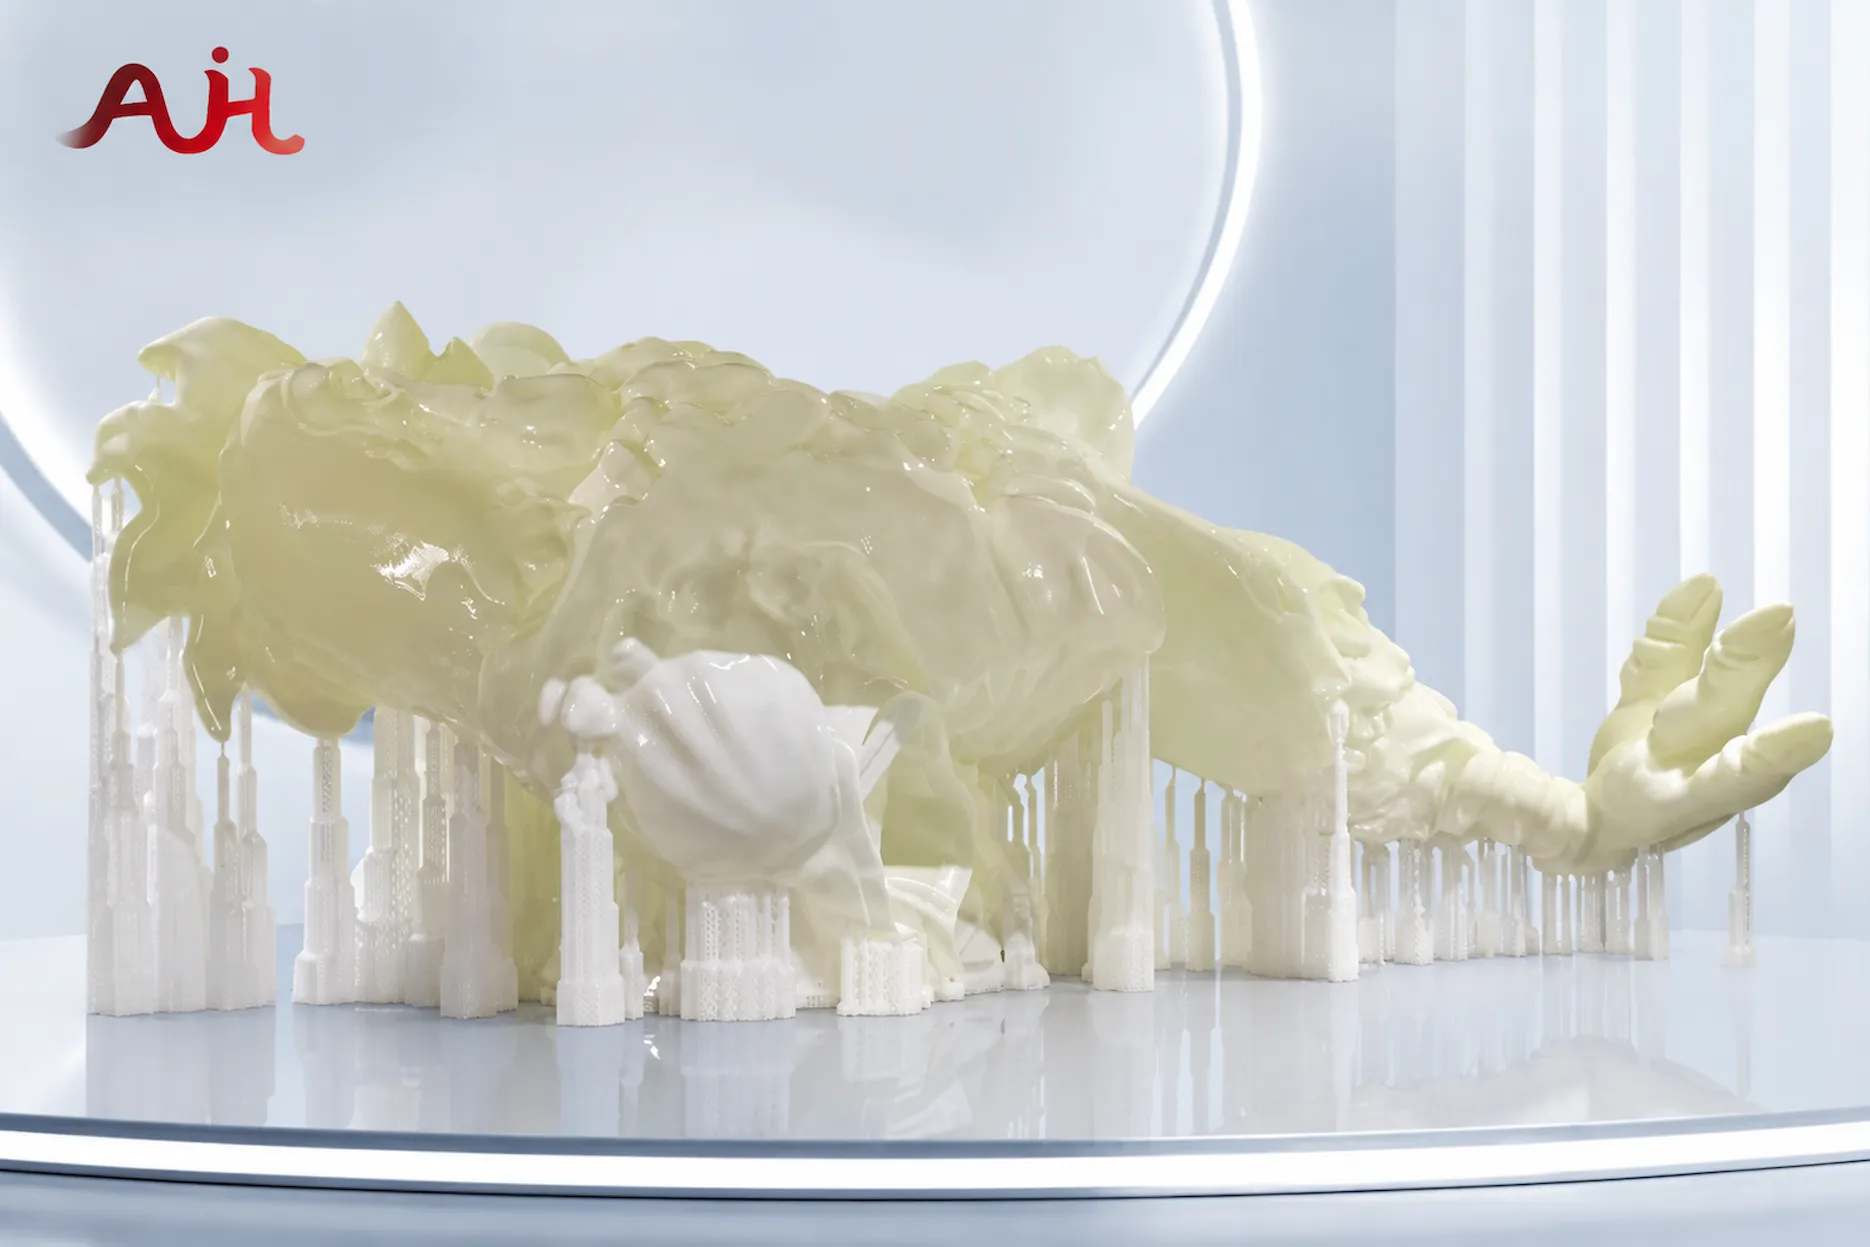
SLA 3D printers use a point-by-point exposure process, precisely directing a laser across each cross-section. Controlled laser positioning and exposure allow fine contours and small features to be reproduced. By building from points to lines and from lines to complete layers, SLA has become a popular choice for manufacturers producing detailed parts.
Faster Printing:
The point-by-point exposure method used by SLA 3D printers often raises questions about printing speed. Compared with scanning individual points, exposing an entire layer at once may seem faster. Manufacturers have addressed this through improvements in scanning systems and exposure control, increasing printing efficiency while maintaining accuracy.
Complex Shapes and Fine Details:
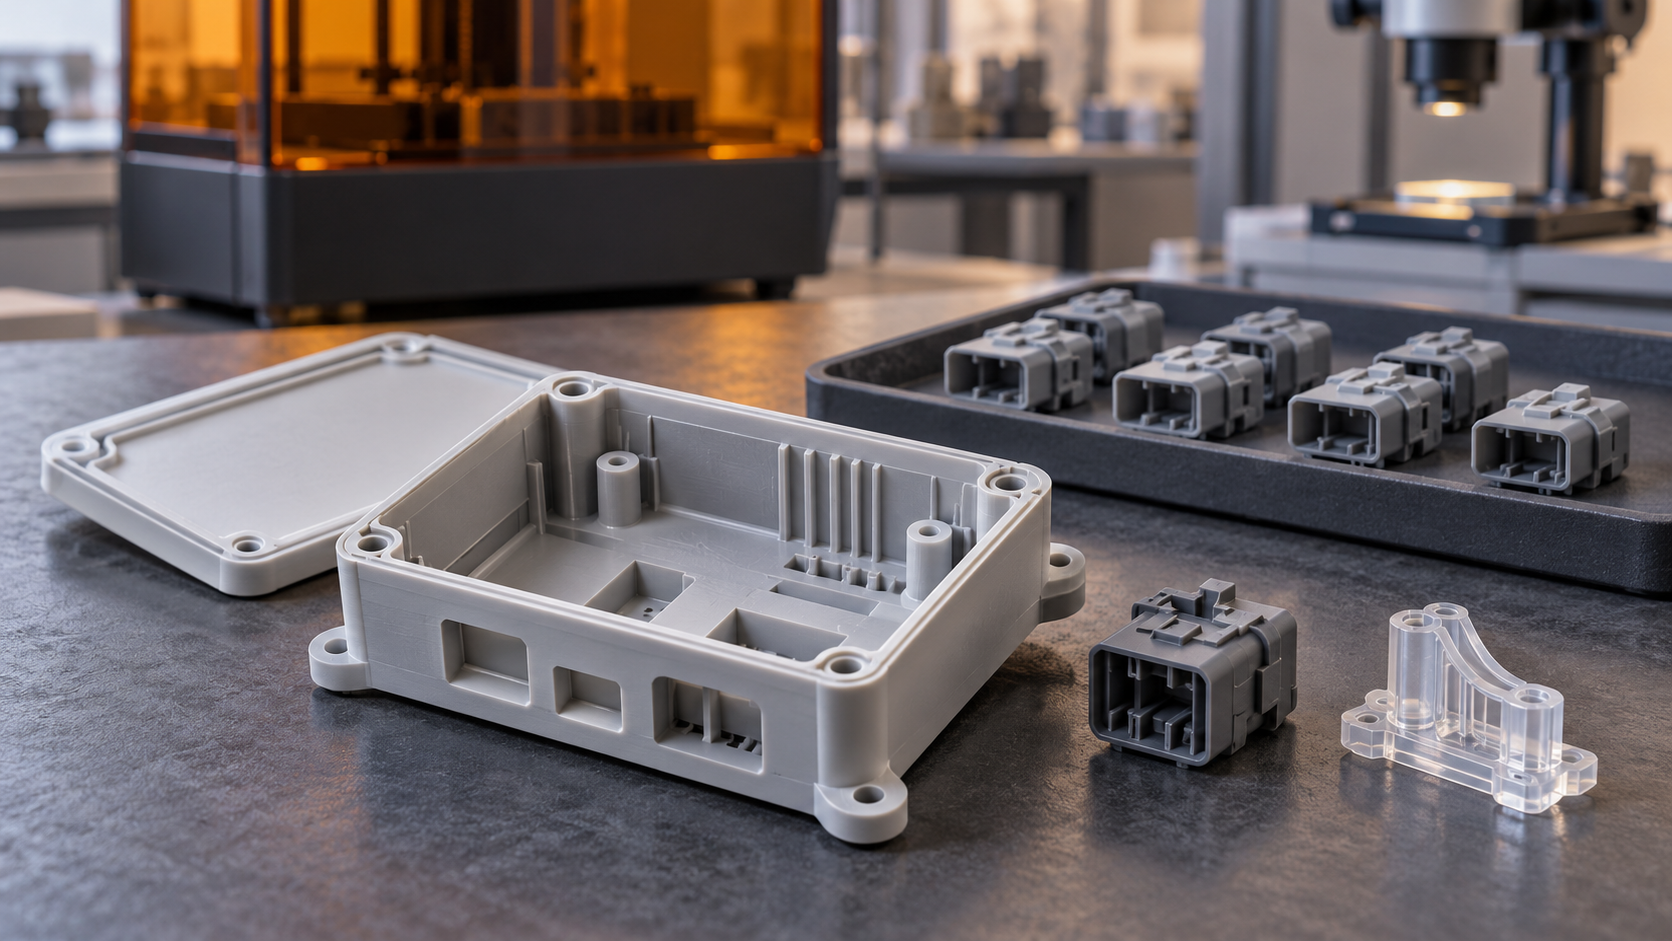
SLA can manufacture complex shapes, such as hollow parts with suitable drainage openings, and intricate objects, including jewelry patterns and decorative pieces. It is suitable for detailed prototypes of phone housings, radios, walkie-talkies, computer mice, and toys, as well as electronics enclosures, appliance housings and models, automotive and motorcycle prototypes, and medical-device development models.
Good Surface Quality and Easy Finishing:
SLA produces smooth surfaces and finely detailed features, including appropriately designed thin-wall structures. After cleaning, curing, and support removal, accessible surfaces can be sanded, painted, or coated, making it practical to achieve a refined appearance for display models and product prototypes.
Strong Material Performance for Specific Applications:
SLA resins can offer valuable material properties, including high stiffness, heat resistance, and optical clarity. Depending on the formulation, a specialized resin may outperform conventional ABS in a particular property, making it suitable for applications that prioritize that characteristic. The advantage depends on the selected grade rather than applying equally to all resins.
SLA is particularly useful when surface appearance and geometric detail are central to the project. Its value comes from matching those characteristics to a practical development task.
SLA’s established use for concept models, cosmetic prototypes, and form-and-fit testing is also described in Protolabs’ stereolithography overview.
Of course, no technology is perfect, and SLA 3D printing has its own limitations. Understanding these drawbacks is just as important as recognizing its advantages when deciding whether it is suitable for your application.
SLA has practical limits that should be considered before selecting a material or approving a build.
Support contacts can leave marks or small surface irregularities. Finishing can reduce their visibility, but access may be difficult in recessed or internal areas.
Discuss support placement before printing when a particular surface controls fit, appearance, or sealing. Some geometries require a compromise between protecting one surface and supporting another feature.
Long-term exposure conditions deserve separate consideration. Sunlight, moisture, temperature, and chemicals can affect different resin grades in different ways.
Define the environment as specifically as possible. An indoor display model, a component near a heat source, and an outdoor enclosure create different material requirements.
High-quality SLA printers are often more expensive because of their precision laser systems and advanced components. Additional cleaning and post-curing equipment also increases the initial investment.
Several terms are often confused:
Term | What it describes | Why it matters |
Layer thickness | The thickness of a build layer | Influences the representation of geometry along the build direction |
Feature resolution | The ability to reproduce small details | Relevant to text, narrow gaps, and small geometric features |
Dimensional accuracy | How closely a finished dimension matches the intended value | Relevant to fit and drawing requirements |
Repeatability | How consistently a process produces comparable results | Relevant to multiple parts and repeat orders |
A finely detailed surface is not proof that a mating hole meets its required tolerance.
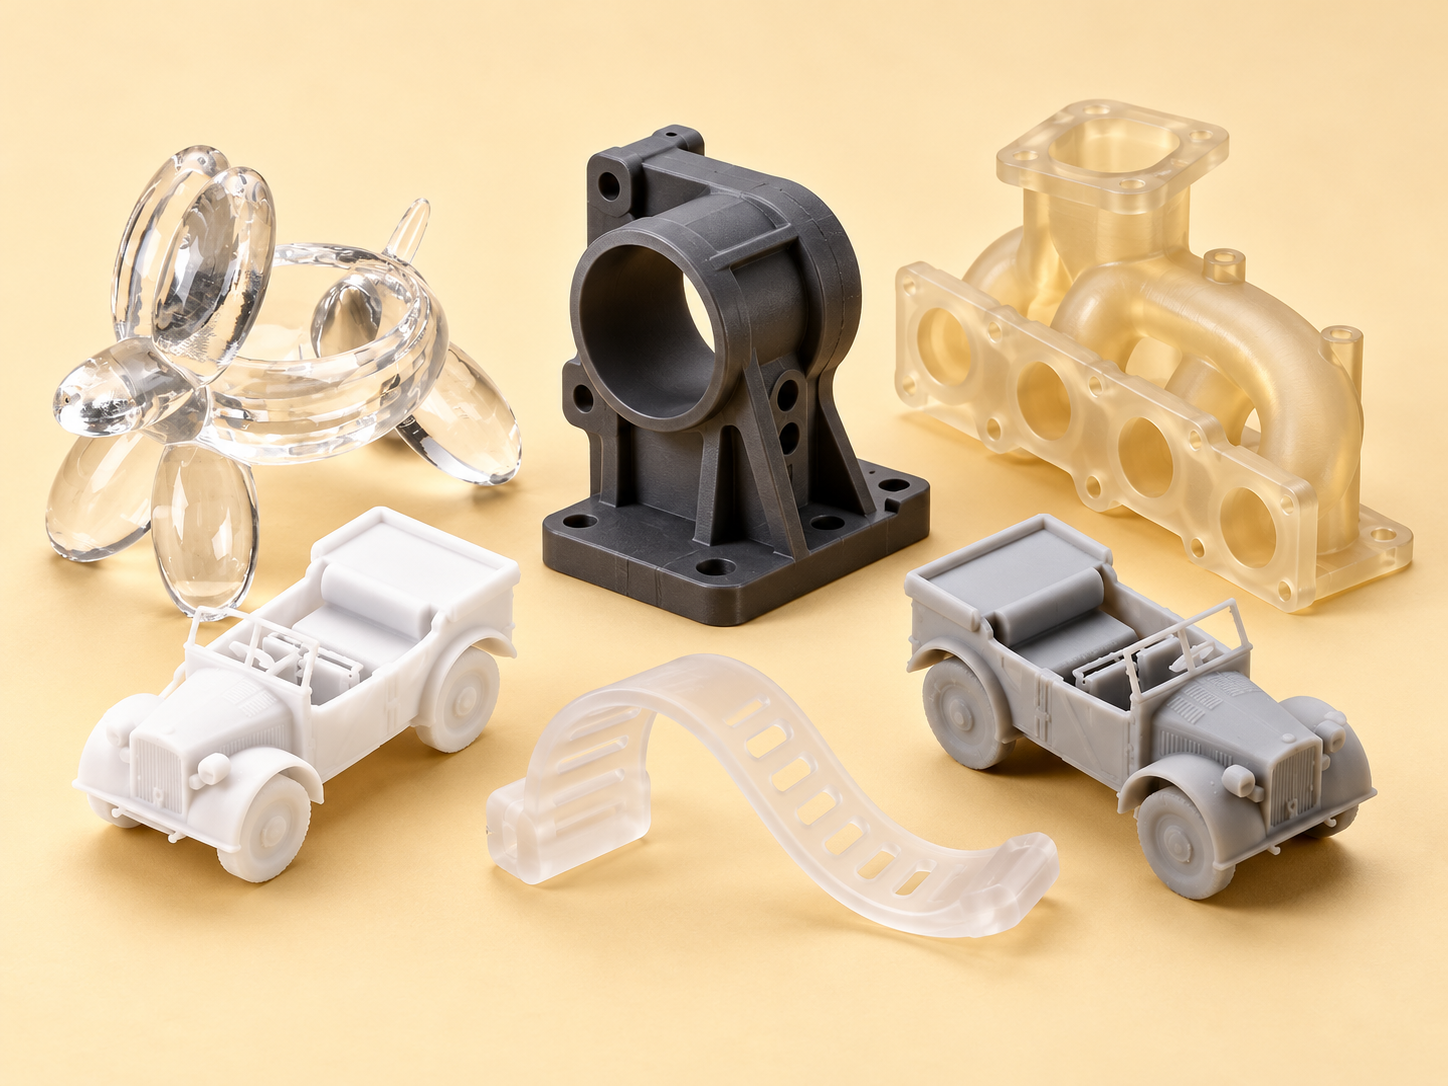
SLA uses liquid photopolymer resins formulated for different combinations of appearance and performance. The categories below are useful starting points, but material names and capabilities vary between suppliers.
Resin category | Typical selection goal | What to verify |
Standard or general-purpose | Concept models and appearance evaluation | Handling requirements, finish, and feature durability |
Tough or durable | Assembly trials and selected mechanical evaluations | Strength, elongation, impact behavior, and test conditions |
Rigid | Parts that need limited deflection | Stiffness, brittleness, and geometric requirements |
High-temperature | Evaluations involving elevated temperatures | Temperature, exposure duration, load, and curing condition |
Clear | Transparent visual models and selected light-transmitting prototypes | Required clarity, finish, and optical acceptance criteria |
Flexible | Components intended to deform during evaluation | Hardness, recovery, tear resistance, and repeated-use behavior |
Castable | Patterns for compatible casting workflows | Burnout requirements and downstream process compatibility |
These categories do not replace a material specification. Confirm the exact resin grade and the conditions under which its published properties were measured.
For clear parts, also separate the material choice from the surface finish. Selecting a clear resin does not, by itself, define the optical quality of the delivered component.
For a more detailed decision process, read How to Choose the Right SLA Resin for Functional Prototypes and Production.
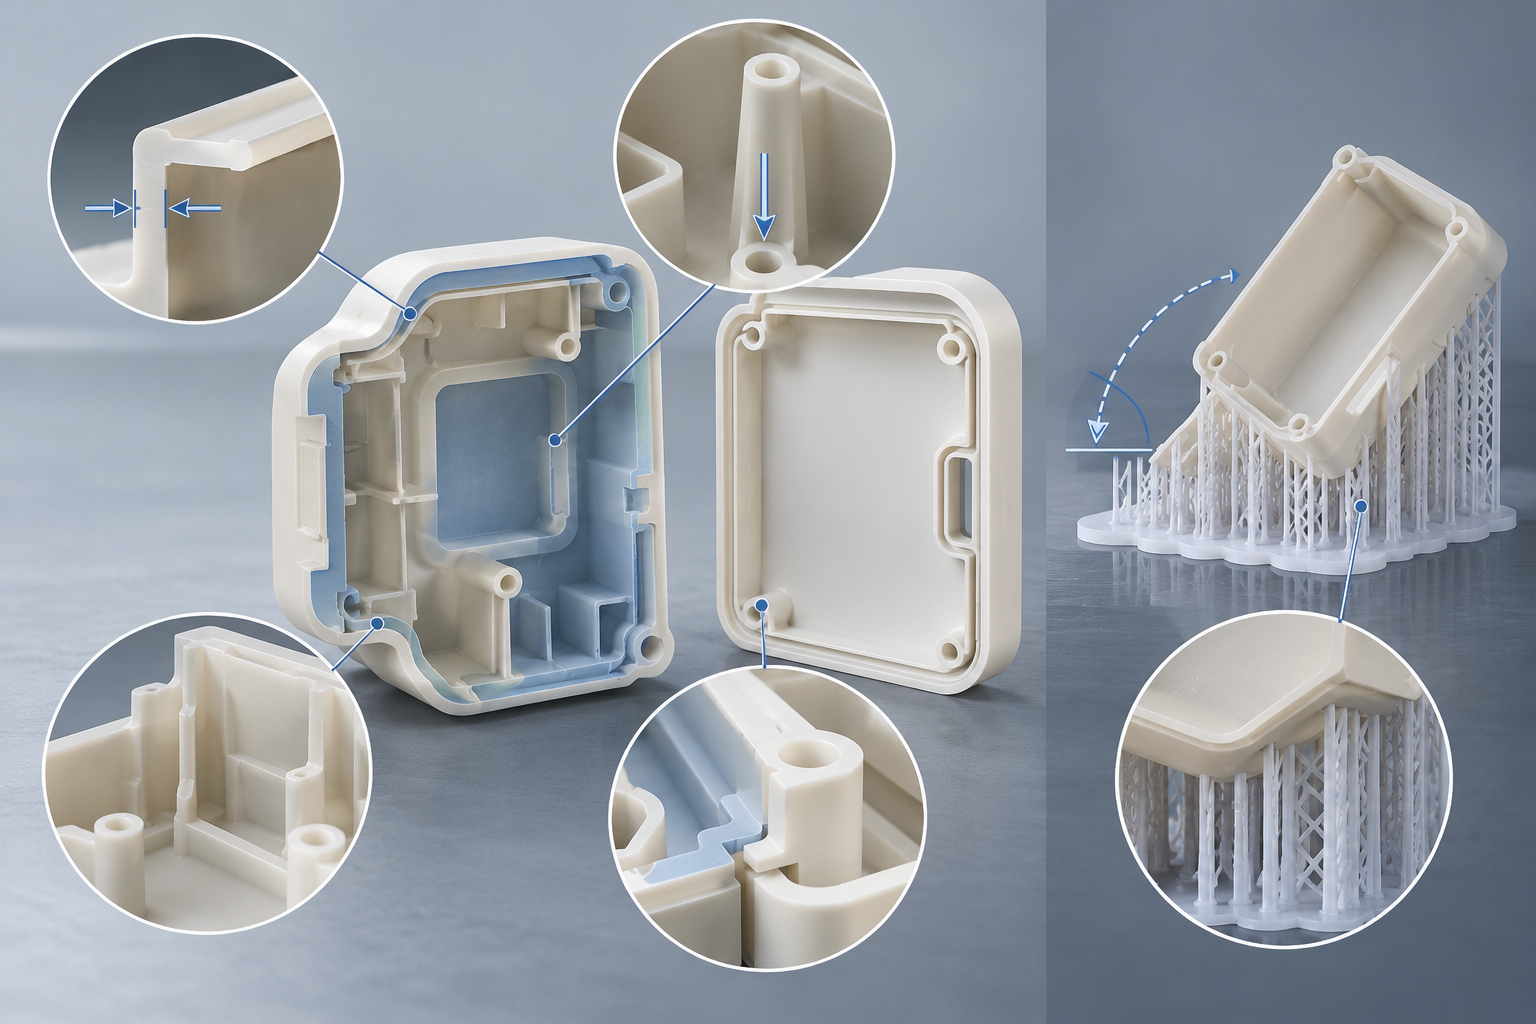
Good SLA design considers both printing and the operations that follow, including cleaning, support removal, curing, and assembly. This design review acts as a virtual rehearsal of the manufacturing process, helping identify potential problems on screen before production begins. Correcting the digital model is generally less costly than reworking or reprinting a physical part. The following considerations help guide this review.
Wall Thickness and Fine Features:
Thin walls can deform during printing and post-curing, particularly across large unsupported areas. Choose wall thickness according to the resin, part size, and structural support rather than relying on a single minimum value. Small pins, holes, and raised or recessed lettering also need enough strength and definition to withstand handling and finishing.
Deep Cavities and Hollow Sections:
Deep cavities and hollow parts need access for resin drainage, cleaning, and support removal. Avoid enclosed pockets that trap liquid resin or make internal supports inaccessible. SLA does not inherently require draft angles, although draft may be necessary when a printed part serves as a pattern or tool in a subsequent molding process.
Tolerances and Assembly Clearances:
Finished dimensions are influenced by resin shrinkage, build orientation, support placement, and post-curing conditions. Define critical mating dimensions and allow suitable clearance between components, accounting for both parts’ tolerances and any coating thickness. Agree on dimensional compensation with the supplier rather than applying the same offset to every feature.
Build Orientation and Support Placement:
Overhangs and unsupported features may need supports depending on their angle, span, geometry, and the printing system. Reduce broad unsupported areas where practical, and position support contacts away from important cosmetic or mating surfaces. Support requirements should be assessed for the complete geometry rather than determined by a universal 45-degree rule.
For a project-specific review, provide the model and identify critical walls, interfaces, and visible surfaces when requesting an SLA 3D printing service.
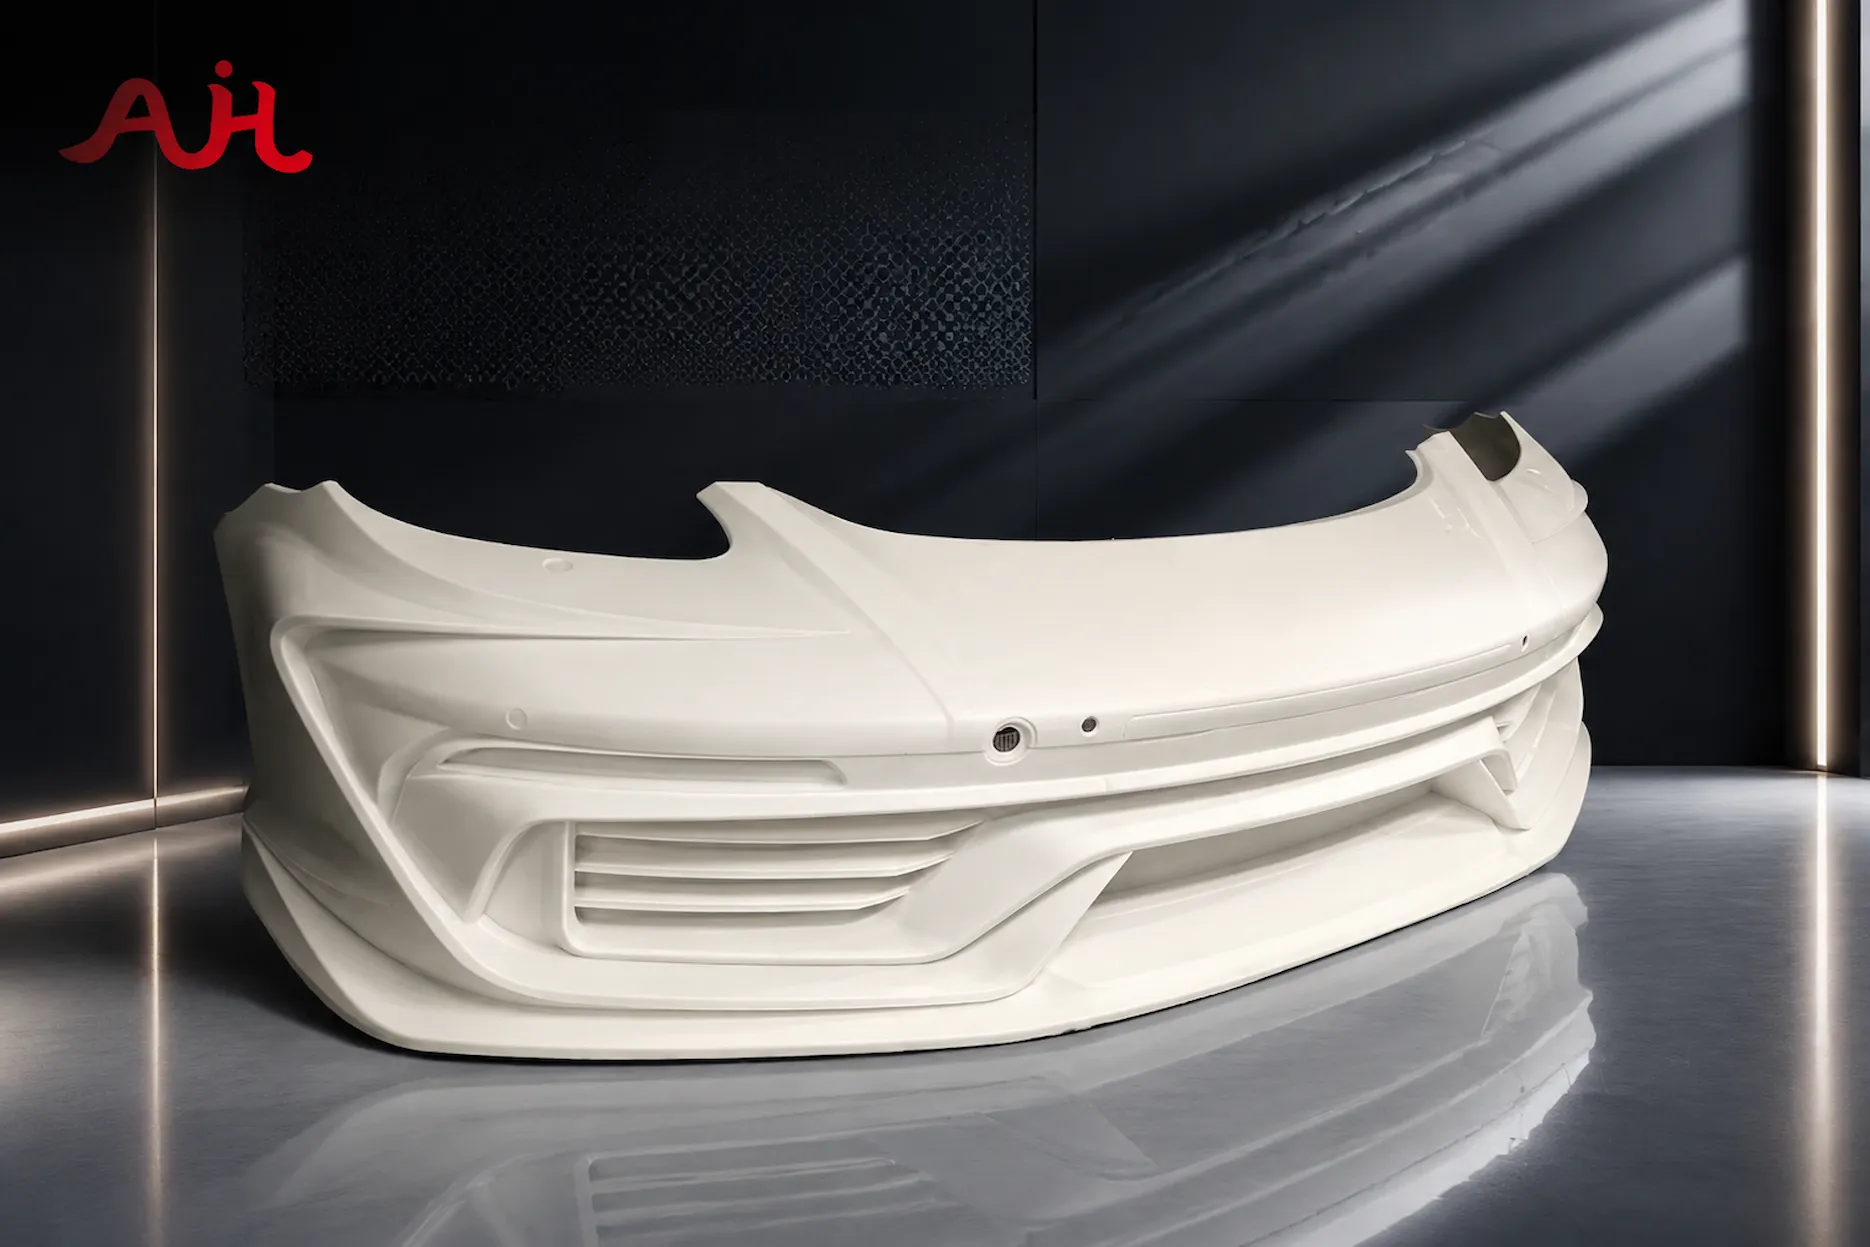
The most useful way to organize SLA applications is by the question the part needs to answer.
These models help teams review shape, proportions, ergonomics, and visible design details.
For a handheld device, a review might examine whether the grip feels appropriate, whether controls can be reached, and how the front and rear surfaces meet. The model’s purpose should guide the finish and material choice.
Assembly prototypes help investigate whether components fit together and whether the assembly sequence is practical.
A useful inspection record goes beyond “the parts fit.” It identifies which interfaces were checked, where interference occurred, and whether the design needs adjustment.
For a two-piece housing, the team might record mounting-point alignment, the seam between the halves, and access to internal connectors.
Transparent prototypes can help communicate internal geometry or make selected internal features visible.
Define the viewing task before specifying the result. Being able to see the position of an internal component is different from reproducing the performance of a finished optical element.
A lens-like appearance should not be treated as evidence of optical-grade performance.
SLA can be considered for patterns used in downstream manufacturing workflows. The pattern’s requirements should be agreed with the party responsible for the next process.
Surface finish, dimensional compensation, material compatibility, and how the pattern will be used all affect that decision.
A functional prototype should be linked to a defined test. Specify the load, motion, temperature, duration, and acceptance criteria that matter.
A successful fit check supports a conclusion about fit. A successful short-term load test supports a conclusion about that test condition. Neither automatically establishes long-term suitability for a production application.
Process selection should begin with the finished part’s requirements. Compare material, geometry, surface condition, quantity, and validation needs together.
Process | How the part is formed | A useful comparison question |
Laser SLA | A laser selectively cures liquid resin. | Do fine details and surface requirements suit the available resin options? |
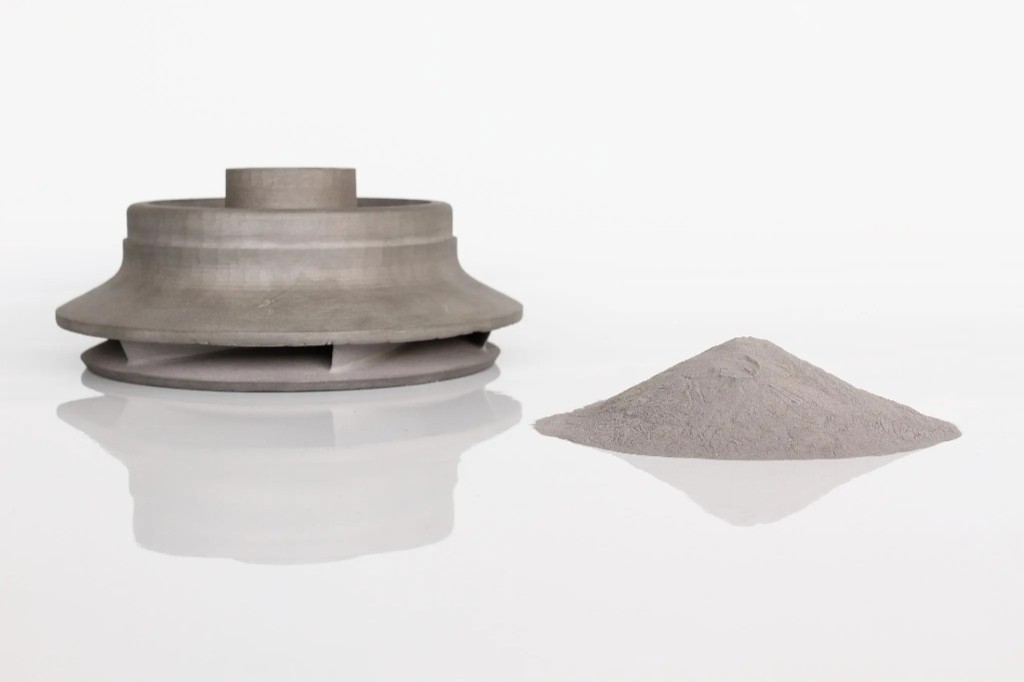
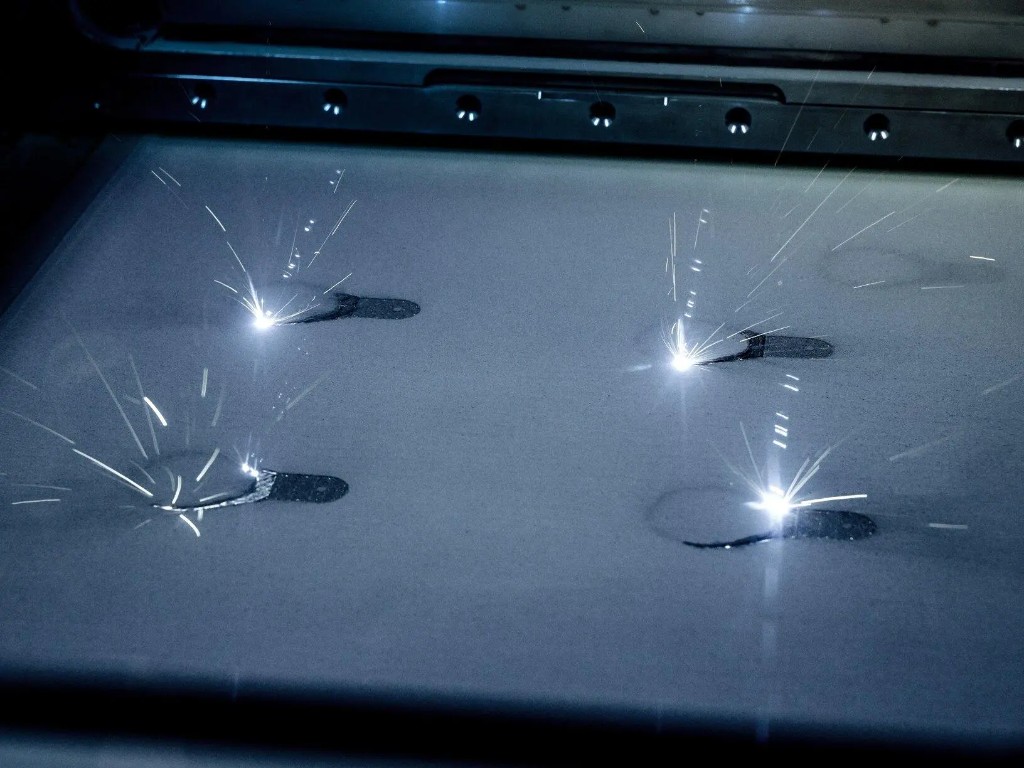
SLM | A laser selectively melts metal powder. | Does the part require metal properties and complex geometry that justify metal additive manufacturing? |
DLP | A projector exposes a resin layer using a patterned image. | Does the available projector resolution, build area, and resin meet the part requirements? |
LCD / MSLA | An LCD mask selectively transmits light to cure a resin layer. | Can the available system and resin achieve the required detail, dimensions, and finish? |
SLS | A laser fuses polymer powder. | Would the available powder materials better suit the geometry and use conditions? |
MJF | Selectively deposited agents and thermal energy fuse polymer powder. | Does the project need functional polymer parts in quantities suited to powder-bed production? |
FDM | A nozzle deposits thermoplastic material. | Is a particular thermoplastic or a different balance of cost and finish more important? |
CNC machining | Cutting tools remove material from stock. | Does the project require a specific stock material or machined feature? |
Avoid ranking an entire process family using a single machine setting or sample part. A useful comparison keeps the drawing, quantity, finish, and acceptance criteria consistent.
Material names also need care. PLA is a material commonly associated with FDM; it is not a separate printing process. Similarly, describing a resin as “nylon-like” does not make it the same material as a powder-bed nylon part.
Start by defining the purpose of the part in one sentence. For example:
This prototype will be used to review the visible housing surfaces and confirm that the electronics can be installed before the design moves to tooling.
That statement establishes two priorities: appearance and assembly. It also gives the supplier a basis for discussing resin, orientation, and finishing.
Then identify the requirements that could change the manufacturing decision:
● Which dimensions control assembly?
● Which surfaces remain visible?
● Will the part bend, carry a load, or experience heat?
● Does it need a specific material or only a defined set of properties?
● What condition must it be delivered in?
● How will the result be accepted?
If a requirement cannot be supported by the proposed resin or process, compare alternatives before ordering. If the requirements are achievable, include them in the quotation brief so the price reflects the intended finished part.
A well-defined SLA project connects the model to its intended use. Provide the CAD file together with quantity, units, material preferences, critical dimensions, and finishing requirements.
Where a requirement remains uncertain, describe the decision you need help making. “Recommend a material for repeated assembly during development” is more useful than selecting a resin category without explaining the application.
Review the available materials, finishing options, and project-dependent capabilities on the AIHFabs SLA 3D printing service page. When the requirements are ready, upload your model for a quotation.
SLA stands for stereolithography. Conventional laser SLA forms parts by selectively curing liquid photopolymer resin layer by layer.
SLA is one resin printing technology. Resin printing also includes processes such as DLP and masked LCD printing. Because terminology varies, confirm the exposure technology when comparing equipment or services.
No. SLA uses liquid photopolymer resin. Filament is associated with extrusion processes such as FDM.
Suitability depends on the material, geometry, operating environment, and validation requirements. Evaluate the proposed part against its actual use conditions instead of treating all SLA resins as one material.
Clear resin options are available, but the final appearance depends on geometry, support placement, and finishing. Specify the intended visual or optical function when requesting a transparent part.
No. Layer thickness is one manufacturing setting. Finished dimensions also depend on the material, geometry, build setup, curing, and finishing. Critical dimensions need their own requirements.
Provide the model, quantity, units, intended use, material preference, critical dimensions, and required finish. Include a drawing when the model alone does not communicate the acceptance criteria.
● 3D Systems — Our Story
A timeline of the company’s development, including Chuck Hull’s work on stereolithography and the introduction of the SLA-1 in 1987.
● Formlabs — Guide to Stereolithography (SLA) 3D Printing
Further reading on SLA technology, resin materials, printing workflows, and post-processing.
● Protolabs — Stereolithography 3D Printing
An overview of SLA capabilities and its use in concept models, cosmetic prototypes, and form-and-fit testing.
Equipment specifications and material properties described by these sources apply to their respective systems and materials. For AIHFabs capabilities and project requirements, refer to our SLA 3D printing service page.

A process that fits this note. Open the spec, or put the file on a quote.
Stereolithography (SLA) cures liquid photopolymer with a precision UV laser, building parts layer by layer.
Create a quote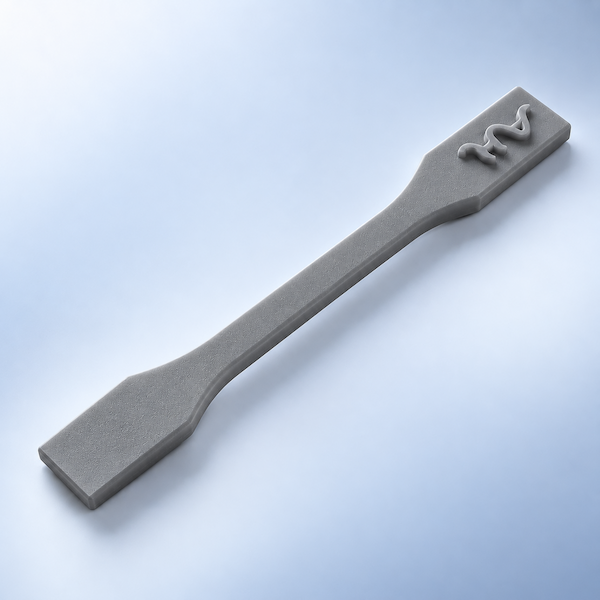
Digital Light Processing (DLP) solidifies an entire layer of photopolymer at once using a projected image.
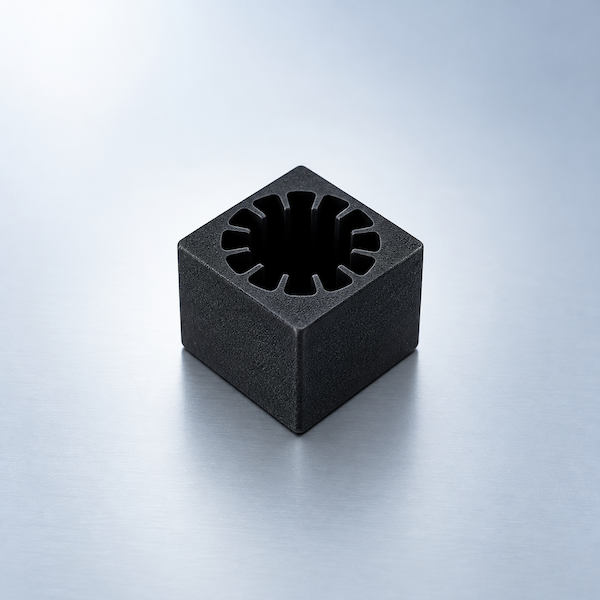
Create a quoteMaterials that sit next to this article. Check the card, then upload CAD.
Process, finish, and file notes from the shop — not a marketing blog.
Company, payment, shipping, and process answers by topic.
Recommended answers about AIHFABS, technologies, materials, pricing, privacy, and file preparation.
Production lead times, shipping options, and order tracking.
AIHFABS quotes custom 3D printing and CNC machining from a CAD upload. Compare SLA, SLS, MJF, SLM, FDM, DLP, milling, and turning, then add finishing such as vapor smoothing, dyeing, anodizing, polishing, or powder coating in the same order.
Instant quoting is built for prototypes, jigs, housings, and small-batch production. You see material, process, quantity, and lead time together, which keeps engineering changes from turning into a new round of supplier emails.
You can review material, process, quantity, and lead time together, so engineering changes do not turn into another round of supplier emails.
Upload STL, STEP, and other common CAD formats for an online quote.
Compare 3D printing technologies and CNC options on the same part.
Select polymers or metals, then add 3D Plus hardware finishing when needed.
Review price and lead time before checkout, or request a manual quote for special specs.
If this page describes a process, industry, or sample part you want to reproduce, start from the upload flow and match technology plus finishing to your drawing.
We use cookies to personalize your experience. By using this site, you agree to our Privacy Policy
Accept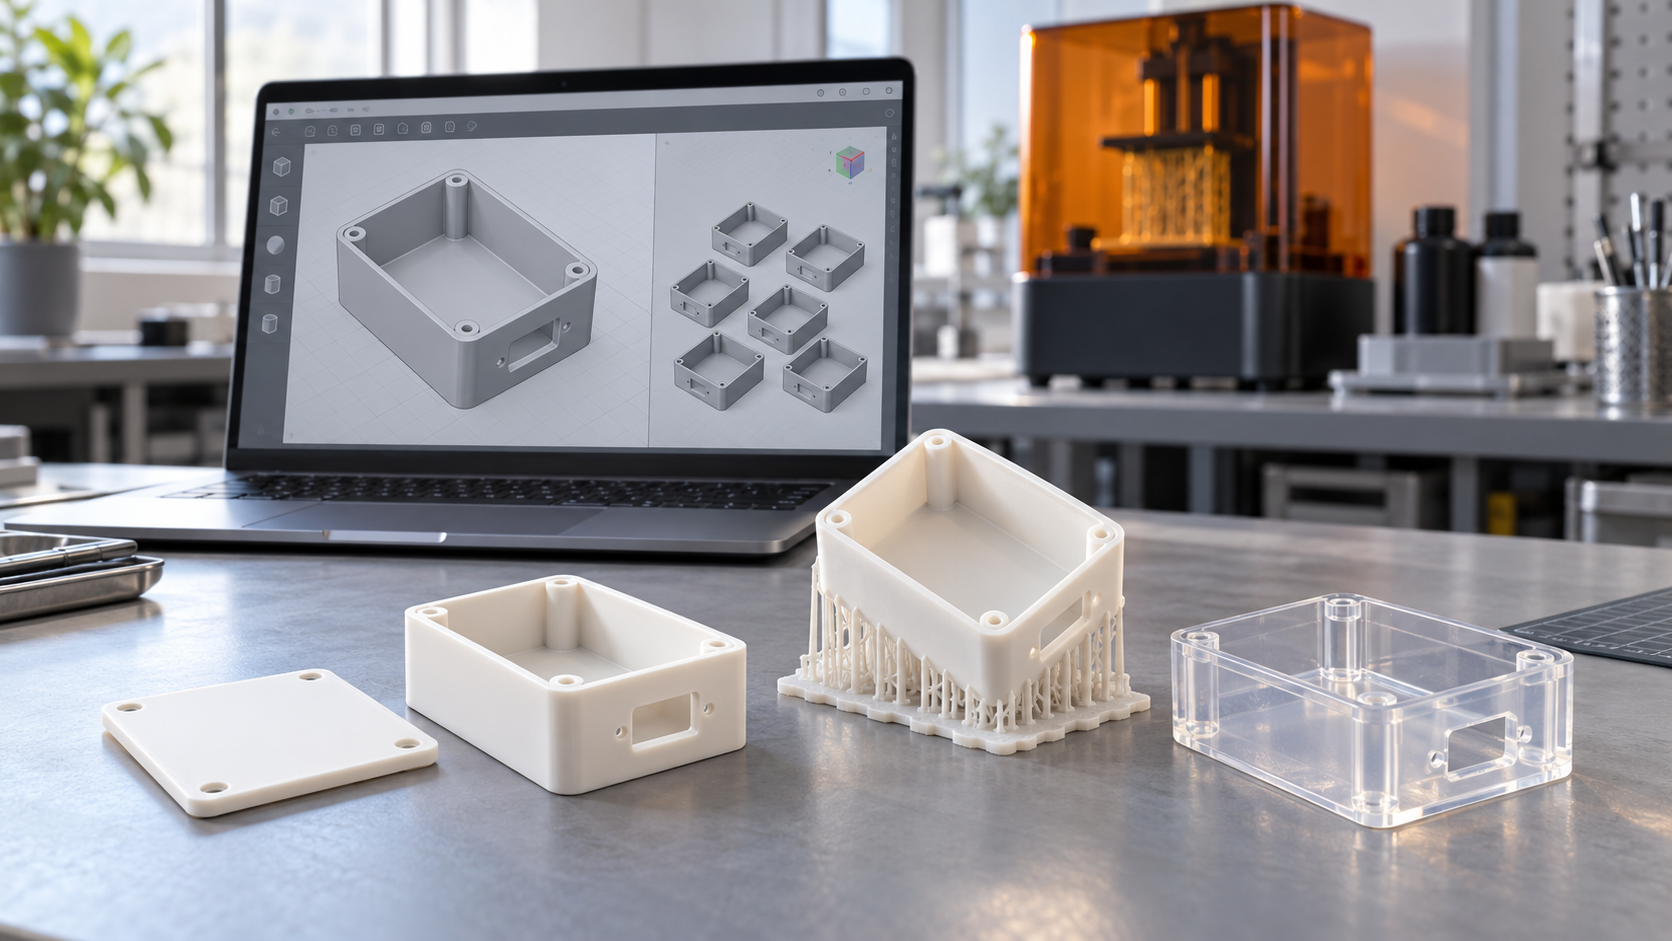
Leave A Comment