
3D Printing
Stereolithography (SLA)
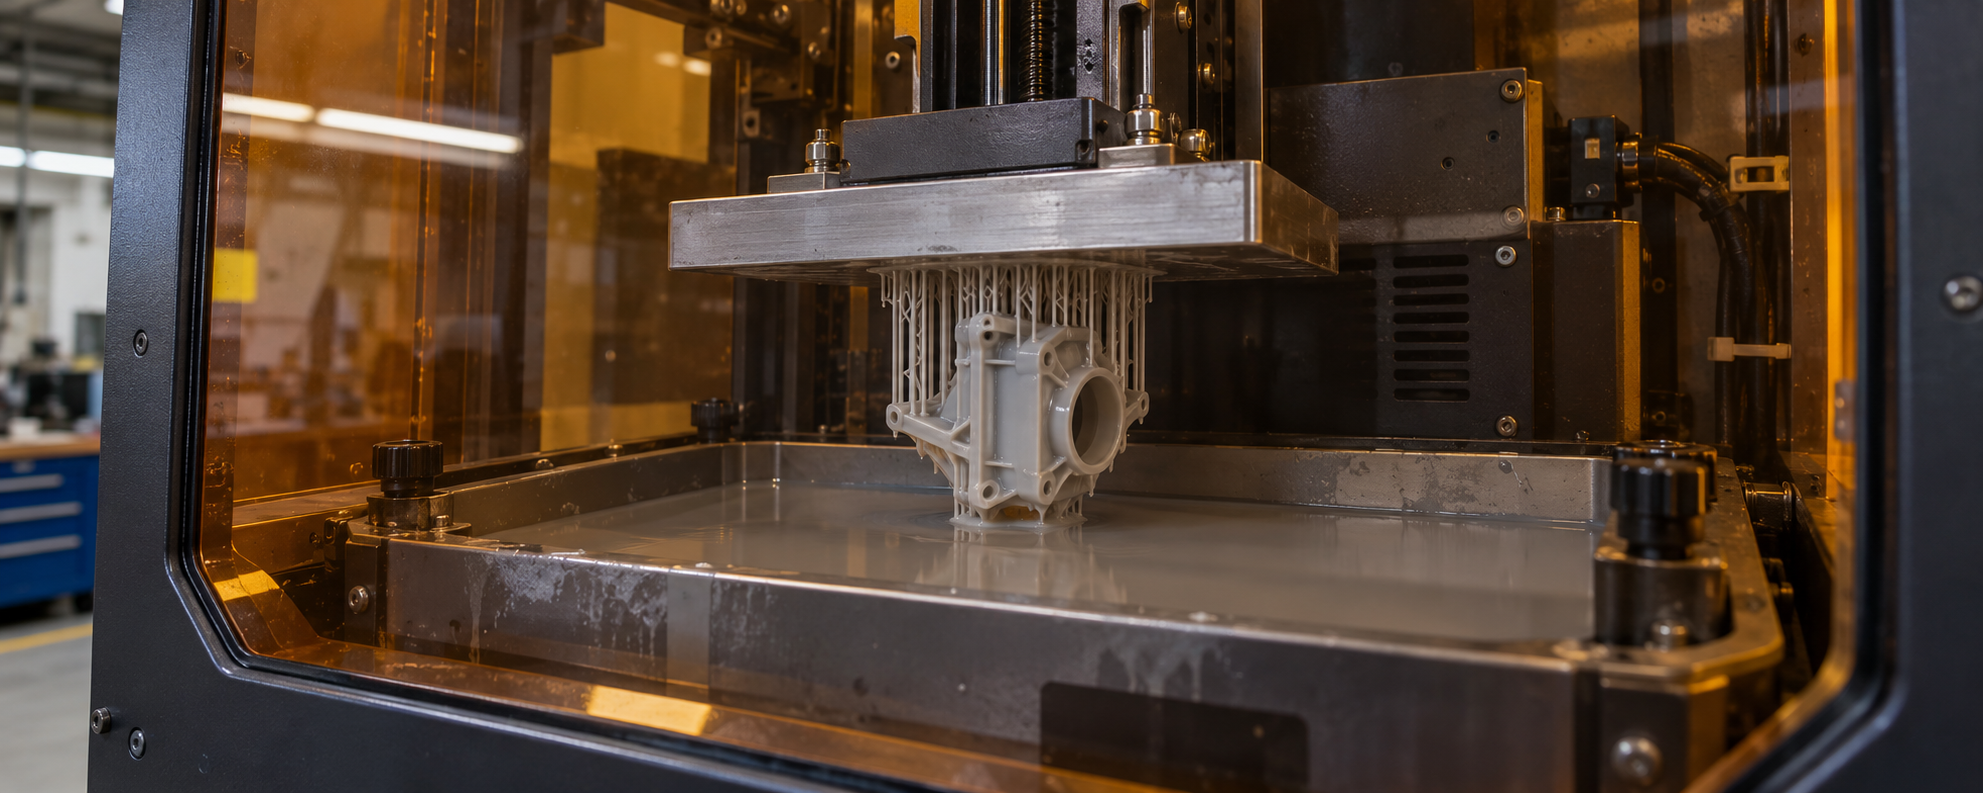
Stereolithography (SLA) cures liquid photopolymer with a precision UV laser, building parts layer by layer.
Create a quote
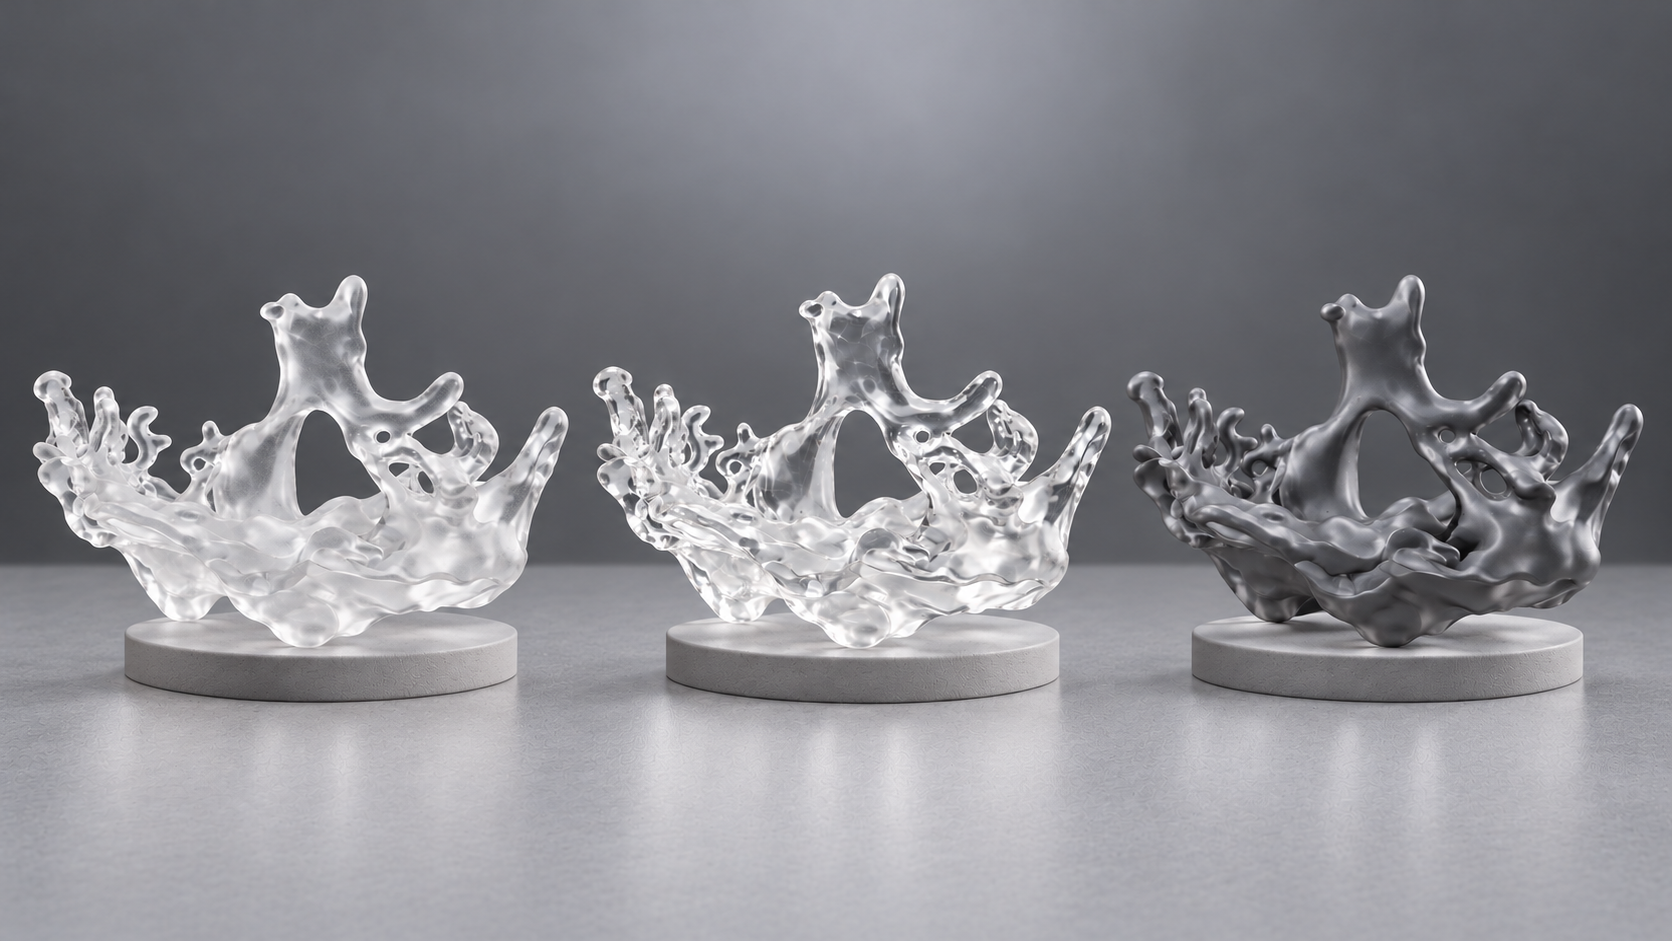
SLA 3D printing can produce detailed resin parts with smooth surfaces, but the condition of a finished part depends on what happens after printing. Residual resin must be removed, supports must be dealt with, and the material must receive the post-cure specified for its intended condition. Additional finishing can then prepare the part for assembly, painting, or a clear visual presentation.
The right SLA post-processing route starts with the job the finished part needs to do. An enclosure used to check component fit needs controlled mating surfaces. The same enclosure prepared for a product presentation may need a consistent color and gloss. A transparent cover introduces another requirement: being able to see through the finished walls.
This guide explains how to choose between these routes, what each operation changes, and how to specify an SLA surface finish that supports the application without adding unnecessary work.
Start by identifying which surfaces matter and why. A visible front panel, a sliding interface, and an internal rib do not need the same treatment. Applying a cosmetic finish everywhere can spend time on hidden areas while making a functional interface harder to control.
The following routes are useful ways to discuss a project. They describe outcomes rather than universal finish grades.
Finishing route | Suitable starting point | Main work after the material workflow | What to define |
Cleaned and post-cured with supports removed | Fit checks and prototypes where local marks are acceptable | Remove supports and dress contact points as agreed | Acceptable marks and critical dimensions |
Sanded cosmetic surfaces | Models that need reduced layer lines or a more even appearance | Work on designated visible faces | Surfaces to sand and details to preserve |
Primed and painted | Presentation models and color evaluation | Prepare the surface, apply primer and the agreed coating system | Color, gloss, masking and coating allowance |
Polished or clear-coated transparent surfaces | Covers and models intended to reveal internal features | Refine accessible surfaces and apply a compatible clear finish where appropriate | Viewing areas and the required level of clarity |
Finish names vary between suppliers. For example, Protolabs distinguishes between several SLA finish levels with different treatment of support marks and surfaces. A request for a "standard finish" therefore needs a written description of what is included.
AIHFabs lists washing and UV post-curing as the default SLA condition, with support nubs dressed off; clear coating and painting are additional appearance options. Use the SLA 3D printing service page as the starting point, then identify any additional surface requirements in the project brief.
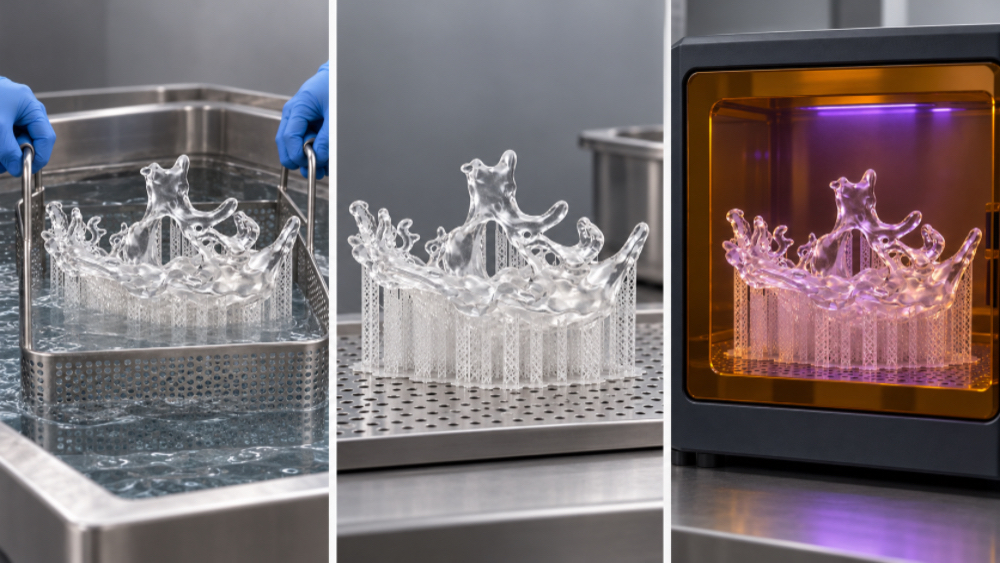
Once the required finish is clear, prepare the printed part for that result. Washing removes residual liquid resin, drying prepares the surfaces for further processing, and the specified post-cure establishes the required material condition. Support removal completes this preparation, although its position in the sequence depends on the resin, geometry, and manufacturing workflow.
A common sequence is washing, drying, post-curing, and support removal. Some workflows remove selected supports before curing to improve access. Follow the material and equipment instructions when choosing the sequence; ease of removal is only one consideration.
A freshly printed SLA part carries uncured resin on its surfaces. Remove this residue with a cleaning liquid approved for the material before proceeding to curing or cosmetic finishing.
Manual immersion and agitation. Place the part in the approved washing liquid and gently move the part or basket so liquid reaches the surfaces. IPA is common, but the cleaning agent and exposure time must suit the resin. Manual washing can produce an appropriate result when the liquid, access, and procedure are controlled.
Where the workflow calls for two stages, use the first bath to remove most of the residue and a cleaner final bath to complete the wash. Review the condition of the liquid if residue remains rather than repeatedly extending the soak in a contaminated bath.
Automated wash stations. These circulate the cleaning liquid around the part during a timed cycle. Check that parts are positioned so liquid can reach and leave the relevant surfaces. Ultrasonic cleaning. A compatible ultrasonic system provides another way to remove resin residue. Photocentric, for example, specifies ultrasonic washing equipment and resin-cleaner combinations for its workflows. Select the cleaning agent, cycle, and temperature from the relevant instructions, and confirm that the method is suitable for the resin and any delicate features.
Do not pour IPA into a general-purpose ultrasonic tank that is not approved for flammable solvents. Elma's equipment instructions identify a fire and explosion risk from using flammable liquids directly in such tanks. The compatibility of the liquid with the printed resin does not establish its compatibility with the cleaning equipment.
For a hollow enclosure or internal channel, confirm that resin can drain out and cleaning liquid can enter and leave. An attractive exterior does not demonstrate that an inaccessible cavity has been cleaned. Identify important internal passages in the project brief and agree how cleanliness will be assessed.
After washing, complete any required rinse and let the part dry according to the cleaning workflow. Check pockets, drain holes, and recesses as well as exposed faces. Formlabs instructs users to dry parts before post-curing; a dry-looking outer surface alone is not a reason to overlook trapped liquid.
For an outsourced order, specify the completed material workflow rather than an arbitrary drying time. Once the part is clean and dry, continue with the agreed cure and support-removal sequence.
Post-curing uses additional light and, where specified, heat to develop material properties after printing. If a data sheet reports properties after a particular cure, do not assume those values apply to a part processed differently.
A compatible curing station. This is the preferred starting point for a repeatable workflow. Select the documented settings for the resin grade, material version, and curing unit, accounting for part geometry as required. A preset on one machine is not automatically transferable to another.
Nail lamps and DIY curing boxes. These can expose resin to light, but exposure alone does not establish a validated cure. Check wavelength compatibility, light distribution, and any required temperature control before considering an alternative system. An overnight exposure does not confirm that the specified material properties have been achieved.
Sunlight. Sunlight can cause further curing, but its intensity and effectiveness vary with the weather and exposure conditions. That variability makes it a poor default for a repeatable manufacturing process. For functional parts or repeat orders, use a process whose settings and resulting condition can be confirmed.
Specify the material grade and agreed delivered condition so that visually similar parts are not assumed to have equivalent properties. The SLA resin selection guide explains how to compare materials before selecting the finishing route.
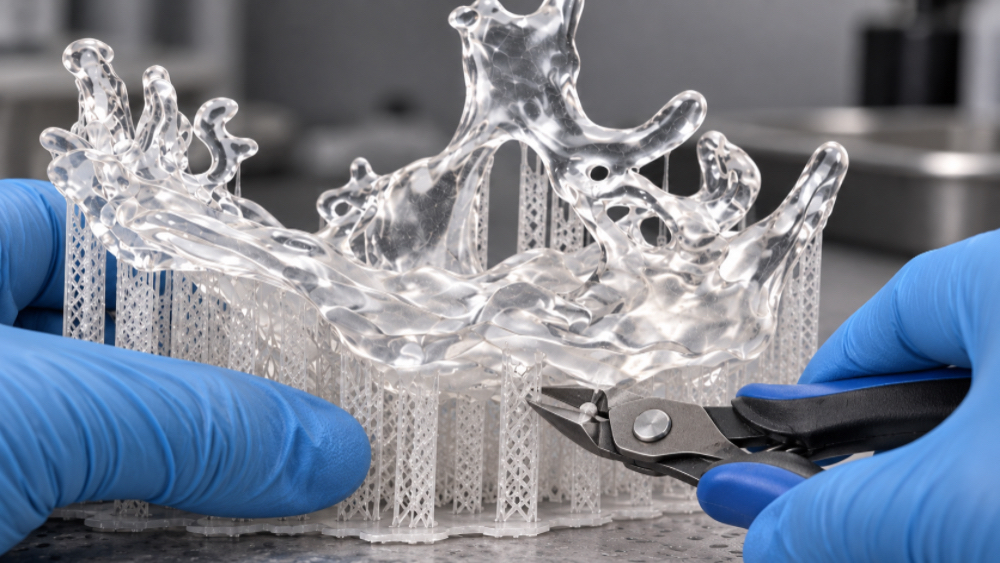
Choose the removal stage before detaching the support structure. Supports can help preserve the shape of thin or long features during post-curing, although dense supports can also obstruct light. Formlabs generally recommends retaining supports where practical and removing them where access or exposure requires it. The appropriate balance depends on the part and material workflow.
Manual separation. Breaking away a support section can be quick, but reserve this approach for geometry where it will not damage the part or an important surface. Avoid pulling a connected support network away from fine lettering, thin edges, or locating features.
Flush cutters and controlled trimming. For detailed parts, cut accessible supports individually and work toward less accessible areas. Position the tool to avoid cutting into the finished geometry. If close trimming could damage a delicate edge, leave a small projection for controlled finishing rather than forcing the cut. Wear eye protection against displaced support fragments.
Removing the structure and removing its contact marks are separate operations. Raised points and small depressions may remain. Sanding can reduce raised marks, but removing more material can also change a thin lip or mating edge. A chipped or deeply pitted surface may need a repair decision rather than additional sanding alone.
Identify cosmetic faces and mating surfaces before the build is prepared. Agree which contact areas need blending, which need dimensional inspection, and where minor marks are acceptable. This also improves quoting: "remove supports" and "blend all contact marks on the front face" describe different amounts of work.
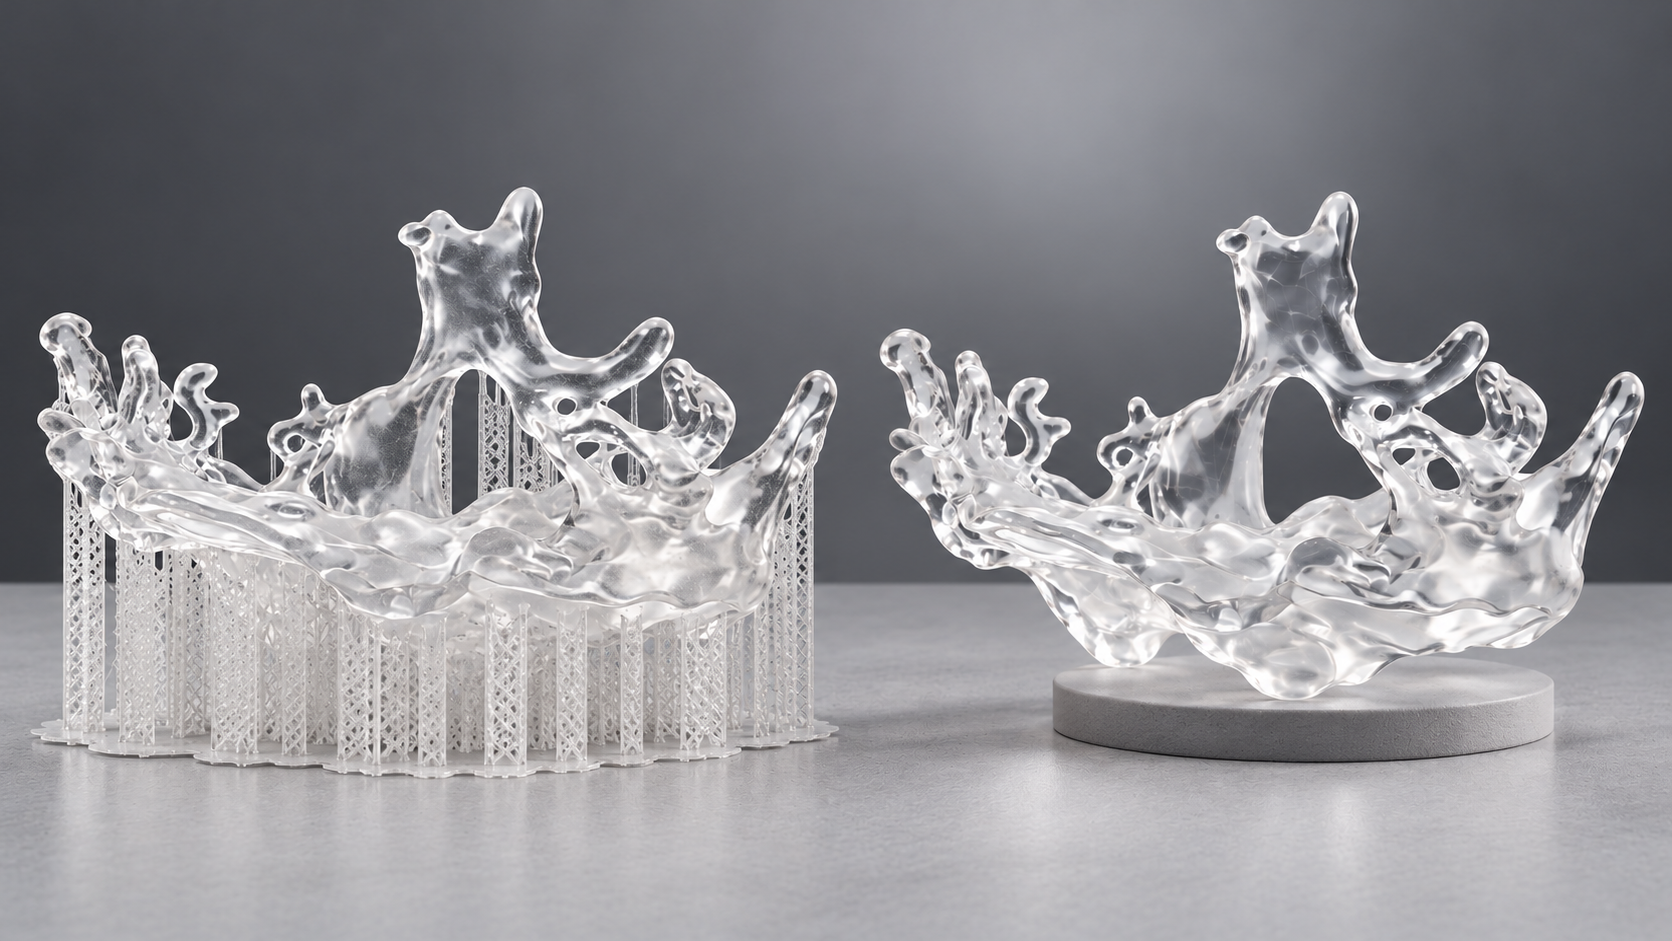
Once cleaning, the specified cure, and support removal are complete, inspect the part before adding a cosmetic finish. It may already meet the requirements of a fit check or internal prototype. Where the application calls for a different surface texture, color, or transparency, select the finishing treatment below and identify the surfaces it should affect.
Sanding removes material to reduce support marks and visible stepping. Progressively finer abrasives can refine the surface further, while polishing develops the final appearance. Wet sanding is also used for SLA parts and can reduce dust during the operation.
The starting abrasive depends on the marks being removed. A finish intended for paint is different from one intended to be viewed through. As a material-specific example, Formlabs' clear-resin polishing guide describes wet sanding with 800 grit followed by 1200 grit before further polishing and an optional acrylic spray. This is an example workflow for its clear resin, not a grit sequence for every SLA material.
Access can determine whether a requested finish is practical. Protolabs Network notes that polishing becomes difficult around ribs, small spaces, and surfaces that cannot be reached with sanding tools. A clear flat cover and a deep ribbed housing should therefore not be quoted as equivalent polishing jobs.
Painting is appropriate when color and appearance need to resemble the intended product. The surface is prepared before coating, with support marks and unwanted texture addressed first. Formlabs' painting preparation guidance includes sanding, cleaning off dust, applying primer, and inspecting for areas that need further work.
A useful paint request states the color reference, desired gloss, visible surfaces, and areas that must remain uncoated. "Black" alone leaves substantial room for interpretation: a matte black enclosure and a glossy black display model communicate different design choices.
Specify whether the coating is being evaluated for appearance only or will also encounter handling, abrasion, or cleaning chemicals. Where coating durability matters, agree an appropriate sample evaluation for that particular resin and coating system. The appearance of a newly painted part is only one part of that decision.
Surface texture can scatter light and make a transparent resin part appear frosted. Sanding, polishing, or a compatible clear coating can improve its appearance, but the result also depends on material tint, wall geometry, and access to the surfaces. Improving the outside of a cover does not necessarily eliminate haze from an inaccessible inner face.
Define what needs to be visible through the part. Seeing the outline of an internal assembly, reading a label behind a window, and validating an optical component are different requirements. For a visual prototype, a representative finished sample is a useful way to agree the expected appearance.
See the guide to clear and translucent SLA visual models for a closer discussion of transparency and its limits. Polishing alone should not be used as evidence of optical performance.
Sanding removes material, while coatings add material. Both operations need to be considered when a finished surface locates, slides, seals, or engages another part. Protolabs Network identifies dimensional changes as a tradeoff of sanding and coating SLA parts.
Consider a simple illustrative example. Two opposing faces have a measured gap of 0.30 mm before coating. Assume each face then receives a 40 micrometre dry coating, equivalent to 0.04 mm per face. Ignoring all other variation, the remaining gap becomes:
0.30 mm - 0.04 mm - 0.04 mm = 0.22 mm
These are assumed values for the calculation, not an AIHFabs coating specification. The example shows why a coating allowance must include every coated face that reduces the gap. A real assembly also needs to account for print variation, any material removed during preparation, and coating thickness variation.
The drawing should state whether a critical dimension applies before or after finishing. Mark holes, sealing faces, locating features, and threads that need masking or special control. Inspect the final assembly in the condition in which it will be used.
Surface appearance should also have its own acceptance criteria. A glossy surface does not establish flatness, and a photograph does not establish a numerical roughness value. If the application needs a measured roughness such as Ra, agree the value, measurement location, and measurement method rather than assuming that "polished" defines them.
Inspect the part before investing in a cosmetic finish. Cleaning problems, surface marks, and shape changes call for different investigations. Formlabs identifies contaminated washing liquid and inappropriate cure settings among the issues to review when a surface is not satisfactory. Its curing guidance also addresses support and exposure effects on warping.
Use the following questions to structure a review. They are investigation prompts, not a diagnosis from appearance alone.
Observation | What to review | Information to collect |
Sticky or uneven surface | Cleaning condition and completion of the specified cure | Resin grade, wash history, cure record and affected locations |
Visible bumps or depressions | Support contact locations and local removal work | Marked photographs and the original support layout |
Haze in a clear part | Surface finish, inner-surface access and material appearance | Whether the haze is local or uniform, and the result on a representative sample |
Warping after processing | Geometry, support condition and cure exposure | Measurements before and after each relevant operation |
Cracks or chipped features | The stage at which damage first appeared | Handling history, feature location and photographs from successive stages |
Before authorizing repair, return to the part's purpose. A repaired presentation model may be acceptable after visual review. A part used for load testing needs a separate decision about whether repair would invalidate the test. Define that decision explicitly instead of treating a better-looking surface as evidence that the original requirement has been restored.
A project brief should connect the chosen route to observable acceptance criteria. The following information gives the supplier a more useful basis for a quote than a request for the "best surface finish."
Item | What to include |
Part purpose | Fit check, presentation, transparency demonstration or functional evaluation |
Surface priorities | Mark visible faces, hidden areas and surfaces with special requirements |
Final dimensions | Identify critical dimensions and whether they apply after coating |
Appearance | Provide color and gloss references, masking instructions and an approved sample where useful |
Transparency | Identify viewing areas, the object being viewed and the required visibility |
Acceptance and quantity | State the checks required, order quantity and whether a first sample needs approval |
For example, a proposed brief for a handheld enclosure might request a painted external cover matched to an approved color sample, with locating faces and screw holes left uncoated. It could permit local sanding marks inside the housing while requiring the assembled external surfaces to match an approved appearance sample. A separate transparent window would receive its own visibility requirement.
This is an illustrative specification, not a completed customer project. Its value is that it separates the areas requiring extra work from those that only need to support assembly.
Finishing effort depends on more than part size. Difficult access, numerous contact points on visible surfaces, separate colors, masking, and sample approval can all add work. Ask for the print and finish to be quoted together, and include any approval step in the required delivery schedule. AIHFabs' post-processing services provide a route for discussing the finish alongside the printed part.
No. Extra cosmetic work should follow the application. A cleaned, appropriately cured part with supports removed may be sufficient for a fit check. Add sanding or painting where the appearance or interface requires it, and identify those surfaces in the order.
Follow the material workflow and the geometry of the part. Supports can help preserve shape during curing, but they may also restrict access or obstruct exposure. Formlabs generally recommends retaining them during curing where possible, with adjustments when needed.
Yes. Removing support contacts and smoothing selected surfaces does not necessarily remove all layer lines. Protolabs explicitly notes that layer lines can remain in its standard SLA finish. Agree the desired appearance separately from the basic finishing label.
Need help selecting an SLA finishing route? Share your CAD files, intended use, critical dimensions, and appearance references with AIHFabs. We can review the requested delivery condition alongside material and printing requirements.
Explore our SLA 3D printing service, upload your model for a quote, or contact our team to discuss the surfaces that matter to your project.
Manufacturer instructions below describe their own materials and equipment. Apply the current instructions for the resin and processing system used for the order.
1. Formlabs. SLA basic finishing.
2. Protolabs. 3D printing finishing services, SLA finishing section.
3. Formlabs. 3D printing post-processing FAQs.
4. Formlabs. Best practices for post-curing prints.
5. Formlabs. Removing support marks.
6. Formlabs. Polishing Clear Resin for a transparent finish.
7. Protolabs Network. Post processing for SLA printed parts.
8. Formlabs. Preparing prints for painting.
9. Photocentric. Wash 15 Instructions and Installation Guide, Revision 4.
10. Elma. Elmasonic P Operating Instructions, section 8 on cleaning media.
11. Formlabs. Advanced support removal techniques.
12. Formlabs. An Introduction to Post-Curing SLA 3D Prints.
13. Formlabs. Form Cure V1 time and temperature settings.

A process that fits this note. Open the spec, or put the file on a quote.
Stereolithography (SLA) cures liquid photopolymer with a precision UV laser, building parts layer by layer.
Create a quote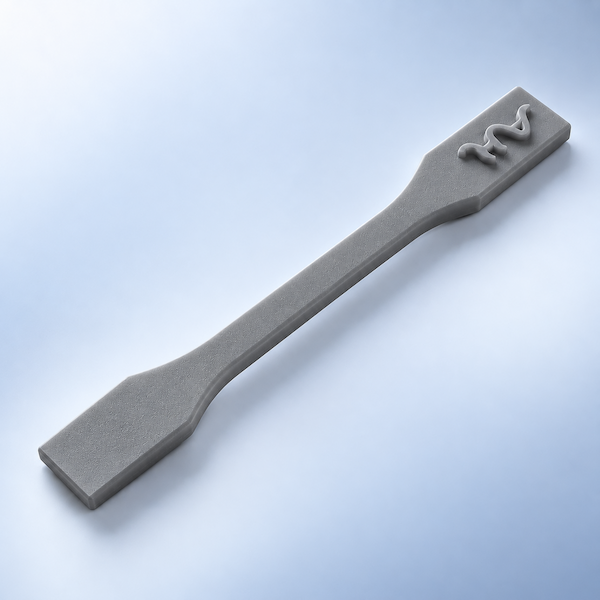
Digital Light Processing (DLP) solidifies an entire layer of photopolymer at once using a projected image.
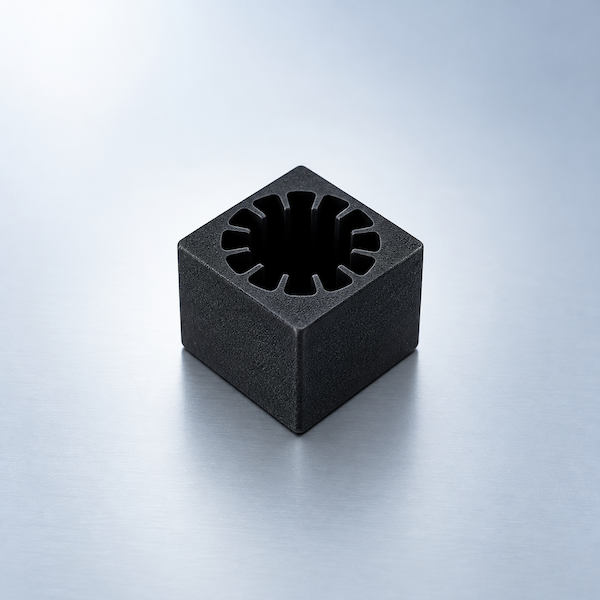
Create a quoteMaterials that sit next to this article. Check the card, then upload CAD.
Process, finish, and file notes from the shop — not a marketing blog.
Company, payment, shipping, and process answers by topic.
Production lead times, shipping options, and order tracking.
AIHFABS quotes custom 3D printing and CNC machining from a CAD upload. Compare SLA, SLS, MJF, SLM, FDM, DLP, milling, and turning, then add finishing such as vapor smoothing, dyeing, anodizing, polishing, or powder coating in the same order.
Instant quoting is built for prototypes, jigs, housings, and small-batch production. You see material, process, quantity, and lead time together, which keeps engineering changes from turning into a new round of supplier emails.
You can review material, process, quantity, and lead time together, so engineering changes do not turn into another round of supplier emails.
Upload STL, STEP, and other common CAD formats for an online quote.
Compare 3D printing technologies and CNC options on the same part.
Select polymers or metals, then add 3D Plus hardware finishing when needed.
Review price and lead time before checkout, or request a manual quote for special specs.
If this page describes a process, industry, or sample part you want to reproduce, start from the upload flow and match technology plus finishing to your drawing.
We use cookies to personalize your experience. By using this site, you agree to our Privacy Policy
Accept

Leave A Comment