Introduction: DLP resin printing helps consumer electronics teams test small housings, internal space, and snap-fit behavior before committing to injection tooling.
A housing can look correct in CAD and still fail when a snap arm meets its catch. Engineers working on compact devices need a physical part that drops over the PCB, clears connector cutouts, and lets a lid click shut without rattling. Injection tooling is a costly first step because every revision takes weeks and real money. High-detail resin printing fits this stage: small, smooth parts with fine XY detail let you check wall gaps, button travel, and latch behavior within days of the first model export. What matters is how the typical ±0.2 mm tolerance, resin grade, support removal, washing, and UV cure shape what a printed housing can actually tell you.
How ±0.2 mm Typical Tolerance Applies to Small Housings and Snap-Fits
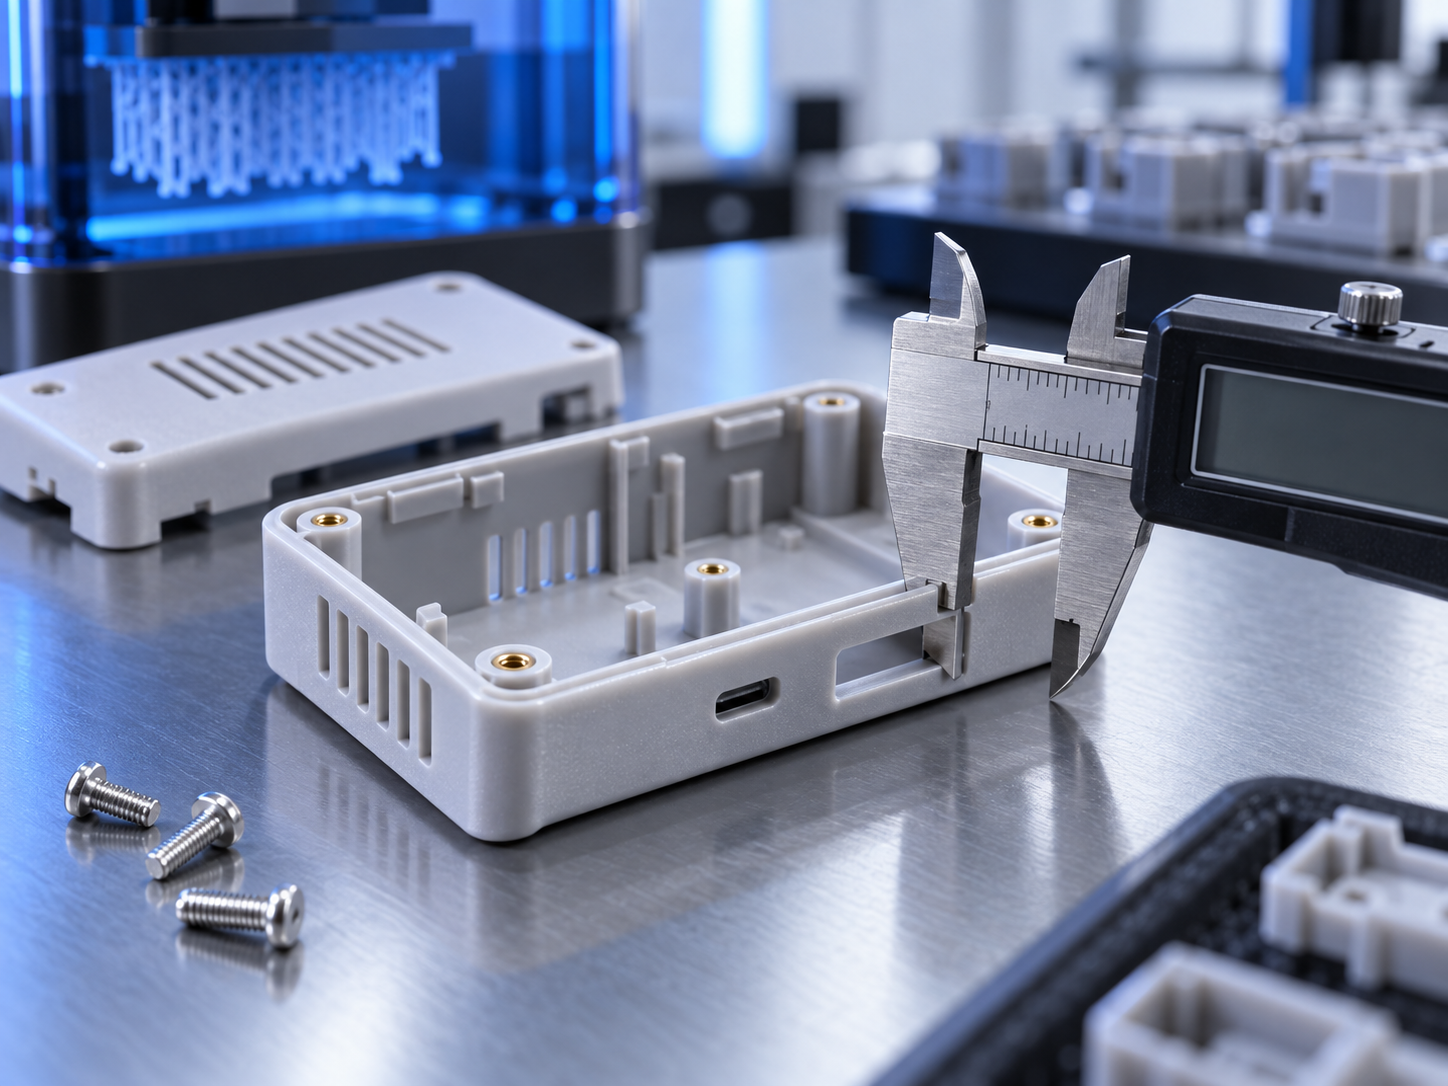
DLP builds each layer as one projected image, so housing walls, bosses, and latch profiles are defined by pixel-level light rather than a moving laser spot. On well-supported, sensibly oriented features, the typical tolerance is about ±0.2 mm. For a 40–80 mm housing half, a battery door, or a snap arm, that is tight enough to check board clearance, connector depth, and whether two mating shells close with a small, even seam. Thin, long, or unsupported geometry moves more, so evaluate the tolerance feature by feature rather than applying one number to the whole part.
1. Supported Features and Thin Walls Behave Differently Under DLP
A boss, a rib junction, or the root of a snap arm sits on solid cured material and benefits from the projection system, so those areas tend to land close to ±0.2 mm. A free-standing 0.8 mm wall 30 mm tall behaves differently: each layer pulls slightly as it cures, and the free end can bow inward. Designs that survive this stage usually add ribs or gussets to short walls, keep wall thickness consistent, and orient the largest flat faces away from the build plate so peel forces do not flex them. When you dimension a housing for inspection, mark which surfaces are functional mating faces and which are cosmetic, then measure the first group first. ASME Y14.5 gives you the vocabulary here—position and profile callouts on the features that matter beat chasing one global number.
2. Snap-Fit Clearance Depends on Material Choice and Post-Curing
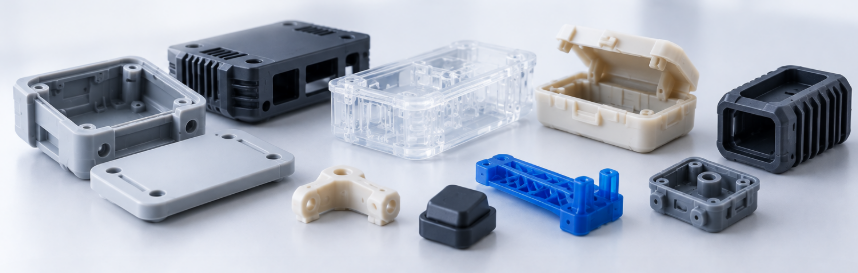
Snap-fit behavior shows up fastest in resin choice. Standard and High-Detail Resin give a stiff, smooth surface with crisp latch geometry, which helps when checking whether a cantilever deflects far enough to clear its catch. Tough Resin White and Ultra Tough Resin flex further before cracking, so they suit a test plan that opens and closes a housing twenty times in a row. Two factors shape the result: thin snap arms print stronger when they run along the build direction, and full UV cure raises stiffness—a latch that feels springy right after washing can feel noticeably harder after cure. Even the toughest grade remains less impact-resistant than SLS nylon or machined engineering plastic, so use a printed latch to verify fit and travel, then validate long-term durability in the production material.
High-Detail Resin Printing for Small Electronic Housing Prototypes
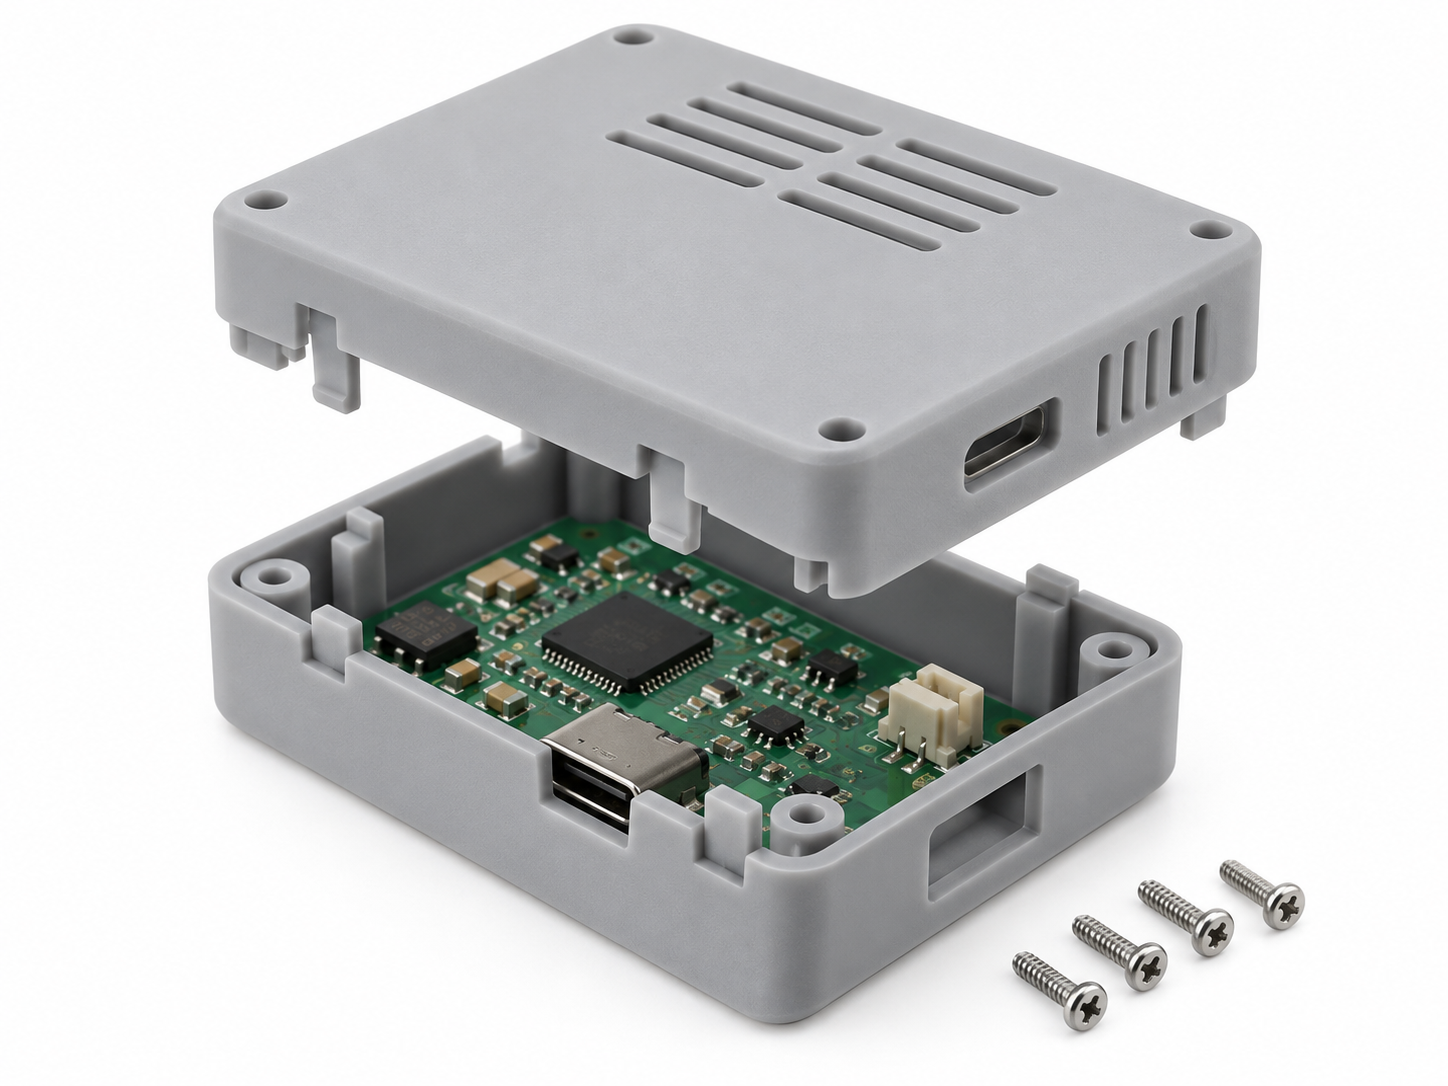
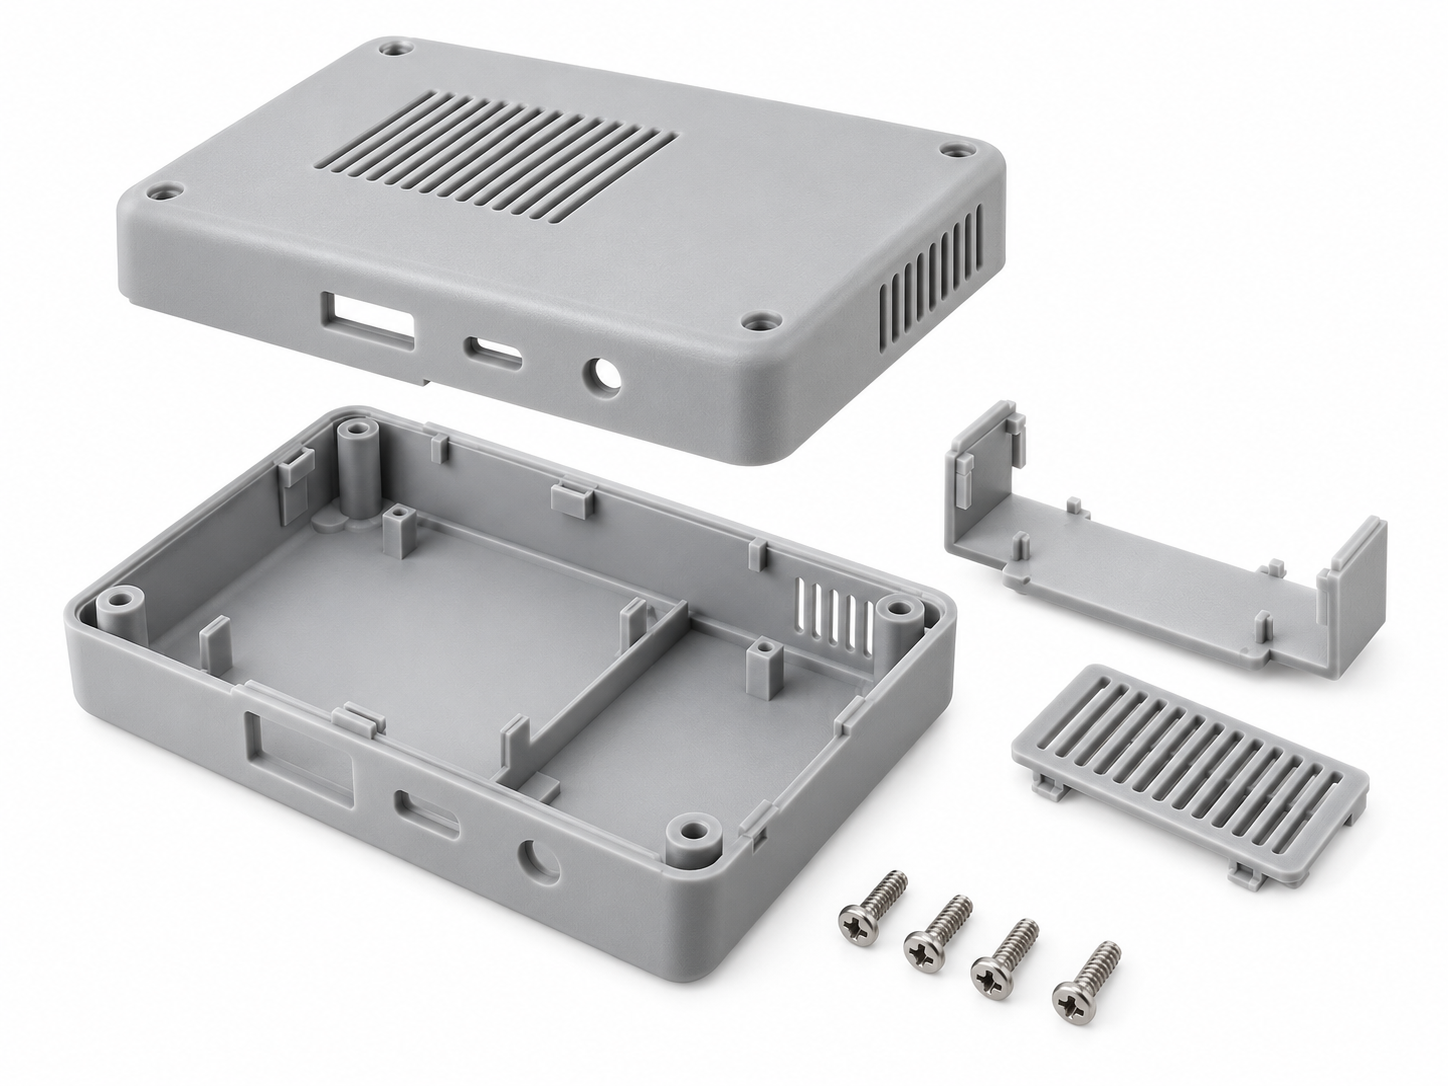
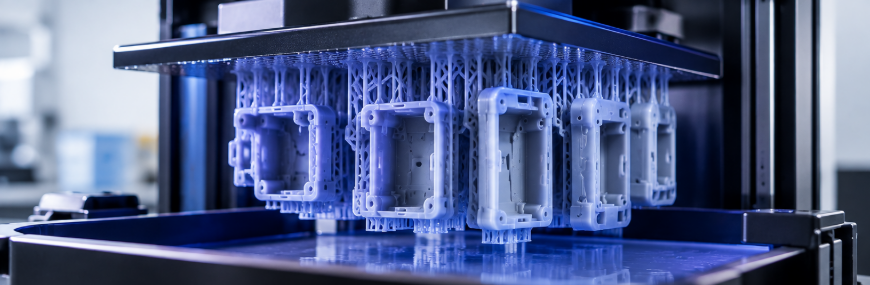
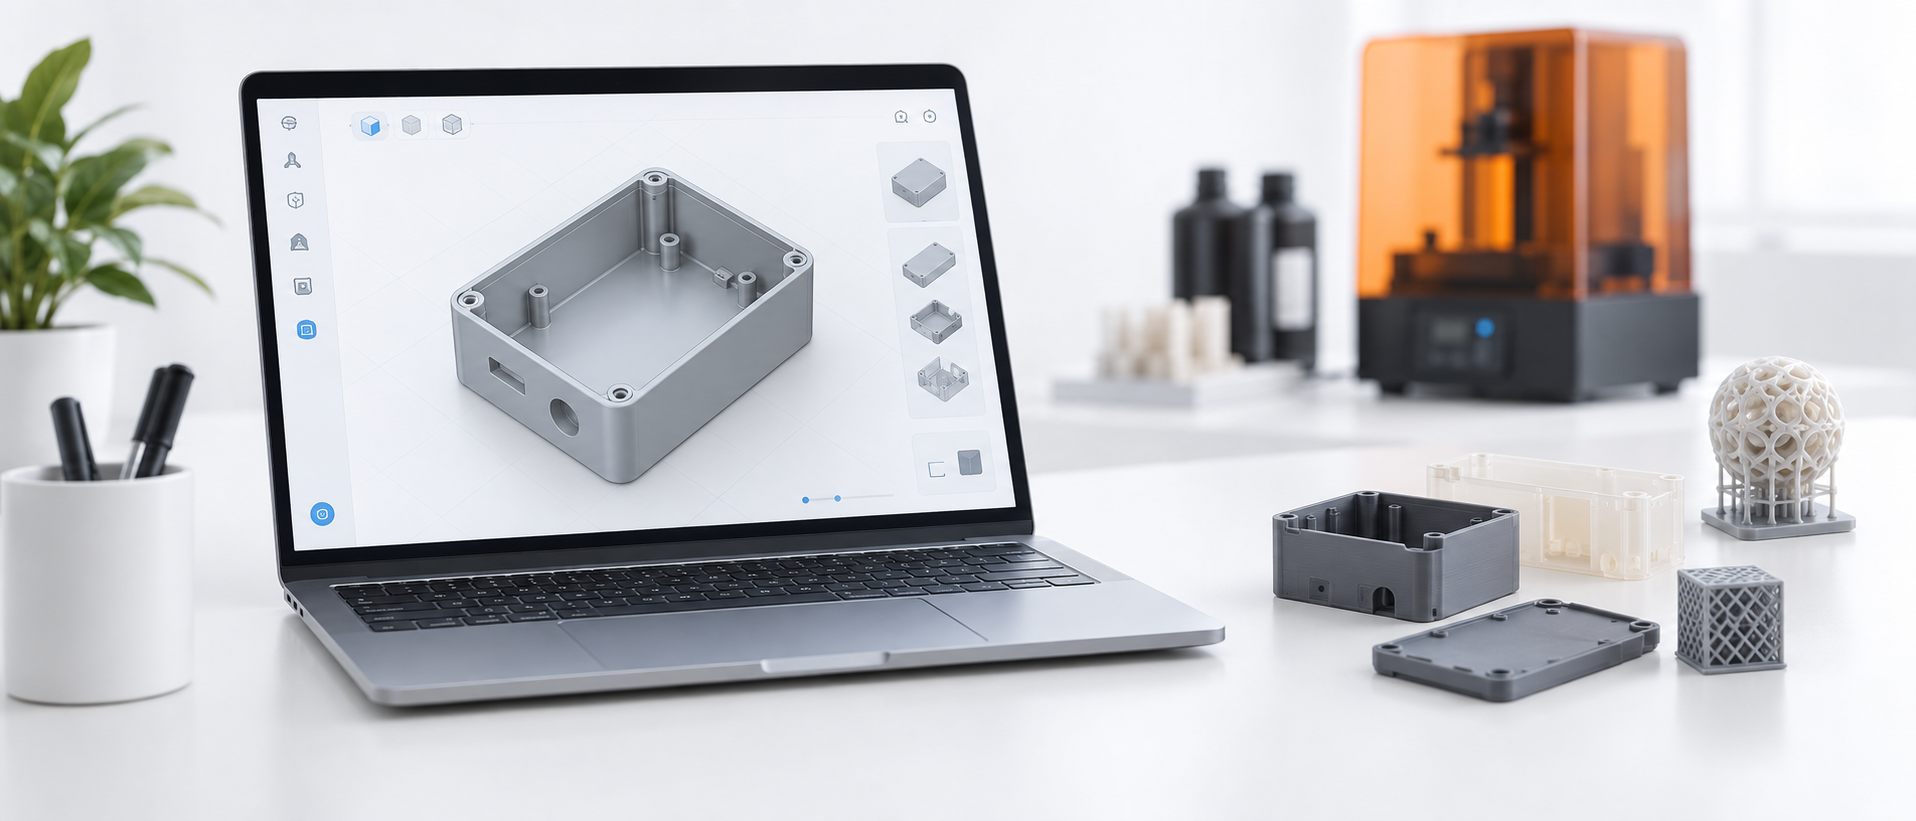
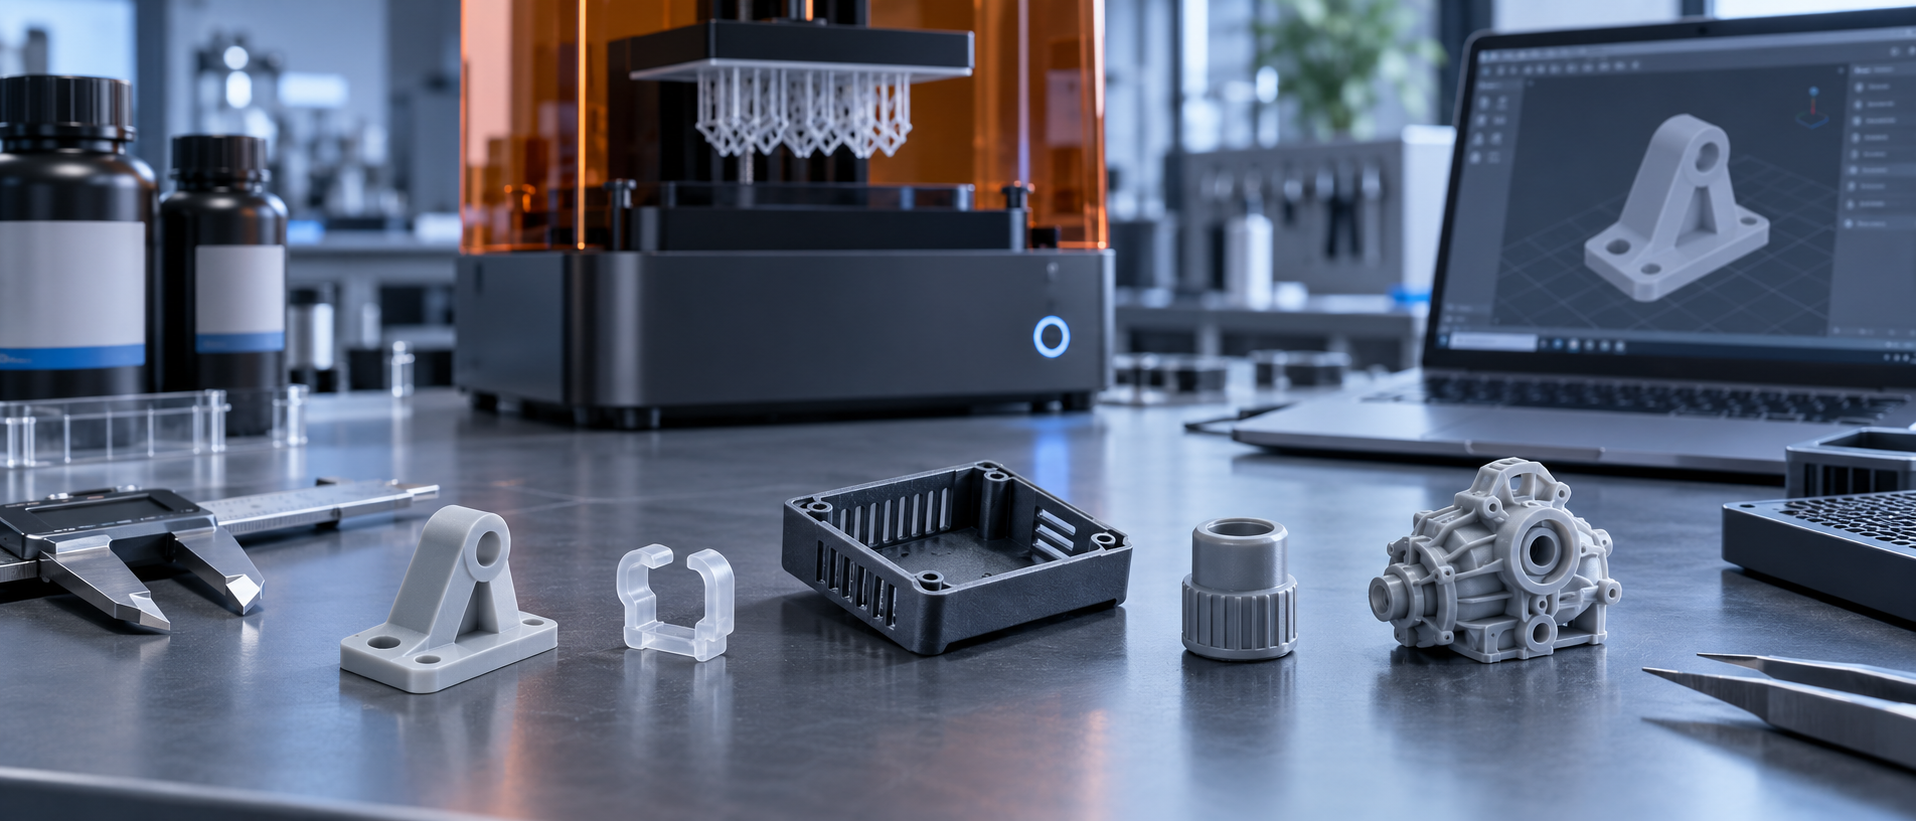
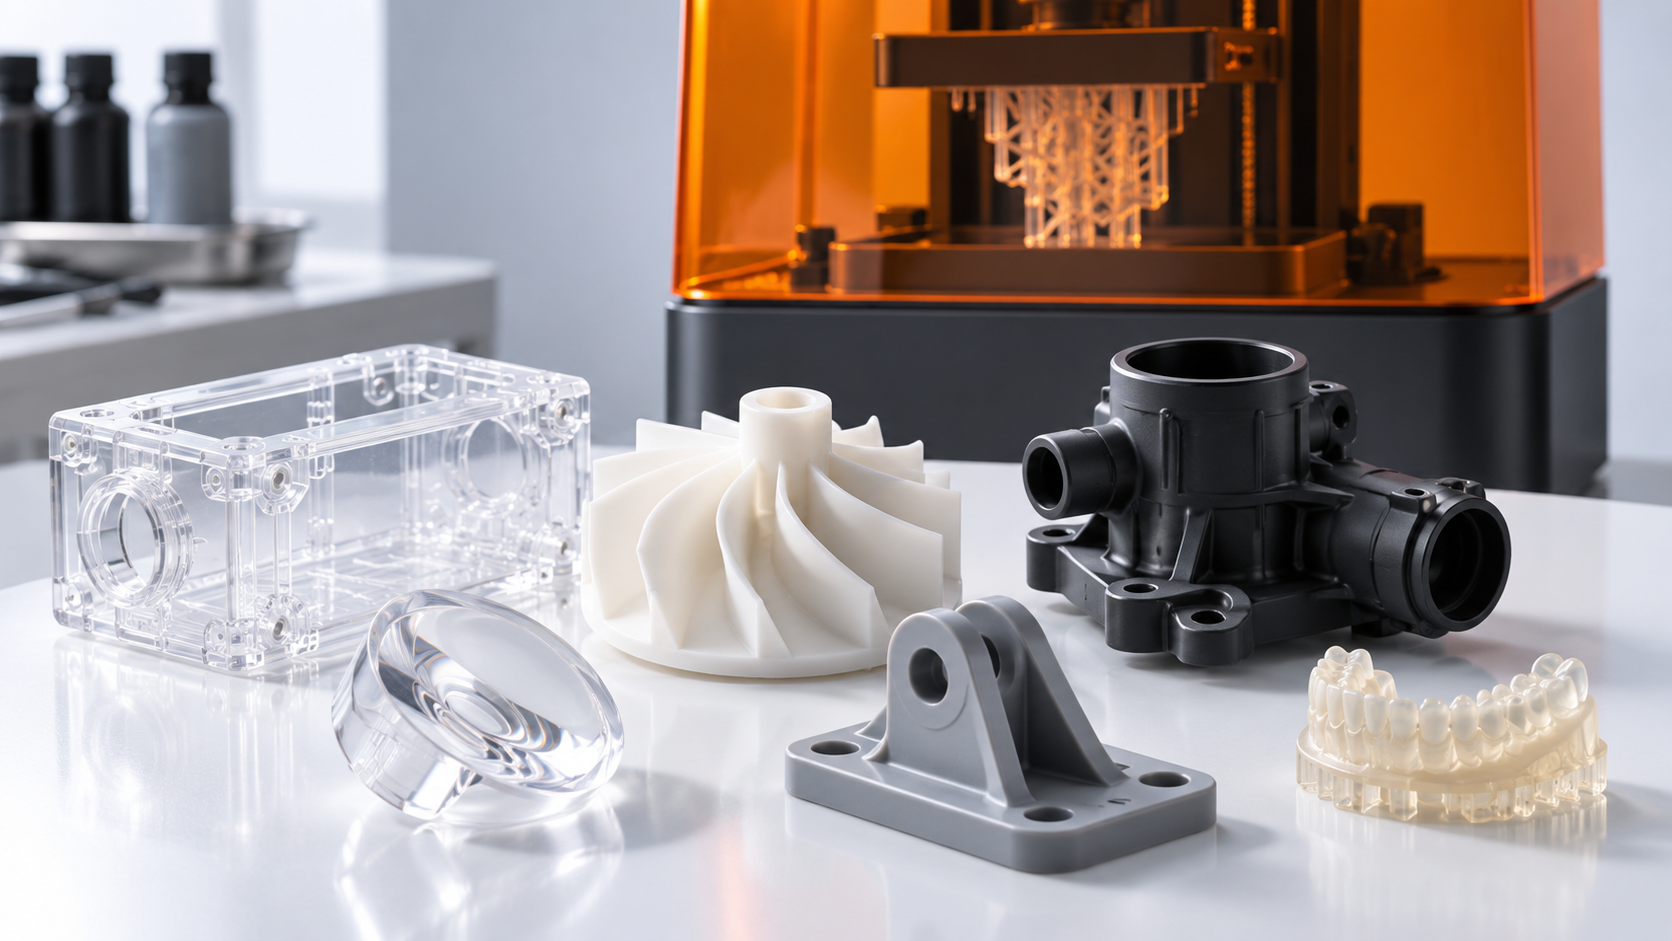
Small electronic housing prototypes usually arrive as a set rather than a single part: top and bottom shells, a bezel, button caps, a card door, internal mounting brackets, and a battery compartment. High-detail resin earns its place in the small geometry—fine text and logos, thin vent slots, tight connector windows, screw bosses, and the ribs that give a thin cover its stiffness. Because the projection exposes a full layer at once, a plate of ten small parts takes roughly the same time as one, which makes it practical to print two design variants and bring both to the same review meeting. Upload a STEP or STL file to a 3D resin printing service. The resin printing service returns a 3D printing instant quote with material and lead-time options. For teams comparing a housing concept against an existing product, the printed version is the reference object everyone can hold at once. A smooth surface finish also means you can photograph the part for a design review without sanding it first, and a small batch keeps color and surface consistent from unit to unit. Default processing is IPA wash plus UV cure with supports removed; light sanding, tinting, or a clear coat are available when the part needs to read closer to a finished product. AIHFABS dispatches these jobs in as little as 48 hours after the build orientation is confirmed, which keeps the loop between a CAD revision and a physical check short.
How Support Marks, Wash, and UV Cure Affect Assembly Testing
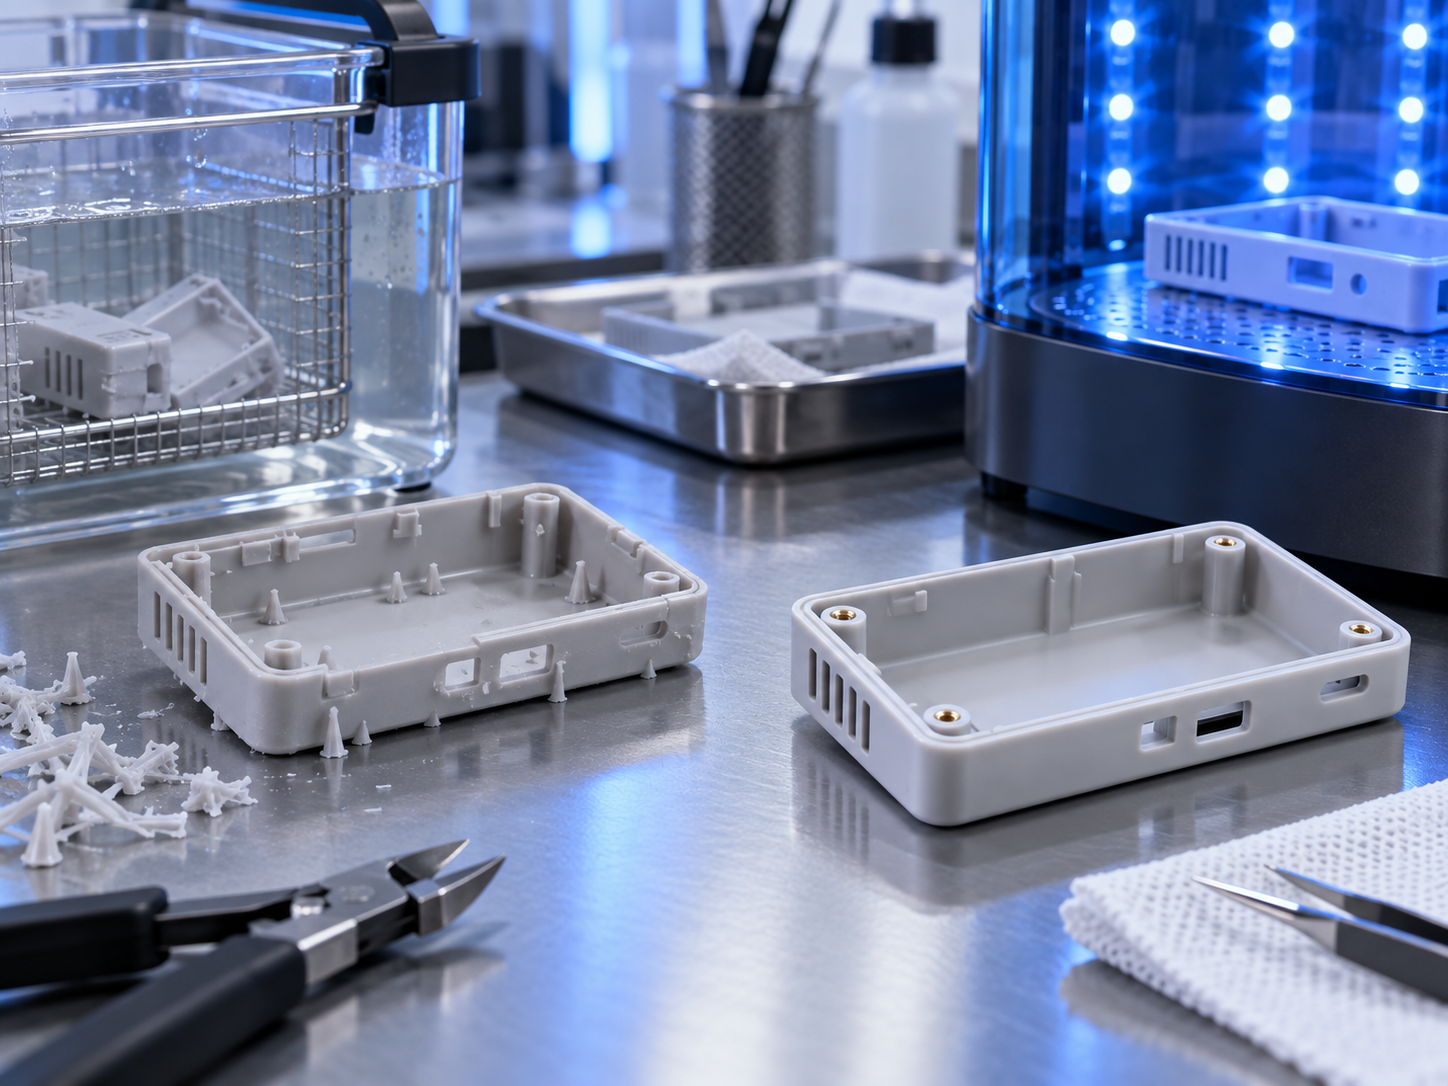
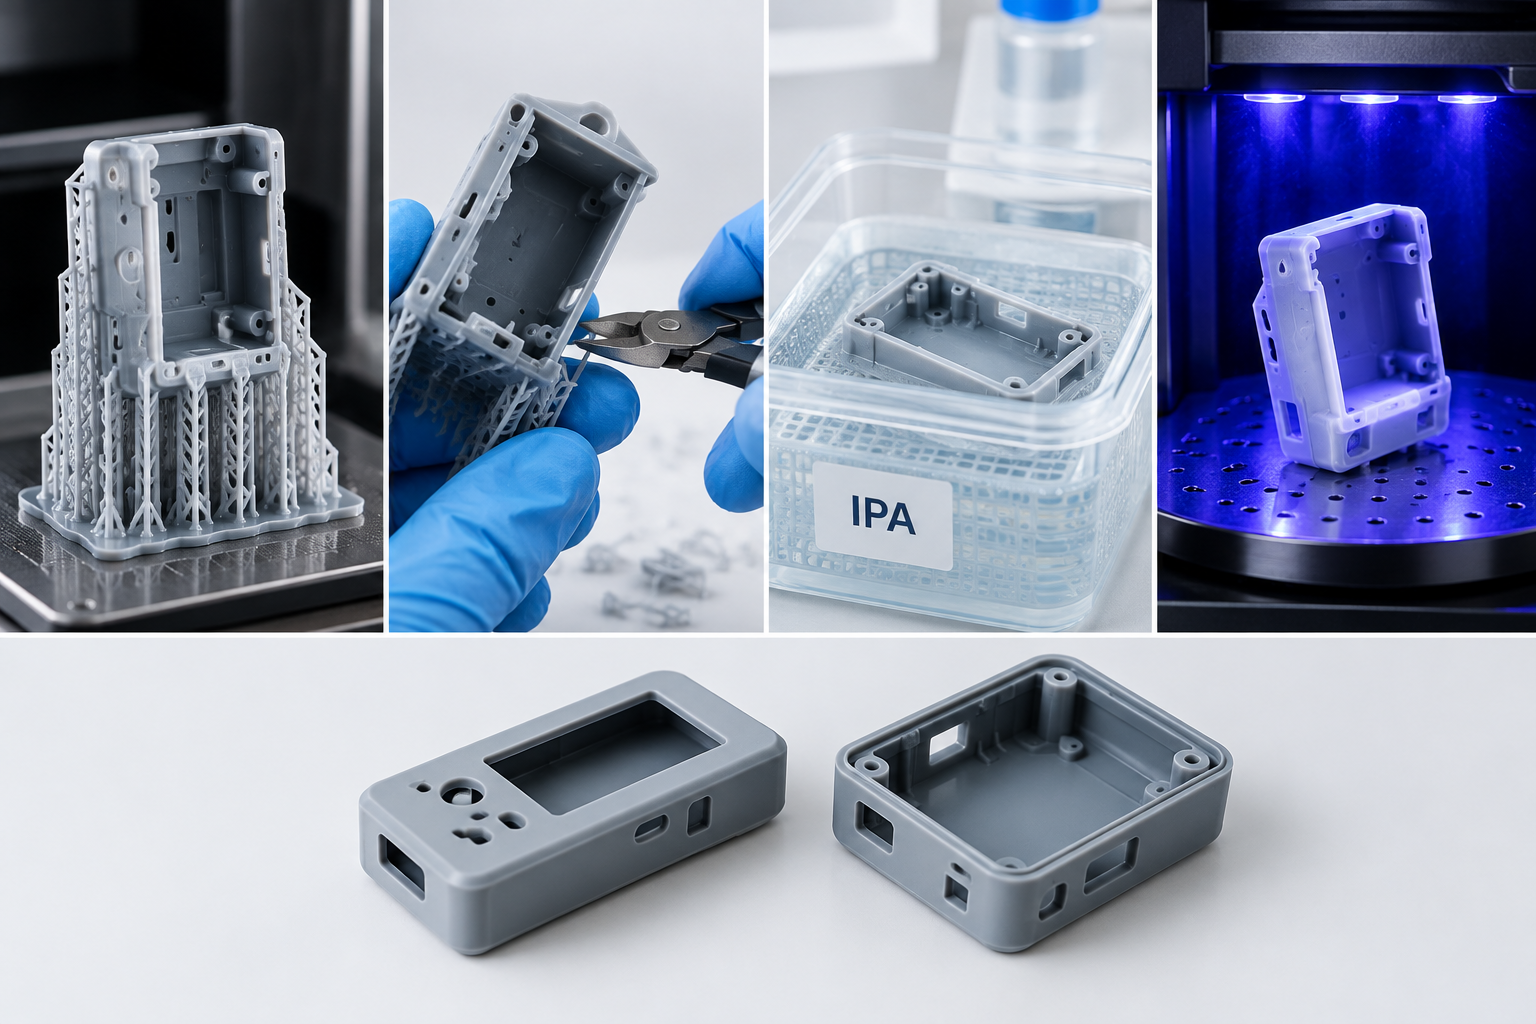
Support removal is where printed housings can lose accuracy. Every overhang needs support, and each support leaves a small contact mark where it touched the part. Put those marks on inner walls, hidden ribs, or the underside of a base—not on a mating flange or the sliding face of a snap arm, where a leftover nub can change the click and send you chasing a fit problem that is not in your CAD. After supports come off, the part is washed in IPA to clear uncured resin from blind holes, screw bosses, and slots. Trapped resin there will harden later and shift a thread or a press fit. UV curing finishes the reaction and firms up the part, so treat it as the last manufacturing step before measurement. Cure first, then check dimensions. Parts cured while sitting unevenly on a rack can take a slight set, so large flat panels need flat support during that stage. A light sanding pass on mating faces removes support stubs and flattens any steps left by removal. It is a practical way to get a housing clicking together cleanly in a review. If two shells still interfere after all of that, the fix is usually a small CAD adjustment—a shaved rib or a slightly wider latch gap—rather than a different process.
Conclusion
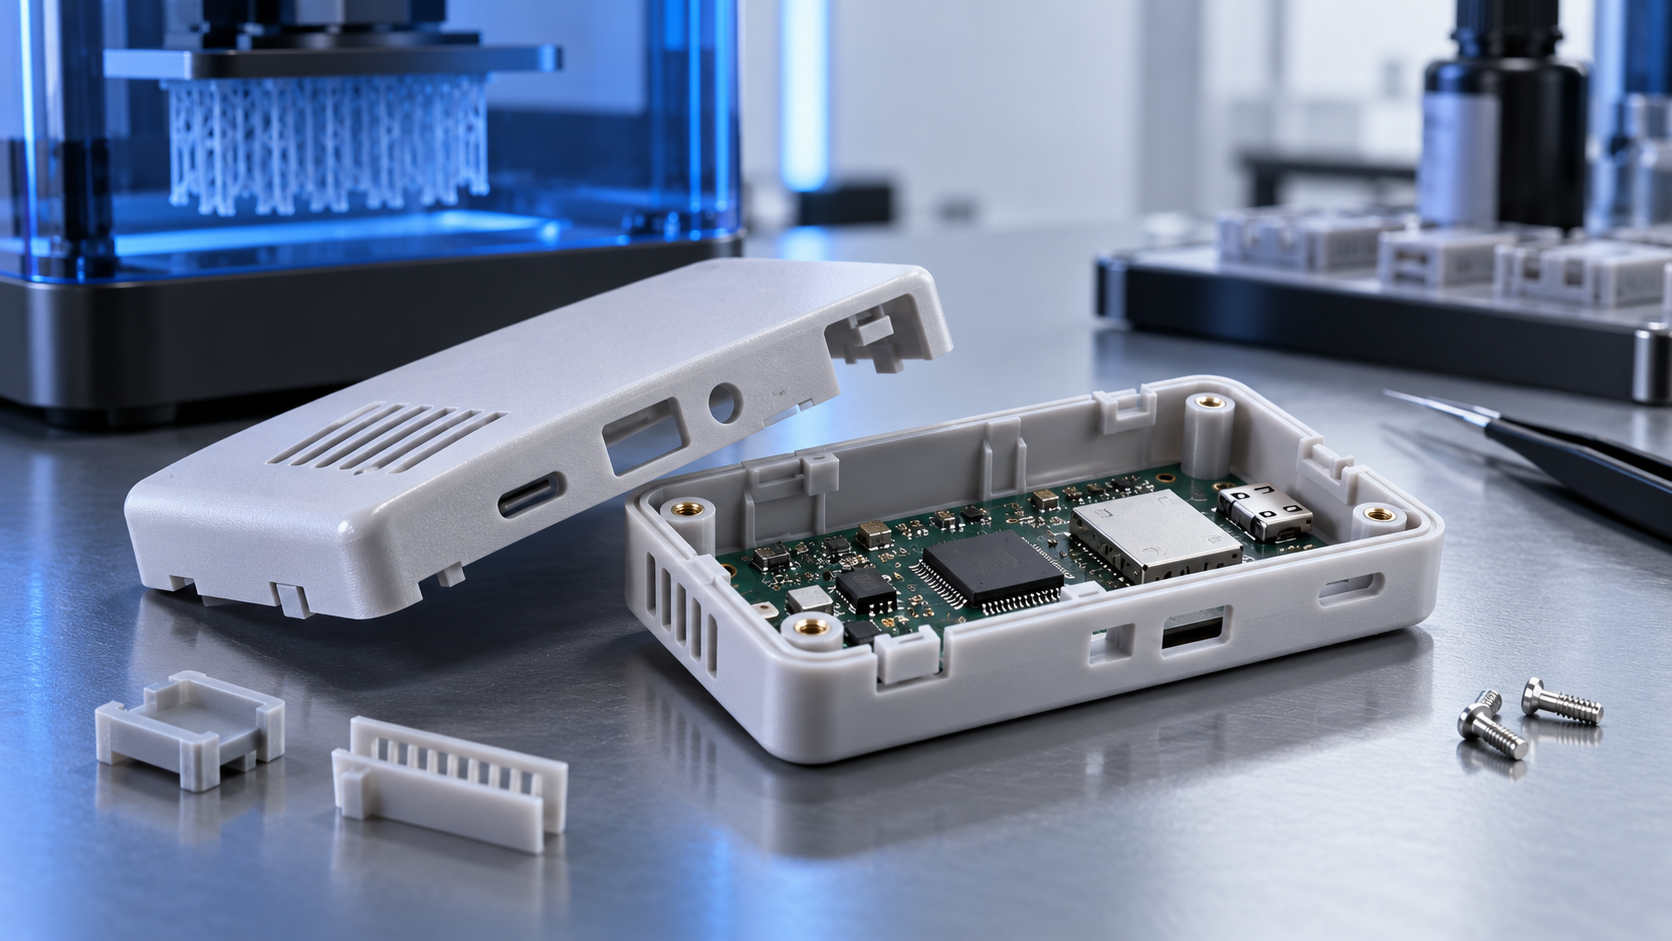
A printed housing is a decision tool. It answers whether the board fits, whether the lid closes with an even seam, and whether a latch survives the number of open-and-close cycles your review actually runs. DLP delivers that answer in a small, smooth, high-detail part with a typical ±0.2 mm tolerance on well-supported features, and it does it fast enough to sit inside a normal design sprint, before any tooling money is committed. Upload your STEP or STL files for an instant quote, and note the resin grade you want plus which faces are mating faces. If a snap geometry is tight or the housing is unusually thin, ask for a quick DFM check and orientation confirmation—dispatch can start 48 hours after that is settled.
FAQ
Q:Can DLP resin 3D printing hold ±0.2 mm for small electronic housings?
A:Yes, on features that are well supported and oriented for the geometry. Bosses, rib junctions, and latch roots typically land within about ±0.2 mm, which is enough to check board clearance, connector depth, and shell seams on compact housings. Long unsupported walls and very thin free-standing features move more, so flag those areas if they are functional. Uploading the model returns a quote and lets the team confirm orientation before the build starts.
Q:Are high-detail resin prints strong enough for snap-fit prototype testing?
A:They are strong enough to test whether a latch engages, deflects, and releases as intended. Tough Resin White and Ultra Tough Resin handle repeated open-and-close cycles better than the stiffer Standard or High-Detail grades, especially when the snap arm grows along the build direction. Resin is less impact-resistant than SLS nylon or machined engineering plastic, so use printed snap-fits to confirm fit and travel, then validate long-term durability in the production material.
Q:How do support marks and UV curing affect small housing assembly?
A:Support marks are small contact points on overhangs. Placing them on inner walls or hidden ribs keeps mating faces clean, while a mark on a flange or latch face can change how two parts close. UV curing completes the reaction and raises stiffness, so measure dimensions after cure rather than before, and let large flat panels cure on a flat surface. A light sanding pass on mating faces removes stubs and small steps, which usually gets a housing clicking together cleanly for a design review.
Sources / References
DMD Architecture and Light Control Application Note
Dimensioning and Tolerancing - ASME
Fabrication of Mesoporous Inorganic Nanotubes
Related Examples
AIHFABS DLP 3D Printing Service




Leave A Comment